Walk into any room and your eye lands on the windows before you consciously notice anything else. The right casing frames a view and quietly signals the age and character of a house, while cheap or missing trim makes a wall feel unfinished. When homeowners start weighing interior window trim options, they usually discover there are more choices than they expected, from the profile of the molding to the material it is milled from to whether a window gets a stool and apron at all. This guide breaks down the styles, materials, and real-world costs so you can pick a look that fits both the house and the budget.
- The Anatomy of Window Trim
- Popular Trim Styles
- Colonial and Traditional Casing
- Craftsman and Mission Style
- Picture-Frame Casing
- Modern Flat and Minimal Reveal
- Trim Material Choices
- Matching Trim to Your Home
- Cost per Window and Labor
- Installation Tips That Save Headaches
- Painted Versus Stained Trim
- Frequently Asked Questions
The Anatomy of Window Trim
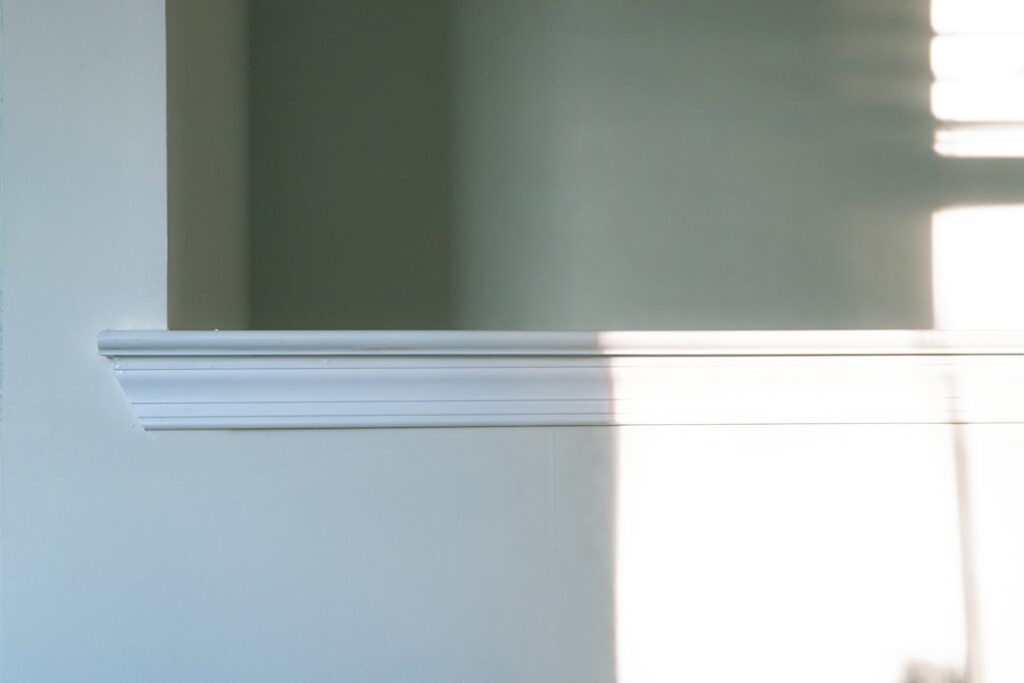
Before comparing styles, it helps to know the parts. The casing is the flat or profiled molding that runs up both sides and across the top of the window. The stool is the interior ledge (what most people loosely call the “sill”) that sits on the inside face of the wall. Below the stool sits the apron, a short piece of trim that covers the gap under the stool and gives the assembly a finished base.
Not every window needs all of these. A drywall-returned opening has no casing at all, while a full traditional treatment uses casing on three sides plus a stool and apron on the bottom. Deciding how much trim to run is the first fork in the road, and it drives both the labor time and the material cost.
Popular Trim Styles
Colonial and Traditional Casing
Colonial casing is the profile most people picture when they think of window trim: a molded face roughly 2-1/4 to 3-1/2 inches wide with stepped curves and a beaded edge. It suits center-hall colonials, Cape Cods, and most builder-grade homes. Because it is stocked at every home center in pine, MDF, and primed finger-joint, it is also the cheapest profiled option, often $1 to $2 per linear foot.
Craftsman and Mission Style
Craftsman trim ditches the curves for clean, flat boards. A typical setup uses 1×4 side casing, a wider 1×6 or 1×8 header across the top, and a beefy stool that projects past the casing. It reads square, substantial, and architectural, and it pairs naturally with bungalows, farmhouses, and modern-transitional interiors. Because it is built from flat stock, many DIYers find it more forgiving than mitered profiles.
Picture-Frame Casing
Picture-frame trim wraps all four sides of the window with the same casing mitered at the corners, skipping the stool and apron entirely. It gives a crisp, contemporary, gallery-like look and is common in modern and Scandinavian-inspired rooms. It also happens to be one of the faster installs because there is no stool to notch and fit around the jamb.
Modern Flat and Minimal Reveal
At the extreme minimal end, some builders use a narrow 1/2-inch reveal with no casing, terminating the drywall at a metal or wood bead. This costs more in drywall labor than it saves in molding and demands precise work, but it delivers the seamless, trimless aesthetic favored in high-end modern homes.
Trim Material Choices
The profile sets the style; the material sets the price, durability, and finish. Here are the common options:
- Primed MDF: Smooth, stable, and the least expensive at roughly $1 to $2.50 per foot. It paints beautifully but dents easily and swells if it gets wet, so keep it out of bathrooms and basements prone to moisture.
- Finger-joint pine: Real wood built from short pieces glued end to end. It costs a little more than MDF, holds a fastener better, and is meant to be painted since the joints show through stain.
- Solid poplar or clear pine: The choice for a painted or lightly stained finish that needs to resist dents. Expect $2.50 to $5 per foot.
- Oak, maple, or other hardwoods: Used when the trim will be stained to match hardwood floors or cabinetry. These run $4 to $9 per foot and demand careful, tight joinery.
- PVC and cellular composite: Waterproof and rot-proof, ideal for bathrooms, laundry rooms, and below-grade windows. Priced similar to poplar.
Matching Trim to Your Home
The safest rule is to keep window casing consistent with the door casing and baseboard already in the house. If your doors wear 3-1/2-inch colonial casing, matching the windows keeps the whole room reading as one design. Mixing a chunky craftsman window with a slim colonial door tends to look accidental rather than intentional.
Ceiling height matters too. In rooms with 8-foot ceilings, casing wider than about 3-1/2 inches can start to feel heavy. In rooms with 9- or 10-foot ceilings, a 4- to 5-inch craftsman treatment holds its own and actually looks better than skinny trim that gets lost on a tall wall.
Cost per Window and Labor
Material for a standard 3-by-5-foot window runs about $20 to $45 for painted MDF or pine and $60 to $120 for stained hardwood, counting casing, stool, and apron. A finish carpenter typically charges $75 to $200 per window to install and caulk, depending on complexity and whether the old trim has to come off first. Picture-frame casing sits at the low end of that labor range; a full stool-and-apron traditional treatment sits at the high end because the stool has to be scribed to the wall and notched around the jamb.
If you are trimming a whole house of 15 windows, buying material in bulk and doing the painting yourself can cut the total by a third or more compared to a turnkey quote.
Installation Tips That Save Headaches
Set a consistent reveal, the small step of jamb left showing inside the casing, usually 3/16 to 1/4 inch, and mark it with a combination square before nailing anything. Consistency here is what separates professional-looking trim from amateur work. Use a brad nailer with 2-inch nails into the framing and 1-1/4-inch nails into the jamb, then fill, caulk every joint against the wall, and prime any bare end grain before painting so it does not soak up finish unevenly.
Two problems trip up first-timers. The first is a proud or recessed jamb: if the window jamb does not sit flush with the drywall, the casing will not lie flat. Fix it before trimming by shimming a recessed jamb out with jamb extensions or planing a proud one down, because caulk cannot bridge a gap of more than about 1/8 inch without cracking later. The second is out-of-square corners on picture-frame casing. Cut your miters at a true 45 degrees on a good saw, but if the opening is racked, split the difference by adjusting both cuts a half degree rather than forcing a gap-filled joint. Dry-fit every joint before committing a nail.
Painted Versus Stained Trim
The finish decision shapes both the look and the workflow. Painted trim hides finger-joints and lets you use cheaper MDF or pine, and a semi-gloss or satin enamel wipes clean and stands up to scuffs around a window that gets opened often. It is the more forgiving route because filler and caulk disappear under paint. Stained trim, by contrast, shows off wood grain and pairs beautifully with hardwood floors, but it demands flawless joinery since every gap and nail hole stays visible, and it requires clear or matching-species stock throughout. If this is your first trim job, paint-grade poplar gives a crisp result with far less room for error.
Frequently Asked Questions
Do all windows need a stool and apron?
No. Picture-frame casing wraps all four sides with no stool at all, and it is a legitimate, clean look. The stool and apron are a traditional detail, not a structural requirement, so choose based on the style you want.
What is the most budget-friendly trim option?
Primed MDF colonial casing installed as picture-frame, since it uses the cheapest material and the fastest install method. Expect roughly $30 to $50 in material per average window before labor.
Can I stain MDF trim?
Not effectively. MDF has no grain and absorbs stain blotchily, so it is a paint-only material. If you want a stained finish, choose solid poplar for a subtle look or oak and maple for a pronounced wood grain.
How wide should window casing be?
Match it to your door casing for consistency. As a general guide, 2-1/4 to 3-1/2 inches suits standard 8-foot ceilings, while 4 to 5 inches looks balanced under 9- or 10-foot ceilings.
Should trim match the wall or contrast with it?
White or off-white trim against a colored wall is the most versatile and timeless choice. Painting trim the same color as the wall creates a soft, modern effect, while stained wood trim reads warm and traditional and pairs best with wood floors.