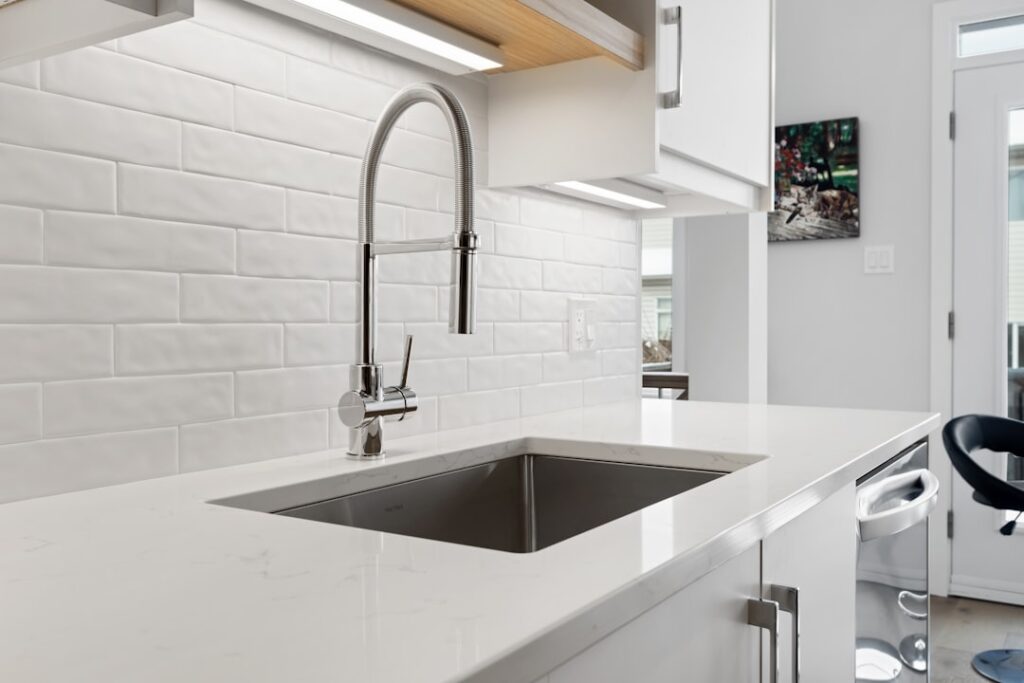
Ask a tile guy where kitchen walls actually fail and he won’t point at the range — grease is ugly but it doesn’t rot anything. He’ll point at the sink. The kitchen sink backsplash zone catches direct spray from the faucet, dish-scrubbing splatter, standing water creeping back from the counter edge, and — in most American kitchens — it does all this around a window whose wood sill and casing are one bad caulk joint away from swelling. The sink wall is the one part of a backsplash that’s genuinely functional first and decorative second, and it has its own set of details: the window gap, the sill, the faucet penetrations, and the silicone lines that do the real waterproofing. Here’s how I build that zone to shrug off twenty years of dishwater.
Why the Sink Zone Is Different From the Rest of the Splash
- Direct, repeated water — not mist. Range walls get aerosol; sink walls get droplets and sheet water from sprayer overshoot and dish-rack drips. Water sits in the counter-to-wall joint behind the faucet daily.
- The window problem. Something like two-thirds of US kitchen sinks sit under a window, which means the backsplash isn’t a clean band — it’s a picture frame. The strip between counter and sill is often just 2 to 6 inches, the sides are narrow legs, and the sill itself is usually painted wood sitting in the splash arc. Every one of those is a decision point.
- Behind-faucet access is miserable. Nobody wipes the 3 inches behind the faucet regularly, so that patch needs to be a surface that tolerates neglect: glazed tile with tight, dark-ish grout joints, not paint and not porous stone.
The Materials That Survive Dishwater
| Material | Price/sq ft | Sink-zone verdict |
|---|---|---|
| Glazed ceramic/porcelain tile | $1–$6 | The gold standard — waterproof face, easy wiping |
| Quartz slab (counter material run up) | $70–$120 installed | Zero joints, best-in-class function; premium cost |
| Glass tile / mosaic | $8–$20 | Waterproof and bright; shows water spots |
| Natural stone / marble | $8–$25 | Only if sealed religiously; etches near dish soap and citrus |
| Peel-and-stick vinyl panels | $2–$6 | Edges lift with repeated wetting — fine for rentals, temporary at the sink |
| Painted drywall | — | The thing you’re replacing |
My default spec is unglamorous and bulletproof: glazed ceramic or porcelain with joints of 1/8 inch or less, grouted in a quality cement grout a shade or two darker than white — or, worth every dollar in exactly this zone, an epoxy or ready-to-use urethane grout ($30 to $60 more for the sink run) that’s stain-proof and never needs sealing. The sink zone is the single best place in a kitchen to spend the grout upgrade.
The Window: Four Ways to Handle the Frame
- Tile to the casing and silicone the joint. The standard approach: run tile up to the window trim and caulk the tile-to-wood joint with color-matched silicone. Clean, cheap, works — as long as that caulk line gets renewed when it tires.
- Remove the casing and tile the return. The contemporary detail: pull the side and bottom trim and wrap tile into the window recess (the return), with metal edge profiles or bullnose at the corner. No wood anywhere near the splash arc. This is my recommendation whenever the window sits within 8 inches of the faucet.
- Replace the wooden sill with stone or quartz. The sill catches more standing water than any other trim piece in the kitchen — plant pots, drips, condensation. A remnant piece of quartz or granite cut to sill size ($50 to $150 from a fabricator’s boneyard) ends the swelling-paint cycle permanently. I do this on nearly every sink-window job now and clients call it their favorite detail.
- Tile the strip below the window taller than it is. When only 3 or 4 inches exist between counter and sill, use a mosaic or a horizontal cut of your field tile rather than a sliver of large format — a 24-inch tile ripped to 3 inches looks like an error; a pebble or kit-kat band looks intentional.
The Silicone Lines Are the Actual Waterproofing
Grout is not what keeps water out of your wall — the flexible joints are. At the sink, four joints matter, and every one gets 100 percent silicone, never grout, because they’re junctions of dissimilar materials that move independently:
- The counter-to-backsplash joint (the big one — this is where sheet water tries to enter),
- tile-to-window-casing or tile-to-return corners,
- tile-to-sill,
- and any inside corner where two tiled walls meet at the sink.
Use kitchen-and-bath rated 100 percent silicone in a color matched to your grout, tool it into a small concave bead, and expect to cut it out and redo it every 5 to 10 years as routine maintenance. A $9 tube of silicone, renewed on schedule, is the difference between a cabinet base that lasts forever and the swollen particleboard floor I find under half the sinks in America. While you’re under there: most “backsplash leaks” I get called for are actually a failed sink-rim seal or a weeping faucet base — check both before blaming the wall.
Design: Making the Functional Wall Pretty
The sink wall is usually interrupted (window, faucet, soap dispenser), so it wants calmer tile than the range wall’s feature moment. What works: continuing the same field tile around the whole kitchen for continuity — the sink zone is the wrong place for a pattern change, which reads as a patch; centering the layout on the window (or the faucet, if no window) so cuts land symmetrically on both legs; and if you want personality here, expressing it in the grout tone or a stone sill rather than a busy mosaic that fights the view out the window. Height-wise, tile at minimum to the sill; with no window, take the sink wall to 18 inches like the rest of the splash or up to the cabinet line. Behind a tall gooseneck faucet with a pull-down sprayer, I like seeing tile at least 24 inches up — sprayer overshoot is real.
Costs and the Weekend Version
The sink run is small: a typical sink wall is 12 to 20 square feet including the window legs. In $3 ceramic with urethane grout and two tubes of silicone, materials land at $120 to $220. Hired out, expect $400 to $900 for the sink wall alone or, more commonly, $1,200 to $2,500 for the whole kitchen’s splash with the sink details included — window returns and stone sills add $150 to $400 to a quote and are worth every cent. DIY difficulty is moderate: the window means more cuts than a straight run (score-and-snap handles most; rent a wet saw for the returns), and the layout math around the frame is where to spend your patience. Set a dry lay on the counter first and make the two window legs mirror each other — asymmetric legs are the tell of a rushed job.
The Maintenance Calendar
A sink-zone splash built to the spec above needs almost nothing — but “almost nothing” on a schedule beats “nothing until it leaks.” Weekly: a wipe-down of the tile and the behind-faucet patch with whatever you clean counters with; glazed tile tolerates every common kitchen cleaner. Quarterly: eyeball the silicone lines, especially the counter joint behind the faucet, for gaps, peeling, or dark shadows under the bead — shadows mean water is traveling behind it. Annually: if you used cement grout, hit the sink run with a penetrating sealer; it’s four square feet of joints and takes ten minutes. If you used epoxy or urethane grout, skip this forever — that’s what you paid for. Every five to eight years: cut out and replace the silicone as routine maintenance, the way you’d change a furnace filter. And once a year, open the sink base with a flashlight and feel the back corners of the cabinet floor. Dry means everything above is doing its job; damp means you’ve caught a failed sink-rim seal, a weeping supply line, or a tired caulk joint months before it becomes a swollen cabinet floor and a mold call.
If you take one thing from a guy who’s replaced too many sink-base cabinets: treat the sink backsplash as a water-management system that happens to be decorative. Glazed tile, tight dark-ish joints in upgraded grout, no bare wood in the splash arc, a stone sill if there’s a window, and fresh silicone at every material change. Do that, and the prettiest thing about your sink wall will be what you never see — the dry, sound drywall and cabinet box behind it, twenty years from now.