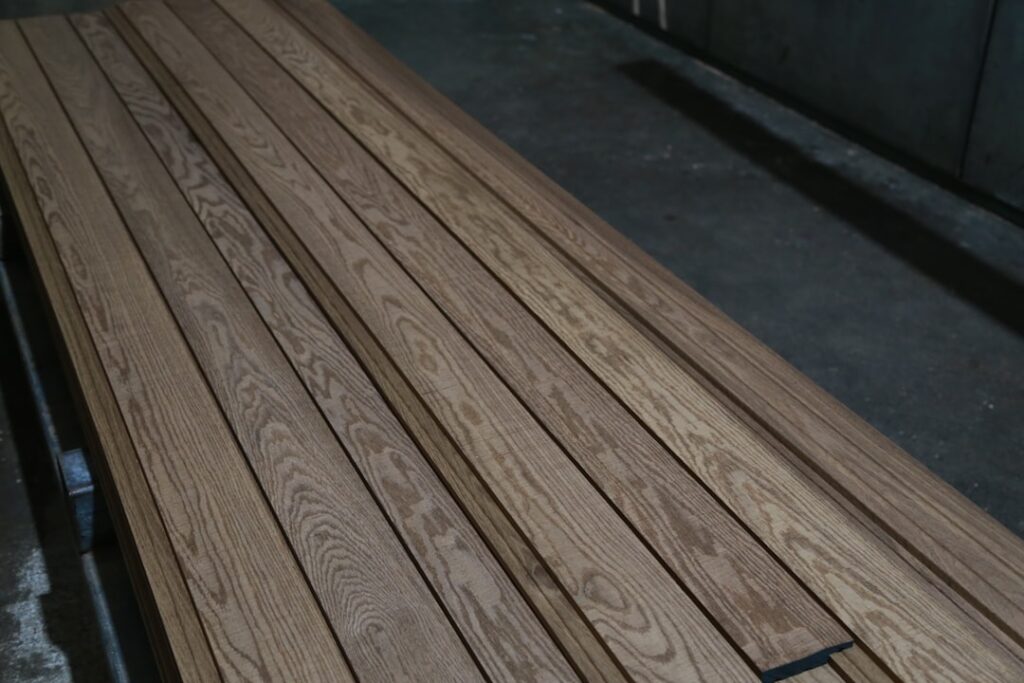
The kitchen is one of the hardest-working rooms in any home. Between spills, splashes, dropped utensils, and constant foot traffic, the floor takes a beating. That is exactly why vinyl has become one of the most popular kitchen flooring choices in recent years. Kitchen vinyl is waterproof, easy to clean, comfortable underfoot, and available in designs that convincingly mimic wood, stone, and tile.
- Why Choose Vinyl for Your Kitchen?
- Types of Kitchen Vinyl
- What to Look for in Kitchen Vinyl
- Popular Kitchen Vinyl Designs
- Light Oak and Blonde Wood
- Grey Wood and Concrete
- White Marble and Carrara
- Warm Walnut and Hickory
- Encaustic and Patterned Tile
- Kitchen Vinyl Costs
- Installing Kitchen Vinyl: Key Steps
- Step 1: Remove the Old Floor
- Step 2: Prepare the Subfloor
- Step 3: Acclimate the Vinyl
- Step 4: Plan the Layout
- Step 5: Install
- Step 6: Finish
- Maintaining Kitchen Vinyl
- Kitchen Vinyl vs. Other Kitchen Flooring
- Frequently Asked Questions
- Is vinyl flooring safe for kitchens?
- Can I put vinyl flooring under kitchen cabinets?
- How long does kitchen vinyl last?
- Can I install kitchen vinyl over existing tile?
- Final Thoughts
In this guide we walk you through every type of kitchen vinyl, how to pick the right product for your space, what it costs, and how to install it properly.
Why Choose Vinyl for Your Kitchen?
Waterproof Performance
Kitchens see more water exposure than almost any other room — from sink splashes and dishwasher leaks to mopping. Vinyl flooring is inherently waterproof. Unlike hardwood or laminate, vinyl will not warp, swell, or cup when exposed to standing water.
Comfort and Warmth
Vinyl is softer and warmer underfoot than ceramic tile or natural stone. If you spend hours cooking and prepping, that cushioning makes a genuine difference to foot and joint fatigue. An anti-fatigue underlay adds even more comfort.
Affordability
Dollar for dollar, vinyl offers more design variety and durability per square foot than most competing materials. Entry-level vinyl starts around $1.50 per square foot, while premium luxury vinyl plank rarely exceeds $7.00 — well below the cost of hardwood or porcelain tile.
Design Versatility
Modern printing and embossing technology allows vinyl to replicate virtually any look: wide-plank oak, marble, slate, encaustic tile, terrazzo, and more. You can create the kitchen of your dreams without the maintenance headaches or expense of the real materials.
Easy Maintenance
A quick sweep and a damp mop are all vinyl needs. There is no grout to scrub, no sealing to reapply, and no waxing required. For busy households, that low-maintenance appeal is a major draw.
While you’re upgrading the kitchen floor, it might be a good time to rethink the seating too. Swapping out old bar stools is one of those small changes that makes the whole room feel more pulled together.
We may earn a commission when you purchase through our links.
Types of Kitchen Vinyl
Sheet Vinyl
Sheet vinyl comes in rolls, typically 6 or 12 feet wide. It is installed in one continuous piece (or minimal seams in large kitchens), which means there are very few joints where water can penetrate. Sheet vinyl is the most waterproof option and works especially well in kitchens with floor-level appliances and island units.
Best for: Maximum water protection, budget-conscious renovations, seamless appearance.
Luxury Vinyl Plank (LVP)
LVP mimics the look of hardwood with individual planks that click together. Rigid-core LVP (SPC or WPC) is the most popular kitchen choice because it resists dents from dropped cans and heavy appliances. See our dedicated LVP flooring guide for a deep dive.
Best for: Wood-look kitchens, DIY installation, modern and farmhouse styles.
Luxury Vinyl Tile (LVT)
LVT comes in square or rectangular tiles that replicate stone, concrete, or ceramic. In kitchens, LVT is ideal if you want a stone or tile aesthetic without the cold, hard surface. Many LVT ranges include matching grout strips for an authentic tiled look.
Best for: Stone and tile aesthetics, traditional kitchens, commercial-grade durability.
Peel-and-Stick Vinyl
Self-adhesive vinyl tiles or planks are the quickest and cheapest option. They work for temporary updates or rental kitchens but are less durable and less waterproof than click-lock or glue-down products because the adhesive can fail over time, especially in moist environments.
Best for: Temporary makeovers, rental properties, tight budgets.
What to Look for in Kitchen Vinyl
Wear Layer
The wear layer is the clear protective coating on top. For kitchens, choose a minimum 12-mil wear layer for light residential use, or 20 mil and above for busy family kitchens. Commercial-grade 28-mil products handle the heaviest traffic and resist scratches from pet claws and chair legs.
Core Type
Rigid-core vinyl (SPC or WPC) outperforms flexible vinyl in kitchens. SPC — stone polymer composite — is ultra-dense and resists dents from dropped objects. WPC — wood polymer composite — is slightly softer and quieter underfoot. Both work well; SPC is the more durable choice. Our SPC flooring guide explains the differences in detail.
Slip Resistance
Kitchen floors get wet. Look for products with textured surfaces and slip-resistance ratings of R10 or higher. Embossed wood-grain and stone textures naturally provide better grip than smooth, high-gloss finishes.
Dimensional Stability
Kitchens experience temperature swings — especially near ovens, dishwashers, and exterior doors. Rigid-core vinyl holds its shape better than flexible vinyl under thermal stress, making it the safer bet for kitchens with large windows or underfloor heating.
Popular Kitchen Vinyl Designs
Light Oak and Blonde Wood
Light wood tones brighten kitchens and make small spaces feel larger. They pair well with white or pastel cabinetry and stainless-steel appliances.
Grey Wood and Concrete
Grey tones create a modern, industrial vibe. Grey vinyl plank with a wire-brushed texture is one of the best-selling kitchen flooring designs in 2026.
White Marble and Carrara
Marble-look LVT delivers luxury at a fraction of the cost of real natural stone flooring. Veined white vinyl tiles with matching grout strips create a high-end kitchen aesthetic.
Warm Walnut and Hickory
Rich, dark wood tones add warmth and depth. They complement dark cabinetry and work beautifully in large, well-lit kitchens where the deep tones will not make the space feel cramped.
Encaustic and Patterned Tile
Patterned vinyl tiles inspired by encaustic cement tiles are trending for kitchen floors and backsplash areas. They add colour and personality without the high cost of handmade cement tiles.
Kitchen Vinyl Costs
Here is what you can expect to pay in 2026:
- Sheet vinyl: $1.00 to $4.00 per square foot for materials.
- LVP (click-lock): $2.50 to $6.50 per square foot.
- LVT (click-lock or glue-down): $3.00 to $7.00 per square foot.
- Peel-and-stick: $0.75 to $2.50 per square foot.
- Professional installation: $1.50 to $3.50 per square foot.
- Subfloor preparation: $0.50 to $2.00 per square foot if levelling or repairs are needed.
For an average 150-square-foot kitchen, total installed costs range from roughly $500 for budget sheet vinyl to $1,500 or more for premium rigid-core LVP with professional installation.
Installing Kitchen Vinyl: Key Steps
Step 1: Remove the Old Floor
Strip out the existing flooring and any old adhesive. If you have sheet vinyl that is in good condition and firmly bonded, you can install new vinyl over the top — just make sure the surface is smooth and level.
Step 2: Prepare the Subfloor
The subfloor must be clean, dry, and flat. Fill any dips or cracks with floor-levelling compound. Sand down high spots. For concrete subfloors, test moisture levels and apply a vapour barrier if needed.
Step 3: Acclimate the Vinyl
Leave the vinyl in the kitchen for 24 to 48 hours so it adjusts to the room’s temperature and humidity. Stack planks or tiles flat — do not stand them on edge.
Step 4: Plan the Layout
Dry-lay a few rows without locking them in place. Adjust the starting position so you avoid narrow slivers at the walls. In kitchens, many installers start from the most visible wall — usually the one you see when entering the room.
Step 5: Install
For click-lock products, engage the long side first, then press down on the short end. Work row by row, maintaining a 1/4-inch expansion gap around the perimeter, around islands, and around pipes. For sheet vinyl, roll the sheet out, trim to fit, and adhere with full-spread or perimeter adhesive.
Step 6: Finish
Install transition strips at doorways, replace baseboards or add quarter-round moulding to cover expansion gaps, and apply silicone caulk around any pipe penetrations for a watertight seal.
Maintaining Kitchen Vinyl
- Sweep daily to remove grit that can scratch the wear layer.
- Mop weekly with a damp microfibre mop and a vinyl-safe cleaner. Avoid ammonia, bleach, and abrasive products.
- Wipe up spills immediately — while the surface is waterproof, water can seep into expansion gaps and pooled liquids may leave residue.
- Use protective pads under heavy appliances like refrigerators and dishwashers to prevent denting.
- Place mats in front of the sink, stove, and entry points to catch drips and debris.
Kitchen Vinyl vs. Other Kitchen Flooring
Vinyl vs. Tile
Tile flooring is harder and more heat-resistant but colder underfoot and tougher on dropped dishes. Vinyl is warmer, softer, and far easier to install. Tile wins on longevity; vinyl wins on comfort and cost.
Vinyl vs. Hardwood
Hardwood brings natural beauty but hates water. Vinyl is the clear winner in moisture-prone kitchens. If you love the hardwood look, LVP gives you the aesthetic without the risk.
Vinyl vs. Laminate
Laminate is not fully waterproof — the HDF core can swell if water penetrates the seams. Vinyl’s waterproof core makes it the better kitchen choice, especially near sinks and dishwashers.
Vinyl vs. Epoxy
Epoxy flooring is seamless and highly durable but requires professional application and curing time. It suits commercial kitchens and garages but is less common in residential kitchens due to cost and aesthetic limitations.
Frequently Asked Questions
Is vinyl flooring safe for kitchens?
Yes. Modern vinyl flooring meets strict safety standards for VOC emissions and phthalate content. Look for products certified by FloorScore or Greenguard Gold for additional peace of mind.
Can I put vinyl flooring under kitchen cabinets?
Click-lock vinyl is a floating floor and should not be pinned down by cabinetry. Install cabinets first and float the vinyl up to them. Sheet vinyl and glue-down vinyl can go under cabinets since they do not need to expand.
How long does kitchen vinyl last?
Quality LVP and LVT last 15 to 25 years in a kitchen setting. Sheet vinyl typically lasts 10 to 20 years. Peel-and-stick may only last 5 to 10 years before adhesive failure.
Can I install kitchen vinyl over existing tile?
Yes, provided the tiles are firmly bonded and level. Deep grout lines should be filled with a levelling compound to prevent them from telegraphing through the vinyl.
Final Thoughts
Kitchen vinyl delivers a winning combination of waterproof durability, design flexibility, and budget-friendly pricing. Whether you prefer the warm look of wood planks, the elegance of marble tiles, or the character of patterned encaustics, there is a vinyl product that fits your kitchen perfectly. Focus on a rigid core, a robust wear layer, and proper installation — your kitchen floor will reward you with years of trouble-free performance.
Prefer to explore on your own?
See how new flooring looks in your actual room in seconds — free, no signup.
Try the free Floor Studio →