
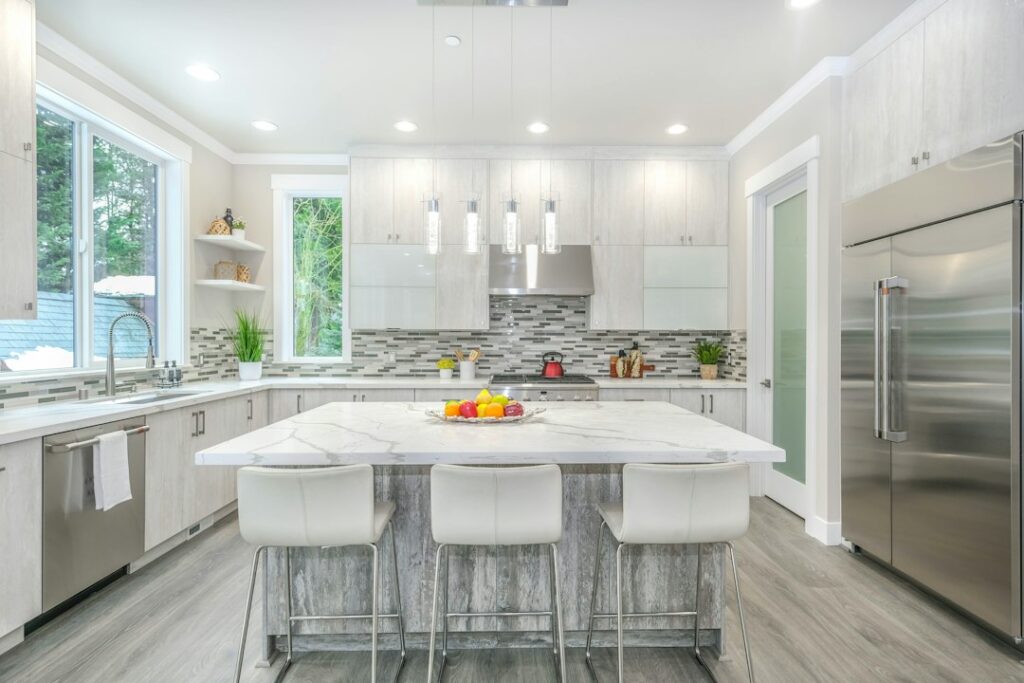
Most kitchens run out of cabinet space long before they run out of wall. The strip between the countertop and the upper cabinets, the end of a cabinet run, and the blank wall beside a doorway can hold utensils, pans, spices and knives if you use the right hardware. Good kitchen wall storage gets daily tools off the counter and within arm’s reach, and it frees drawers for the things you rarely touch.
Part of our Kitchen Remodeling guide — explore the full guide →
The difference between a wall system that works and one that sags is almost always the anchoring. A rail loaded with cast iron pans puts serious leverage on its screws. A shelf of dishes weighs more than most people expect. Mount into studs wherever possible, choose anchors rated well above the load, and treat tile with care.
- Kitchen Wall Storage Options Compared
- Kitchen Rail Systems
- Pegboard for Flexible Wall Storage in the Kitchen
- Magnetic Knife Strips and Metal Accessories
- Floating Shelves That Actually Stay Level
- Anchoring Into Studs, Drywall and Tile
- Step-by-Step: Installing a Kitchen Wall Rail
- Troubleshooting
- Typical Costs
- When to Call a Pro
- Frequently Asked Questions
Here is a practical look at rails, pegboard, magnetic strips and floating shelves, how to pick among them, and how to install each so it stays put for years.
Kitchen Wall Storage Options Compared
Each system has a best use. Many kitchens combine two or three for different zones.
| System | Best For | Load Capacity |
|---|---|---|
| Rail with S-hooks and baskets | Utensils, mugs, small pans, towels | Moderate, depends on anchoring |
| Pegboard panel | Pots, lids, tools, flexible layouts | Moderate to high when framed and screwed to studs |
| Magnetic knife strip | Knives, metal spice tins, scissors | Light |
| Floating shelves | Dishes, jars, cookbooks | High with hidden steel brackets in studs |
| Bracket shelves | Heavy stacks, open pantry | Highest |
Kitchen Rail Systems
A wall rail is a metal bar, often 24 to 48 inches long, mounted on end brackets. You hang S-hooks, small baskets, paper towel holders, spice shelves and cup hooks from it. Rails fit the backsplash zone neatly because they stay shallow, usually under 3 inches from the wall.
Mount rails about 15 to 18 inches above the countertop, roughly halfway between the counter and the upper cabinets. That height keeps hanging utensils clear of the counter while staying easy to reach. Allow room below any hanging pan so it does not knock against the backsplash or outlets.
For longer rails, add a center support bracket every 24 to 32 inches. A single long rail on two end brackets will flex under a few heavy pans, and flex loosens anchors over time.
Pegboard for Flexible Wall Storage in the Kitchen
Pegboard has moved out of the garage and into the kitchen because it lets you rearrange everything in seconds. Hardboard pegboard can be painted to match the room, while metal and wood panels offer a more finished look. Pegboard works well on a blank wall beside a range, inside a pantry, or at the end of an island.
The panel must stand off the wall so hooks can seat behind it. Mount it on furring strips (1×2 or 1×3 lumber) screwed into studs, or use purpose-made spacers. Leave at least 1/2 inch of space behind the panel. Frame the edges with trim for a clean look and extra stiffness.
- Use locking pegboard hooks or clips so hooks do not pop out when you lift a pan.
- Hang the heaviest items near a stud and at the lower half of the board.
- Seal hardboard pegboard with paint or a clear finish near the stove or sink, since raw hardboard swells with moisture.
- Keep pegboard at least a safe distance from open flame and follow the range manufacturer’s clearance guidance for combustibles.
Magnetic Knife Strips and Metal Accessories
A magnetic knife strip frees an entire drawer or countertop block. Strips from 12 to 24 inches hold most home knife collections. Wood-faced strips are gentler on edges than bare metal. Mount the strip high enough that blades clear the counter and away from where children can reach.
Install knives by placing the spine against the strip first, then rolling the blade flat. Pull them off the same way, tipping the spine away rather than sliding the edge across the magnet. This protects both the edge and your fingers.
Magnetic strips can also hold metal spice tins, scissors, bottle openers and measuring spoons. Some rails accept magnetic accessories too, which keeps a single rail doing double duty.
Floating Shelves That Actually Stay Level
Floating shelves are the most popular form of wall storage in the kitchen right now, and also the most likely to sag if installed carelessly. The hidden bracket, usually a steel plate with rods that slide into holes in the back of the shelf, must be screwed into studs. Drywall anchors alone will not hold a shelf of plates or glass jars for long.
For shelves deeper than about 10 inches or longer than 36 inches, choose heavy-duty brackets with rods at least 3/8 inch thick and screw into at least two studs. Solid wood or a hollow box with a solid core works better than particleboard, which can crush around the rods.
Plan shelf spacing around what you will store. Everyday dinner plates need about 12 inches of clearance. Glasses and mugs need 7 to 9 inches. Leave at least 18 inches between the countertop and the lowest shelf so small appliances fit beneath.
Anchoring Into Studs, Drywall and Tile
Where you drill determines how much weight the system can hold. Good kitchen wall storage starts with finding framing.
Studs
Studs are usually 16 inches apart, sometimes 24. Use a stud finder, then confirm with a thin finish nail in a spot that will be covered. Wood screws at least 2-1/2 inches long give strong holding power through 1/2 inch drywall into the stud.
Drywall Only
When a stud is not available, use toggle bolts or heavy-duty self-drilling anchors rated for more than the expected load. Treat the rating as the maximum under ideal conditions and plan to load less than half of it. Plastic expansion anchors are fine for a knife strip or a light spice rack but not for pots.
Tile Backsplash
Drilling tile is doable but requires care. Use a carbide or diamond tile bit, start with a small pilot, and keep the drill at low speed without hammer mode. A piece of painter’s tape over the spot keeps the bit from wandering. Drill through the grout line when you can, since grout is easier to repair than a cracked tile. Keep the bit wet when drilling porcelain or stone to reduce heat and dust, wear eye protection, and wear a dust mask. Seal around screws with clear silicone so water does not get behind the tile.
Watch for Hidden Utilities
Kitchen walls often hide plumbing supply lines, drain vents and electrical cable. Avoid drilling directly above or below outlets and switches, and stay clear of the area behind the sink. A stud finder with a wire-detection mode helps, but it is not perfect. If you are unsure what is inside a wall, drill a small exploratory hole in a safe spot first or ask a pro.
Step-by-Step: Installing a Kitchen Wall Rail
- Plan the layout. Hold the rail up with painter’s tape and hang a few items to confirm height and length.
- Locate studs. Mark stud centers with pencil. Try to land at least one bracket on a stud.
- Mark bracket holes. Use a level to keep the line straight across the full length.
- Drill pilots. Use the correct bit for wood studs, drywall anchors or tile.
- Install anchors where needed. Set toggle bolts or heavy anchors wherever a bracket misses a stud.
- Mount brackets and rail. Snug the screws without over-tightening, which can crack tile or crush drywall.
- Load gradually. Add hooks and items, then check for movement after a day of use.
Troubleshooting
Shelf tilts forward. The bracket is not tight to the wall or the drywall is compressing. Add shims behind the bracket or remount with longer screws into studs.
Rail pulls away from the wall. Anchors are underrated or the rail is too long between supports. Add a center bracket and switch to toggle bolts.
Knives slip on the magnetic strip. The strip is too weak for heavier knives. Choose a strip with stronger magnets or wider coverage.
Grease buildup near the range. Wipe rails and shelves weekly with warm soapy water. Store items you use less often away from the stove.
Typical Costs
A basic wall rail kit with hooks usually costs in the tens of dollars, while longer or heavier stainless systems cost more. Pegboard panels and furring strips for a small wall generally run under a hundred dollars. Magnetic knife strips range from inexpensive metal bars to higher-priced wood-faced versions. Floating shelves vary the most, from budget sets to custom solid wood pieces costing a few hundred dollars each. A handyman installation typically adds a modest hourly fee for a few hours of work.
When to Call a Pro
Call a handyman or carpenter when you plan to load heavy items, when studs do not fall where you need them and blocking must be added, or when drilling through expensive stone or glass tile. If moving an outlet or adding under-shelf lighting is part of the plan, that work belongs to a licensed electrician. A pro can also open drywall, install solid wood blocking between studs, and patch it so floating shelves carry full loads without sagging.
Frequently Asked Questions
How high should a kitchen wall rail be mounted?
Most rails sit about 15 to 18 inches above the countertop. Adjust higher if you plan to hang long utensils or pans so they clear the counter.
Can floating shelves hold dishes?
Yes, when heavy-duty hidden brackets are screwed into studs and the shelf is solid wood. Drywall anchors alone are not enough for stacks of plates.
Is pegboard a good idea in a kitchen?
Pegboard works well for pots, lids and utensils. Seal hardboard pegboard near moisture, mount it on furring strips so hooks fit, and use locking hooks.
Can I drill into a tile backsplash to mount storage?
Yes, with a carbide or diamond tile bit at low speed and no hammer mode. Drill through grout lines when possible and seal around screws with silicone.
What is the best wall storage for a small kitchen?
A backsplash rail combined with a magnetic knife strip is a strong starting point. Add a floating shelf above for everyday dishes to free a whole cabinet.


