Ask any flooring installer what turns a slow, dusty laminate job into a fast, clean one, and many will point straight to a good laminate cutter tool. A quality laminate cutter tool slices through planks with a single lever pull, no cord, no blade guard, and best of all, almost no dust, which matters a lot when you are working inside a finished room. This guide covers how these guillotine-style cutters work, what specs to look for, top picks across budgets, and when a miter saw or jigsaw still beats a manual cutter.
A laminate cutter, sometimes called a flooring guillotine or shear, works like a heavy-duty paper cutter. You slide a plank onto the base, line up your mark, and pull the handle down to drive a hardened blade cleanly through the board. Because it shears rather than grinds, it produces no airborne dust and almost no noise, so you can cut inside without a mask, ear protection, or a shop vac running.
Why Use a Laminate Cutter Tool
The biggest advantage is dust control. A miter saw throws fine laminate particles across the room and coats everything nearby, while a shear cut leaves nothing but a clean edge and a couple of chips on the floor. That alone makes cleanup faster on a job in an occupied home.
Speed is the second win. There is no blade to spin up, no extension cord to manage, and no hearing protection to fumble with. You can make a straight crosscut in two seconds and immediately click the plank into place. For a room full of straight cuts, a laminate cutter tool easily outpaces a saw once you factor in setup and cleanup.
Key Specs to Compare
Not all cutters handle the same work, so check these numbers before you buy.
- Cutting width: most cutters handle 7 to 13 inches, which covers standard laminate and vinyl planks. Wider models accept 12-inch tiles and wide planks.
- Cutting thickness: confirm the tool handles your plank thickness, typically up to 1/2 inch (12mm) for laminate. Thicker engineered products may need a beefier model.
- Blade material: hardened, replaceable carbon or alloy steel blades stay sharp longer and can be swapped when they dull.
- Angle guide: models with an adjustable fence let you make 45-degree miter cuts for transitions and corners, not just straight crosscuts.
- Weight and handle length: a longer handle multiplies leverage, making thick planks easier to shear. Heavier bases stay put during the cut.
One limitation to know upfront: most manual cutters make crosscuts and miters but cannot rip a plank lengthwise or cut curves and notches. For those, you will still reach for a jigsaw or table saw.
Top Picks by Budget
Prices for a laminate cutter tool generally run from about $40 for a basic homeowner model to $150 or more for a heavy-duty contractor unit. Here is how the tiers break down.
Budget: Around $40 to $70
Entry-level cutters from brands like Roberts and Bullet Tools’ lighter models handle standard laminate up to about 7 to 8 inches wide and 1/2 inch thick. They are ideal for a single-room DIY project where you are making maybe 40 to 60 cuts. The trade-off is a shorter handle and lighter base, so very thick or dense planks take more muscle.
Mid-Range: Around $80 to $120
Step up and you get wider capacity, usually 9 to 13 inches, plus an angle guide for miter cuts and a sturdier base. This tier suits a whole-house project or a DIYer who wants a tool that will not fight back on dense luxury laminate. The extra cutting width also lets you handle wide planks and many vinyl products.
Contractor Grade: $130 and Up
Heavy-duty shears like the larger Bullet Tools Magnum models are built for daily job-site abuse. They cut wider material, up to 13 inches, shear through vinyl and engineered planks with less effort thanks to long handles, and hold up over thousands of cuts. If flooring is your business, the cleaner cuts and durability pay for themselves quickly.
How to Get Clean Cuts
Even the best laminate cutter tool needs good technique. Always cut with the finished, decorative side facing up so any minor chipping happens on the underside where it will not show. Mark your cut line clearly with a pencil and a speed square, then align the blade precisely before committing.
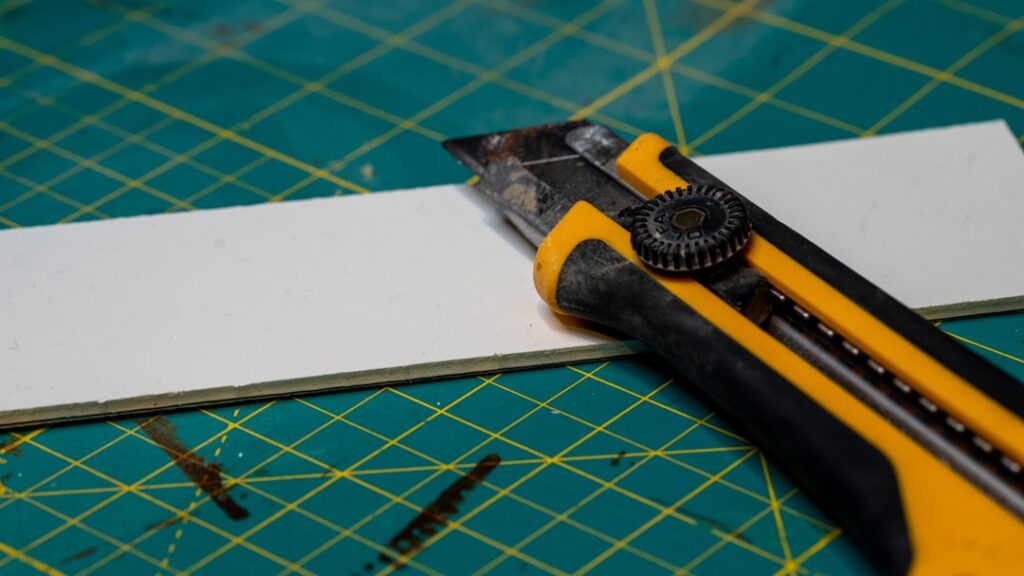
Pull the handle in one smooth, firm motion rather than sawing back and forth. Hesitating mid-cut can leave a ragged edge on dense boards. If you notice chipping on premium planks with a hard wear layer, score the surface lightly first with a utility knife along your line, then shear. Keep the blade clean and replace it once cuts start requiring noticeably more force, usually a sign the edge has dulled.
When a Saw Beats a Laminate Cutter
A manual cutter is not the answer for every cut. You will still want power tools for a few situations, so keep them in the kit.
- Rip cuts: trimming a plank lengthwise to fit the final row against a wall calls for a table saw or a circular saw with a guide.
- Notches and curves: cutting around door jambs, pipes, and floor vents requires a jigsaw.
- Very dense or thick material: some thick engineered planks and certain tile-look products exceed a manual cutter’s comfortable range.
Most installers run both. The laminate cutter handles the fast, high-volume straight and miter cuts inside the room, while a jigsaw and a saw stationed in the garage tackle the tricky profiles. That combination keeps dust and noise out of the living space while still covering every cut a real floor demands.
Caring for Your Cutter and Blade
A laminate cutter tool is a simple machine, but a little upkeep keeps it slicing cleanly for years. After a long day of cuts, wipe the blade and base free of laminate chips and dust so nothing builds up around the pivot. A drop of light machine oil on the hinge point every so often keeps the lever action smooth and reduces the effort each pull demands.
Blades are consumable. A hardened steel blade will make thousands of cuts, but once you notice the edge crushing rather than shearing the plank, or leaving a fuzzy, chipped edge, it is time to replace it. Most quality cutters use a bolt-on blade you can swap in a couple of minutes with a wrench, and replacement blades typically run $15 to $30. Keeping a spare on hand means a dull edge never stalls your install.
Common Mistakes to Avoid
The fastest way to ruin good planks is rushing the setup. Take a beat to confirm your measurement and blade alignment before every cut, because a shear cut is instant and unforgiving once the handle drops. Cutting with the decorative side down is another frequent error that puts any chipping right where it shows.
- Do not force a plank that is thicker or denser than your cutter’s rating, since that strains the blade and produces ragged edges.
- Avoid stopping mid-pull; hesitation leaves a stepped or torn edge on hard wear layers.
- Keep fingers well clear of the blade path, and let the tool’s weight and your leverage do the work rather than slamming the handle.
Final Buying Advice
For a one-room weekend project, a $50 to $70 laminate cutter tool is plenty and will pay for itself in dust-free convenience and saved cleanup time. For a whole house or a floor of dense luxury laminate, spend up to the mid-range or contractor tier for the wider capacity, miter guide, and easier shearing. Match the tool’s cutting width and thickness to your specific planks, keep a spare blade on hand, and pair it with a jigsaw for the odd notch. Do that, and a good laminate cutter tool will make the cutting the easiest part of your entire flooring install.
Prefer to explore on your own?
See how new flooring looks in your actual room in seconds — free, no signup.
Try the free Floor Studio →