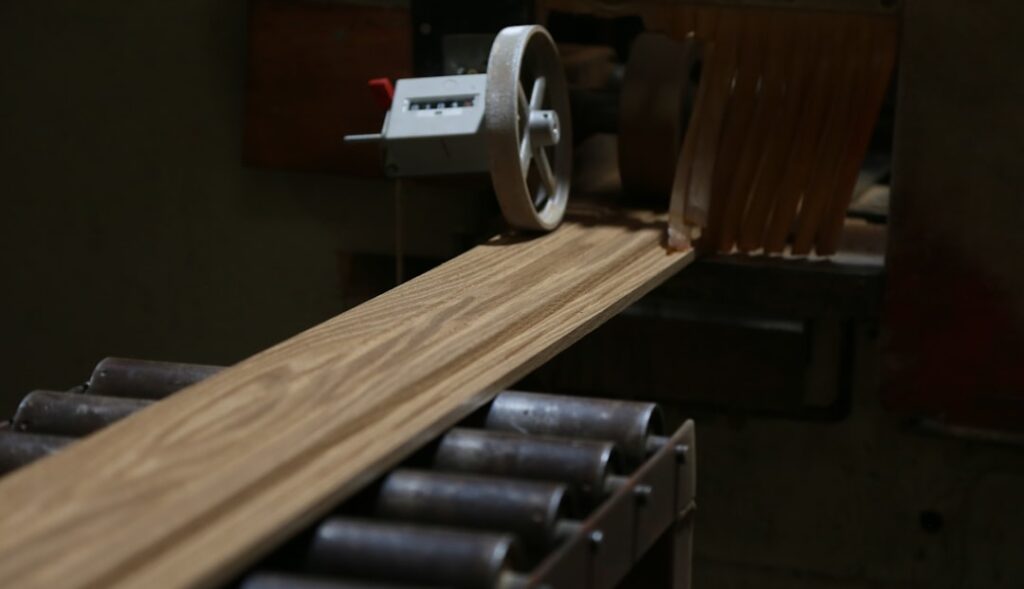
A gorgeous laminate floor can be ruined by five feet of the wrong trim. Laminate molding is the collection of transition and finishing pieces that cap edges, bridge doorways, and hide the expansion gaps a floating floor absolutely must have. Homeowners obsess over plank color and then grab whatever trim is left on the shelf, and it shows. Get the moldings right and the room looks factory-finished; get them wrong and every doorway announces the mistake.
This guide breaks down each type of laminate molding, exactly where it belongs, how the expansion gap dictates your choices, and the two main ways to install it. I’ll give you real costs and the short tool list so you can finish the job without a second trip to the store.
- Why Laminate Molding Exists in the First Place
- T-Molding: Bridging Two Equal Floors
- Reducer: Stepping Down to a Thinner Floor
- End Cap and Threshold: Finishing Against Fixed Surfaces
- Stair Nose: The Molding That Handles Steps
- Quarter Round and Base Shoe: Covering the Wall Gap
- Matching Color and Buying the Right Amount
- Installation Methods: Track System vs Adhesive
- Tools and Final Tips
Why Laminate Molding Exists in the First Place
Laminate is a floating floor. It isn’t glued or nailed down; it expands and contracts with temperature and humidity, sometimes moving 1/4 inch or more across a large room. That’s why installers leave a 1/4- to 3/8-inch expansion gap around every wall, doorway, and fixed object. Molding covers those gaps while still letting the floor move underneath.
The second job is transition. Where laminate meets tile, carpet, a doorway, or the top of a stair, you need a piece that bridges different heights and materials cleanly. Skip these and you get exposed core edges that chip, catch toes, and let moisture creep in. Every molding below solves one of those two problems.
T-Molding: Bridging Two Equal Floors
T-molding is named for its cross-section, a capital T that drops a spine into a gap and caps it with a flat top. Use it where laminate meets another hard floor of the same height, most often in a doorway between two laminate rooms or where laminate transitions to tile of equal thickness.
The critical rule: T-molding is also an expansion joint. On any run longer than about 30 feet in one direction, or through every doorway, you should break the floor with a T-molding so the two sections can move independently. Butting one huge floor wall to wall invites buckling. A single T-molding strip runs roughly $15-$30 for a 6- to 8-foot length.
Reducer: Stepping Down to a Thinner Floor
A reducer, sometimes called a reducer strip, has a sloped profile that ramps from the height of the laminate down to a lower surface. Reach for it where laminate meets a thinner floor: vinyl, low-pile carpet, or a thinner tile. The gentle slope prevents a trip hazard and gives the exposed laminate edge a finished cap.
Reducers also appear at the edge of a floor that meets a sliding door track or a low threshold. Match the reducer to your plank color so the transition disappears. Expect $15-$35 per strip depending on length and whether it’s a matched-decor piece.
End Cap and Threshold: Finishing Against Fixed Surfaces
An end cap, also called a square nose or universal threshold, finishes the floor where it meets a vertical or immovable surface. Think sliding-glass-door tracks, exterior thresholds, fireplace hearths, or the edge of a raised tile entry. It has a squared-off profile that butts up against the obstacle and covers the expansion gap on that one exposed edge.
Thresholds specifically span the bottom of a doorway to an exterior door or a non-laminate room. Because these pieces sit at entry points, buy the sturdiest profile available; the thin decorative ones dent under door-sweep traffic. Budget $18-$40 for a quality end cap or threshold.
Stair Nose: The Molding That Handles Steps
Stair nose (or stair nosing) is the most structural piece in the family. It wraps the front edge of a step, giving a rounded, durable bullnose over the exposed laminate and the tread edge. On any laminate staircase this piece is non-negotiable; a plain plank edge on a stair will chip and delaminate within months of foot traffic.
Stair nose must be securely fastened, not floated, because it takes direct impact and weight. Most installers glue and screw it, then plug or cap the fastener holes. Stair nosing is the priciest molding, typically $25-$60 per piece, and you’ll need one for every step, so factor that into a staircase budget early.
Quarter Round and Base Shoe: Covering the Wall Gap
Along the walls, that 1/4-inch expansion gap is usually hidden two ways. Quarter round is a 90-degree profile with a rounded face that tucks into the joint between the floor and the baseboard. Base shoe is a slimmer, taller cousin that does the same job with a lower profile. Either one nails to the baseboard, never to the floor, so the laminate can still move freely underneath.
That last point trips up beginners constantly. If you nail quarter round or base shoe down into the laminate, you pin the floating floor and it will buckle. Always drive the finish nails at an angle into the baseboard or wall. Quarter round runs $0.75-$2.50 per linear foot; matched-color laminate quarter round sits at the top of that range.
Matching Color and Buying the Right Amount
The fastest way to make trim look cheap is a color mismatch. Most laminate brands, including Pergo, Quick-Step, and Mohawk, sell moldings finished with the exact decor film of their plank lines. Buy your laminate molding from the same manufacturer and collection whenever possible, and buy it at the same time as the flooring so the dye lots match.
When an exact match isn’t available, a flexible print-to-match or paintable MDF molding is the fallback. Measure every doorway, stair, and wall run, then add 10 percent for cuts and mistakes. A typical three-bedroom install needs several T-moldings, a couple of reducers, one threshold per exterior door, and quarter round for the full wall perimeter, so the trim bill adds up faster than people expect, often $150-$400 for a whole floor.
Installation Methods: Track System vs Adhesive
There are two dominant ways to install laminate molding, and knowing which your product uses saves headaches.
Track (channel) system
Many modern moldings, especially T-moldings and reducers, use a metal or plastic track. You screw the track to the subfloor inside the expansion gap, then snap the finished molding down into it. The advantage: the molding is removable for repairs and it never touches the floating floor, so movement is preserved. Just make sure the track screws hit the subfloor, not the laminate.
Adhesive and mechanical fastening
The other method uses construction adhesive or polyurethane glue, sometimes combined with finish nails. This is standard for stair nose (glued and screwed for strength) and for quarter round (nailed to the baseboard). Use a quality flooring adhesive or a bead of Loctite PL construction adhesive, clamp or weight the piece until it sets, and wipe squeeze-out immediately.
Tools and Final Tips
You don’t need a big kit. A miter saw or a fine-tooth hand saw with a miter box handles the 45-degree corners on quarter round. A tape measure, a utility knife, a rubber mallet, a drill for track screws, a finish nailer or hammer and nail set, and a caulk gun for adhesive cover almost every job. A jigsaw helps for scribing around irregular door casings.
Two habits separate clean jobs from sloppy ones: always undercut door casings so molding slips neatly beneath them, and always dry-fit each piece before committing glue or screws. Done right, the correct laminate molding makes a floating floor look permanently, professionally installed, while quietly doing the crucial work of hiding the expansion gaps that keep your laminate from buckling. Spend the extra hour matching color and profile, and the difference will be visible in every doorway for as long as you own the floor.
Prefer to explore on your own?
See how new flooring looks in your actual room in seconds — free, no signup.
Try the free Floor Studio →