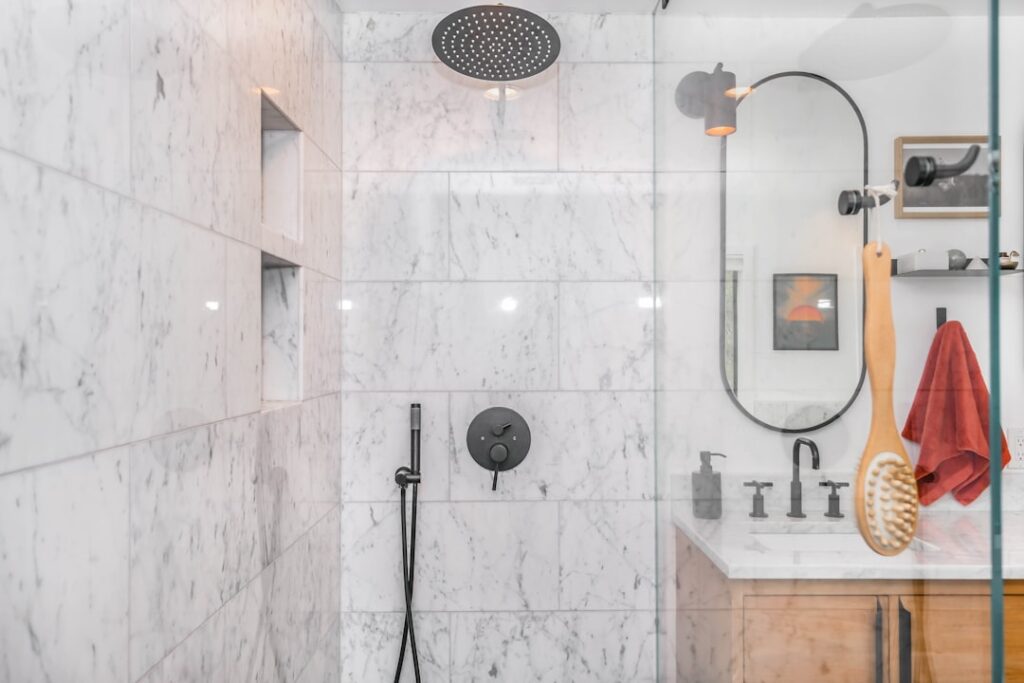
Laminate shower walls are large, panelized wall surfaces designed to line a shower or tub enclosure with far fewer seams than traditional tile, giving you a smooth, waterproof, easy-to-clean look without the maze of grout lines. Marketed under various names such as laminate, high-pressure laminate, or solid waterproof wall panels, laminate shower walls have become a popular choice for homeowners who want the appearance of stone or tile with simpler installation and less ongoing maintenance.
This guide explains what these panels are, the types available, their pros and cons, how installation typically works, and how to keep them looking new. It also flags where caution matters, because not every panel marketed for walls is rated for constant wet exposure.
What Laminate Shower Wall Panels Are
Shower wall panels are large sheets, often several feet wide and running floor to ceiling, that attach to the wall behind your shower. They are engineered to shed water and resist moisture, replacing the dozens or hundreds of small pieces a tiled wall requires. Because the panels are big, a typical enclosure needs only a few of them, which dramatically reduces seams.
The term laminate is used loosely in this category. Some panels are high-pressure laminate bonded to a waterproof substrate, while others are PVC, acrylic, or composite sheets with a printed decorative surface sealed under a protective layer. The common thread is a continuous, low-maintenance face designed for wet areas. Always confirm a panel is specifically rated for shower or wet-wall use before buying.
Common Types of Shower Wall Panels
Several materials fall under the wall-panel umbrella, and each behaves a little differently.
- High-pressure laminate panels: Decorative laminate over a moisture-resistant core, offering a wide range of stone and tile looks with a hard surface.
- PVC and vinyl panels: Lightweight, fully waterproof plastic sheets that are budget-friendly and simple to cut and install.
- Acrylic panels: Glossy, durable, and common in tub-and-shower surround kits, with strong water resistance.
- Composite and SPC-style panels: Rigid core panels with a printed and sealed surface, valued for their solid feel and realistic finishes.
For a true shower environment with constant water contact, panels explicitly labeled as waterproof shower wall products are the safe choice. Standard interior laminate made for furniture or countertops is not built to live in a shower.
Pros of Laminate Shower Walls
Homeowners gravitate to panels for several practical reasons.
- Fewer grout lines: The biggest draw. With minimal seams, there is little to no grout to scrub, stain, or reseal.
- Faster installation: Large panels cover walls quickly, often turning a multi-day tile job into a much shorter project.
- Easy cleaning: Smooth surfaces wipe down fast and resist soap scum and mildew better than grouted tile.
- Waterproof surface: Rated panels shed water across their face, helping protect the wall behind them when installed correctly.
- Design variety: Available in marble, stone, subway, and solid-color looks to suit many bathrooms.
For busy households tired of grout maintenance, that combination is hard to ignore.
Cons and Limitations
Panels are not a perfect fit for every project, and it helps to know the trade-offs before committing.
- Seam reliance on sealant: Where panels meet each other, the floor, and fixtures, watertight performance depends on properly applied sealant that must be maintained over time.
- Repair challenges: A damaged panel often means replacing a whole sheet rather than a single tile.
- Appearance: Some homeowners prefer the depth and resale appeal of real tile or stone.
- Quality range: Cheaper plastic panels can look and feel less premium and may flex or discolor over time.
- Heat and impact sensitivity: Certain panels can be scratched or affected by very high heat, depending on the material.
Reading the product rating and warranty before purchase prevents disappointment down the road.
How Installation Typically Works
While methods vary by manufacturer, the general process follows a predictable sequence. Always follow the specific instructions for your panel system, since adhesives, trims, and substrate requirements differ.
- Prepare the wall. The substrate must be clean, dry, flat, and suitable for wet areas, often a moisture-resistant or waterproof backer board.
- Measure and cut. Panels are measured and cut to fit walls, corners, and around fixtures using the recommended blade or tool.
- Apply adhesive. A manufacturer-approved waterproof adhesive is spread on the back of each panel.
- Set the panels. Panels are pressed into place, leveled, and held until the adhesive grabs.
- Seal the seams. Joints, corners, edges, and connections to the tub or shower base are sealed with the specified waterproof sealant and trim pieces.
- Reinstall fixtures. Faucets, valves, and trim are fitted and sealed where they penetrate the panels.
Because watertight seams are the heart of a leak-free shower, many homeowners hire a qualified installer, especially for full enclosures where a hidden leak could damage the wall structure. If you do it yourself, do not skip the waterproof backer and proper sealing.
Cleaning and Maintenance
Daily care could not be much simpler. Wipe panels down with a soft cloth or squeegee after showers to keep water spots and soap scum from building up. For routine cleaning, use a non-abrasive cleaner and a soft sponge, since scouring pads and harsh chemicals can dull or scratch some finishes.
The key long-term task is watching the sealed seams. Inspect the silicone or sealant along corners, edges, and the base periodically, and reseal any spots that crack, peel, or pull away. Catching a failing seam early is the difference between a quick recaulk and a costly hidden leak.
Is It the Right Choice for You?
Laminate and waterproof wall panels make the most sense if you value low maintenance, want a faster installation, and like a clean, seamless look. Tile remains the better pick if you want maximum design flexibility, the highest-end appearance, or the resale cachet that classic tile and stone carry in many markets.
Whatever you choose, buy a product specifically rated for shower walls, prepare a proper waterproof substrate, and treat the sealed seams as ongoing maintenance. Done right, panels deliver a handsome, grout-free shower that stays easy to clean for many years. When in doubt about waterproofing the enclosure, consult a professional rather than risk a leak behind the wall.
Prefer to explore on your own?
See how new flooring looks in your actual room in seconds — free, no signup.
Try the free Floor Studio →