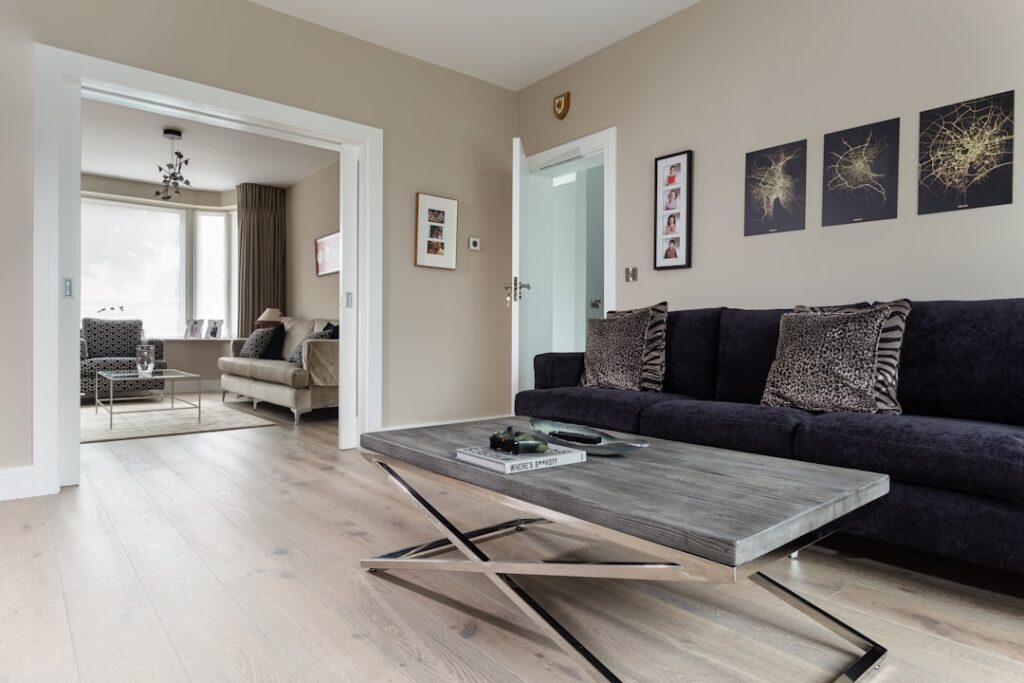
Walking into a hotel lobby with what looks like rustic oak planks running floor to ceiling, you would assume real wood. Nine times out of ten, it is laminate. A laminate wall delivers the visual depth of hardwood at $2 to $5 per square foot installed materials cost, holds up to humidity better than solid plank, and goes up in a weekend with a finish nailer and a chop saw. Whether you are covering a single accent wall behind the bed or wrapping a basement rec room, the same product that goes on floors works vertically with a few adjustments.
Why Laminate Works on Walls
Laminate flooring is engineered with a melamine-impregnated decorative layer fused to a high-density fiberboard core. That HDF core is dimensionally stable at the 30 to 50 percent relative humidity range most US homes maintain, so vertical installations rarely show the gapping you see with shiplap or tongue-and-groove pine. Pergo, Mohawk RevWood, and Shaw Repel all carry AC3 or AC4 abrasion ratings, which is overkill for a wall but means the surface laughs off scuffs from furniture, vacuum cleaners, and dogs.
Cost runs $1.49 to $4.99 per square foot at Lowe’s and Home Depot, with mid-grade Pergo Outlast averaging $3.29. Compare that to genuine 1×6 shiplap pine at $3.50 to $5 per square foot plus stain and sealer, and laminate costs less while delivering a finished surface out of the box.
Best Rooms for a Laminate Feature Wall
Bedrooms and living rooms are the easy wins. The headboard wall gets the most design impact for the least square footage, usually 60 to 100 square feet of material. Home offices behind a desk read as expensive without breaking budget. I have done basement family rooms with full four-wall wraps that turned a builder-grade box into a den that feels like a library.
Bathrooms and kitchens get trickier. Laminate handles ambient humidity but not direct water, so keep it 36 inches off any tub, shower, or sink. The manufacturer warranty voids if you install over a wet wall, and the HDF core swells permanently once it absorbs water.
Materials and Tools You Will Need
- Laminate planks, 10 percent overage for cuts
- Construction adhesive (Loctite PL Premium or Liquid Nails Heavy Duty) at $5 per tube, one tube per 25 square feet
- 18-gauge brad nailer with 1-1/4 inch nails
- Miter saw with a 60 to 80-tooth fine-finish blade
- 4-foot level and a chalk line
- Stud finder and painter’s tape
- Pry bar and tapping block
Total tool investment, if you are starting from zero, runs about $250 for a Ryobi airstrike brad nailer combo and a basic miter saw. Rent the miter for $40 a day if you are doing one project.
Step-by-Step Installation
Start by acclimating the planks in the room for 48 hours. Stack them flat with spacers between rows so air moves around each plank. Drop the temperature and humidity to whatever the room runs year-round.
- Snap a level chalk line at the bottom of your installation area. Walls are never plumb, so do not trust the baseboard.
- Locate studs and mark them on the ceiling and floor with tape.
- Run a 1/4-inch bead of construction adhesive in a zigzag across the back of the first plank.
- Press the plank against the wall along your chalk line and shoot two brad nails into each stud the plank crosses, angling slightly downward.
- Click the next plank into the long edge, repeat the adhesive and nails. Stagger end joints by at least 12 inches between rows.
- Cut around outlets with a jigsaw, leaving 1/8 inch clearance on each side.
- Finish the top course with a rip cut on the table saw if needed, then cap with quarter-round or leave the natural edge depending on ceiling style.
A confident DIYer covers 80 to 100 square feet per day. Pro installers charge $3 to $6 per square foot labor, so an accent wall runs $300 to $700 turnkey including materials.
Brand Spotlight: Pergo Outlast Plus
If I had to pick one product for a first-time laminate wall project, it is Pergo Outlast Plus in the Vintage Pewter Oak colorway. The 12mm thickness gives the plank enough weight to feel substantial without becoming hard to handle vertically. Pergo’s SpillProtect24 sealed edges keep ambient kitchen moisture out, and the embossed-in-register texture catches light at angles that flat-printed cheap laminate cannot replicate. Retails at $3.29 per square foot at Home Depot, available in 18 wood-look colors.
Design Patterns That Actually Look Custom
Standard horizontal install reads as a basic wood wall. To push past that:
- Vertical install stretches ceiling height visually. Best in rooms under 9 feet.
- Herringbone using shorter planks (24 to 36 inch lengths) reads as high-end paneling. Plan for 15 percent waste.
- Chevron requires miter cuts at each end but turns a flat wall into a focal piece.
- Mixed widths alternating 5-inch and 7-inch planks adds visual texture cheaply.
Common Mistakes to Avoid
Skipping acclimation causes planks to push against each other and bow off the wall in week three. Nailing without adhesive leaves hollow spots that creak when the HVAC cycles. Running planks tight to side walls or ceilings without expansion gaps causes buckling in summer. Always leave 1/8 inch around the perimeter, hidden under trim.
Maintenance and Long-Term Wear
A laminate wall needs almost nothing. Dust with a microfiber once a month. Wipe smudges with a damp cloth and a drop of dish soap. Avoid steam mops and oil soaps like Murphy’s, which dull the melamine finish over time. Expect 20 to 30 years of service life with zero refinishing, which is the kind of math that makes laminate hard to beat for accent walls on a budget.
Prefer to explore on your own?
See how new flooring looks in your actual room in seconds — free, no signup.
Try the free Floor Studio →