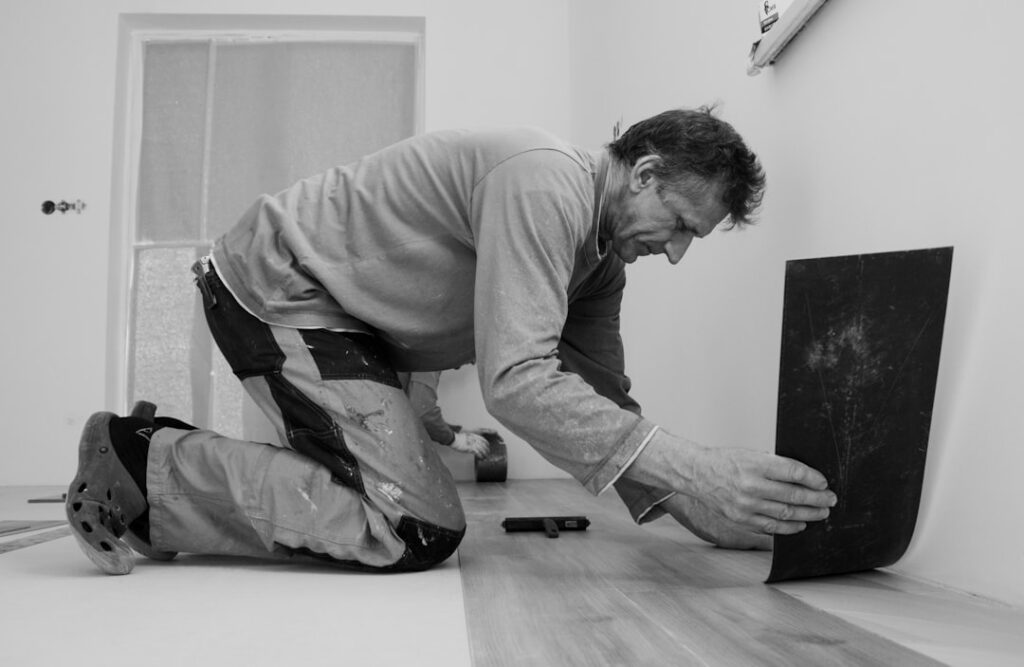
Concrete slabs and vinyl flooring are a natural match, one is rock-solid and moisture-prone, the other is waterproof and forgiving. Laying vinyl flooring on concrete is one of the most beginner-friendly flooring projects you can tackle, whether you are finishing a basement, updating a slab-on-grade living room, or covering a bare garage-conversion floor. Get the prep right and the actual installation is fast and satisfying.
- Why Vinyl and Concrete Work Together
- Test the Concrete for Moisture First
- Prep and Level the Slab
- Choose Your Vinyl Type and Installation Method
- Handle Underlayment Correctly
- Install the Vinyl Flooring
- Tools and Materials You Will Need
- Common Mistakes to Avoid
- How Long Does the Project Take?
- Final Tips for a Lasting Floor
The catch is that concrete hides two big challenges: moisture and unevenness. Skip the testing and leveling and even the best vinyl will telegraph flaws or trap dampness underneath. This guide walks through the entire process, from checking the slab to snapping the last plank, so your floor lasts.
Why Vinyl and Concrete Work Together
Vinyl is the go-to choice over concrete because it is waterproof, dimensionally stable, and comfortable underfoot compared to bare slab. Rigid-core SPC and WPC luxury vinyl planks in particular tolerate the temperature swings and minor moisture common in basements and ground-level slabs far better than solid hardwood or laminate, which can swell and warp.
Concrete also gives vinyl the flat, hard base it needs. Once you address moisture and level out any dips or high spots, the slab becomes an ideal foundation for a floating floor or a glue-down installation that will stay put for years.
Test the Concrete for Moisture First
This step is non-negotiable. Concrete wicks moisture from the ground, and trapped vapor under vinyl can cause adhesive failure, mold, and cupping. Test before you buy anything.
The Plastic Sheet Test
Tape a 2-by-2-foot square of plastic sheeting tightly to the slab and leave it 24 to 72 hours. Condensation or a darkened slab underneath signals a moisture problem that needs addressing.
Calcium Chloride and RH Testing
For a reliable reading, use a calcium chloride kit to measure moisture vapor emission or an in-slab relative humidity probe. Most vinyl manufacturers specify limits, often around 3 pounds per 1,000 square feet per 24 hours or under 75 to 80 percent RH. Check your product’s spec sheet and honor its numbers to keep the warranty valid.
If moisture runs high, install a vapor barrier or a moisture-mitigation coating before flooring. Many rigid-core vinyls with attached pads still call for a 6-mil poly sheet over slabs below grade.
Prep and Level the Slab
A flat, clean surface makes or breaks the finished floor. Start by clearing everything off the slab and giving it a thorough clean.
- Scrape and sweep: Remove old adhesive, paint, drywall mud, and debris. Grind down any lumps.
- Check flatness: Lay a straightedge or level across the floor. Most vinyl requires the slab to be flat within 3/16 inch over a 10-foot span.
- Fill and level: Patch cracks and low spots with a cementitious patch, and use self-leveling compound for larger dips. Grind high spots down.
- Clean again: Vacuum thoroughly so no grit sits between the vinyl and slab.
Take flatness seriously. Floating vinyl planks flex over hollows and can crack at the locking joints, while glue-down vinyl reveals every bump and low spot in raking light.
Choose Your Vinyl Type and Installation Method
Different vinyl products install differently over concrete, and picking the right pairing matters.
- Rigid-core click-lock (SPC/WPC): Floats over the slab with a click-together system. Most forgiving and popular for DIY basements.
- Glue-down luxury vinyl plank: Adhered directly to the slab with trowel-applied adhesive. Extremely stable and good for large or high-traffic areas, but demands a near-perfect flat slab.
- Loose-lay vinyl: Heavy planks held by friction and perimeter adhesive, easy to lift and replace.
- Sheet vinyl: Rolled goods glued or loose-laid, seamless and highly water-resistant for bathrooms and laundries.
For most homeowners laying vinyl flooring on concrete themselves, a rigid-core floating floor with a moisture barrier is the simplest, most reliable route.
Handle Underlayment Correctly
Underlayment over concrete serves two roles: moisture protection and cushioning. If your planks have an attached pad, do not add a second foam underlayment, which creates too much give and stresses the locking joints. Instead, roll out a 6-mil polyethylene vapor barrier, overlapping seams by 6 to 8 inches and taping them, then run it a few inches up the walls to be trimmed later.
For planks without an attached pad, use a combination vapor-barrier-plus-foam underlayment rated for concrete. Glue-down installs skip the pad entirely and often rely on a moisture-mitigation primer or the adhesive’s own vapor resistance instead.
Install the Vinyl Flooring
With prep done, the fun part goes quickly. Acclimate the planks in the room for 48 hours first so they adjust to temperature and humidity.
- Plan your layout: Measure the room and adjust so the final row is at least a third of a plank wide, avoiding thin slivers at the wall.
- Leave expansion gaps: Keep a 1/4 to 3/8 inch gap around the entire perimeter using spacers, since floating vinyl expands and contracts.
- Start in a corner: Lay the first row with the tongue side facing the wall, cutting planks to fit and staggering end joints by at least 6 inches row to row.
- Click and tap: Angle each plank into the previous one, press down to lock, and gently tap with a tapping block and rubber mallet for tight seams.
- Cut around obstacles: Use a utility knife to score and snap planks, or a jigsaw for pipes and irregular shapes.
- Finish the edges: Remove spacers, then install baseboards or quarter-round to cover the expansion gap, and add transition strips at doorways.
Tools and Materials You Will Need
Gathering everything before you start keeps the job moving. For a typical rigid-core floating install over concrete, plan to have:
- Measuring and layout: Tape measure, chalk line, carpenter’s square, and a pencil.
- Cutting: Utility knife with spare blades for scoring planks, plus a jigsaw or miter saw for detailed and end cuts.
- Assembly: Tapping block, pull bar, rubber mallet, and perimeter spacers.
- Prep: Floor scraper, self-leveling compound, cementitious patch, and a shop vacuum.
- Moisture control: 6-mil polyethylene sheeting and moisture-barrier tape, or the underlayment specified for your product.
- Finishing: Baseboard or quarter-round, transition strips, and construction adhesive or a brad nailer.
Buy 8 to 10 percent more flooring than your square footage to cover cutting waste, staggered starts, and future repairs. Storing a spare box in a closet is cheap insurance against a discontinued color down the road.
Common Mistakes to Avoid
Most vinyl-over-concrete failures trace back to a handful of skipped steps. The number-one error is ignoring moisture testing, which lets vapor migrate up and lift adhesive or breed mold under the floor. Close behind is inadequate leveling, since floating planks flex over hollows and can crack at the joints while glue-down vinyl telegraphs every bump.
Other frequent slip-ups include forgetting the perimeter expansion gap, which causes buckling as the floor expands; doubling up underlayment beneath planks that already have an attached pad, creating a spongy, joint-stressing surface; and installing without acclimating the material first. Take the prep seriously and the install itself is genuinely easy.
How Long Does the Project Take?
Timeline depends mostly on the shape your slab is in. Moisture testing alone requires 24 to 72 hours of waiting before you can even begin, and self-leveling compound needs time to cure, sometimes overnight. Once prep is done and the planks are acclimated for their 48-hour window, the actual installation of an average room moves quickly, often a single day for a confident DIYer covering 200 to 300 square feet.
Budget a realistic long weekend for a straightforward basement: a day for cleaning, testing, and any patching, a curing period, and a day for the install and trim. Rushing the prep to save a day almost always costs more later in callbacks and repairs, so let the moisture and leveling steps take the time they need.
Final Tips for a Lasting Floor
Give your new floor the best odds by respecting the details. Maintain room temperature during and after installation as the manufacturer specifies, since extreme heat or cold affects how the planks settle. Keep the slab dry going forward by controlling basement humidity with a dehumidifier and directing exterior drainage away from the foundation.
Sweep and damp-mop rather than flooding the floor, and use felt pads under furniture to prevent dents on softer WPC cores. Done with careful moisture testing and proper leveling, laying vinyl flooring on concrete yields a waterproof, comfortable, great-looking floor that shrugs off spills and stands up to years of traffic, an ideal upgrade for basements and slabs alike.