A faucet dripping once per second wastes over 3,000 gallons a year, enough to run 180 showers, and the fix usually costs less than a fast-food lunch. Leaking faucet repair intimidates people who assume plumbing means calling a pro, but the vast majority of drips come down to a worn rubber washer, O-ring, or cartridge you can replace with basic hand tools in under an hour. The trick is identifying which of the four faucet types you have, because each repairs differently.
A successful leaking faucet repair starts with shutting off the water and correctly identifying your faucet mechanism, so we will walk through all four types and the exact parts each one needs.
Diagnose Before You Start the Leaking Faucet Repair
First, figure out where the leak actually is. A drip from the spout means worn internal seals; a leak around the base of the handle means bad O-rings; water under the sink points to loose supply connections. Note whether it drips constantly or only when the faucet is on, since that narrows the failed part.
Then identify the faucet type by its handles and feel. Two separate hot and cold handles that require a firm turn usually mean a compression faucet with washers. A single handle that moves in a smooth arc is a cartridge, ball, or ceramic-disc design. Knowing the type tells you which repair kit to buy.
Shut Off Water and Prep the Work Area
Close the shutoff valves under the sink by turning them clockwise; if there are none, shut off the main. Open the faucet to relieve pressure and drain the lines. Plug the drain with a rag or stopper so no small screws or springs disappear down it, a mistake that has ended many quick repairs.
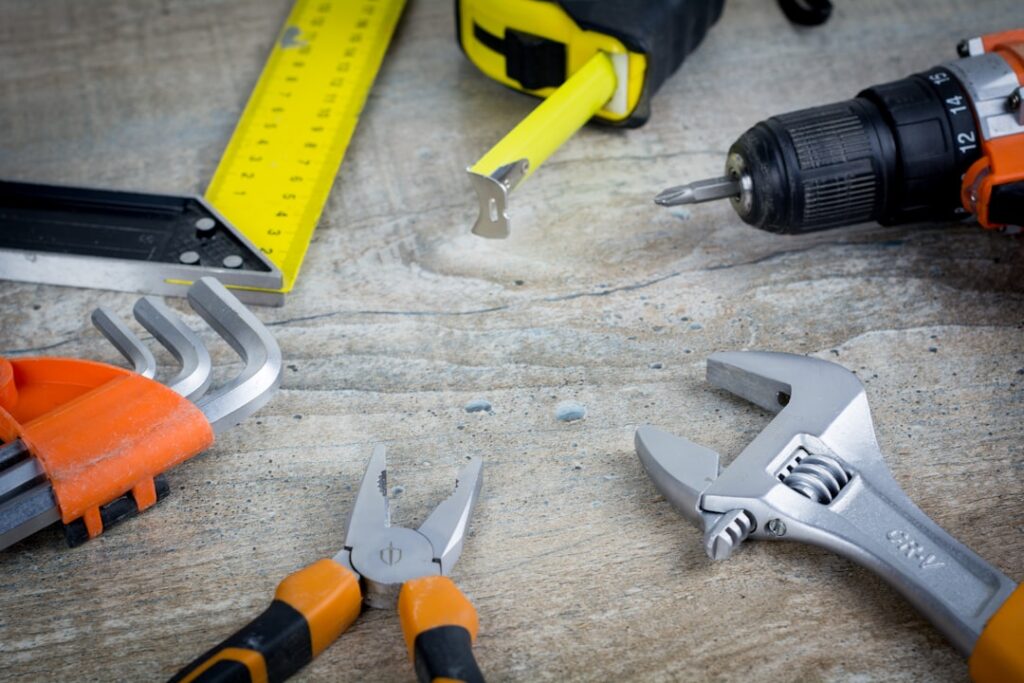
Lay a towel in the sink to protect the finish and organize parts in the order you remove them. Take a photo at each step. Gather an adjustable wrench, a set of Allen keys, flathead and Phillips screwdrivers, needle-nose pliers, and plumber’s grease. Buy a repair kit matched to your faucet brand and model when possible.
Fixing a Compression Faucet
Compression faucets, common in older two-handle setups, leak when the rubber seat washer at the bottom of the stem wears out. Pry off the decorative handle cap, remove the handle screw, and lift the handle. Unscrew the packing nut with a wrench and back out the stem.
At the base of the stem you will find a brass screw holding a rubber washer. Replace that washer with an exact-size match, and while you are in there, replace the O-ring on the stem and check the brass valve seat inside the faucet body for pitting. A damaged seat needs a seat wrench to remove and replace, or a seat grinder to resurface. Reassemble in reverse. This single washer swap resolves most old-faucet drips.
Repairing Cartridge Faucets
Single-handle and many two-handle modern faucets use a cartridge, a cylindrical insert that controls flow and temperature. To service one, remove the handle (often a hidden Allen or Phillips screw under a cap), pull off any retaining clip with needle-nose pliers, and pull the cartridge straight up and out. A cartridge puller tool helps if it is stuck from mineral buildup.
Match the old cartridge exactly to a new one, since brands like Moen, Delta, and Price Pfister each use specific designs. Moen cartridges, for example, are notched to set the hot/cold rotation. Coat the new cartridge O-rings with plumber’s grease, seat it in the same orientation, reinstall the clip, and reassemble. Cartridge kits run $10 to $40 and fix both dripping and temperature problems.
Ball and Ceramic-Disc Faucets
Ball-type faucets, found on many single-handle kitchen sinks, contain a rotating ball plus springs, rubber seats, and O-rings that all wear. Buy a complete ball-faucet repair kit for your brand; it includes every wear part plus the special hex tool to adjust the adjusting ring. Replace the springs and seats, the ball if scored, and the O-rings, then reassemble and snug the cap.
Ceramic-disc faucets are the most durable and rarely fail, but when they drip it is usually mineral buildup on the disc seals or a cracked cartridge. Remove the disc cartridge, clean the seals and inlet ports with vinegar to dissolve deposits, replace the rubber seals or the whole disc unit if cracked, and reinstall. These cartridges cost more, $20 to $50, but last decades.
Handling Base Leaks and Supply Lines
Not every leak is at the spout. If water pools around the handle base, the culprit is usually a worn O-ring on the spout or valve stem, cheap to replace once you have the faucet apart. Coat the new O-ring in plumber’s grease so it seats without tearing.
Leaks under the sink at the supply connections often just need the compression or braided-line nuts snugged a quarter turn, or a fresh braided stainless supply line if the old one is corroded. Do not overtighten; a quarter turn past hand-tight is usually enough, and cranking harder can crack fittings and create a bigger leak.
Cost, Testing, and When to Call a Pro
A DIY leaking faucet repair costs $5 to $50 in parts versus $150 to $350 for a plumber’s visit, so the savings are real for a simple washer or cartridge job. After reassembling, slowly reopen the shutoff valves, then turn the faucet on and off several times while checking for drips at the spout, base, and supply lines.
Call a professional if the valve seat is corroded beyond a simple swap, if the shutoff valves themselves leak or will not close, or if you have a hidden leak inside the wall. For everything else, matching the right parts to your faucet type and taking your time on reassembly turns a wasteful, annoying drip into a solved problem in an afternoon.
Preventing Future Leaks
Most faucet leaks trace back to two enemies: mineral scale and worn rubber. In areas with hard water, calcium and magnesium deposits build up on cartridges, valve seats, and aerators, chewing through seals and stiffening moving parts years before they would otherwise fail. If your faucets scale up quickly, a whole-house water softener or even periodic vinegar cleaning of the aerator and cartridge extends the life of every seal in the house. Unscrew the aerator every few months and soak it in white vinegar to dissolve the crusty buildup that also weakens water pressure.
Water pressure that runs too high is a quieter culprit. Pressure above about 80 psi stresses every washer, O-ring, and supply line in the home and shortens their life. Test yours with an inexpensive pressure gauge that threads onto a hose bib; if it reads over 80 psi, a plumber can install or adjust a pressure-reducing valve at the main. Keeping household pressure in the 50 to 70 psi range protects not just faucets but the water heater, dishwasher, and washing machine hoses too.
When you buy replacement parts, quality matters more than the few dollars you save on a bargain kit. Genuine OEM cartridges and washers from the faucet’s manufacturer fit precisely and are machined to the right tolerances, while generic universal parts often seal poorly and fail again within a year. Many faucet makers, including Moen and Delta, back their products with lifetime warranties that include free replacement cartridges, so check whether your part is covered before you pay for one at all.
A little routine attention keeps faucets drip-free for years. Do not overtighten handles when you shut off the water, since cranking a faucet closed crushes the very washer that is supposed to seal it. Wipe the aerators clean, address a new drip promptly before it wears a groove in the valve seat, and keep a small kit of common O-rings and washers on hand. Catching a worn seal early, while it is a 10-cent part rather than a scored brass seat, is the difference between a five-minute fix and a bigger repair down the line.
Before you close up the job, take a moment to appreciate what the repair saves beyond the water bill. A steady drip keeps a sink or tub basin perpetually wet, which stains porcelain, corrodes the drain, and in a bathroom can feed mildew in the surrounding caulk. Under-sink leaks are worse, quietly swelling the cabinet base and rotting the subfloor until a small washer problem becomes a cabinet replacement. Fixing the drip promptly protects all of that. Keep a photo of your faucet’s brand and model in your phone so you can order the exact cartridge or repair kit the moment a new leak starts, and you turn what many homeowners treat as a call to the plumber into a routine bit of maintenance you handle in an afternoon.