LVP installation is one of the most DIY-friendly flooring projects you can take on, which is a big part of why luxury vinyl plank has exploded in popularity. Most click-lock LVP floats over the subfloor with no glue and no nails, and a confident homeowner can finish an average room in a weekend. That said, the planks themselves are forgiving while the prep work is not, so the difference between a floor that lasts twenty years and one that buckles by next summer usually comes down to a few steps people rush through.
Glue-Down vs. Click-Lock LVP
Before you buy anything, know which installation type you have. Click-lock (also called floating) planks snap together edge to edge and rest on top of the subfloor, sometimes over a pad. Glue-down planks adhere directly to the subfloor with a troweled adhesive or a peel-and-stick backing.
Click-lock is the easier DIY choice and the most common for residential remodels. Glue-down holds up better in very large rooms, high-traffic commercial spaces, and over radiant heat, but it demands an extremely flat, clean subfloor and is far less forgiving of mistakes. For most homeowners, click-lock is the way to go.
Acclimate the Planks First
Vinyl expands and contracts with temperature, so the planks need to adjust to the room before you lay them. Stack the unopened boxes flat in the room where they will be installed and leave them for 48 hours. Keep the room at normal living temperature, roughly 65 to 85°F, both during acclimation and during install.
Skipping this step is the single most common cause of gapping and buckling later. Planks installed cold will expand once the room warms up, and with nowhere to go they push against the walls and lift at the seams.
Prep the Subfloor
LVP telegraphs every flaw beneath it, so subfloor prep matters more than any other step. The surface must be clean, dry, and flat. The standard tolerance is no more than 3/16 inch of variation over a 10-foot span.
- Remove old flooring, staples, and debris, then sweep and vacuum thoroughly.
- Grind down high spots and fill low spots with a self-leveling compound.
- On concrete, check for moisture; excess moisture calls for a vapor barrier.
- Repair any squeaks or loose boards in a wood subfloor before you start.
If your LVP has no attached pad and the manufacturer allows it, roll out an underlayment for sound and comfort. Many planks come with a pad already bonded to the back, in which case adding more can void the warranty.
Tools and Materials You Need
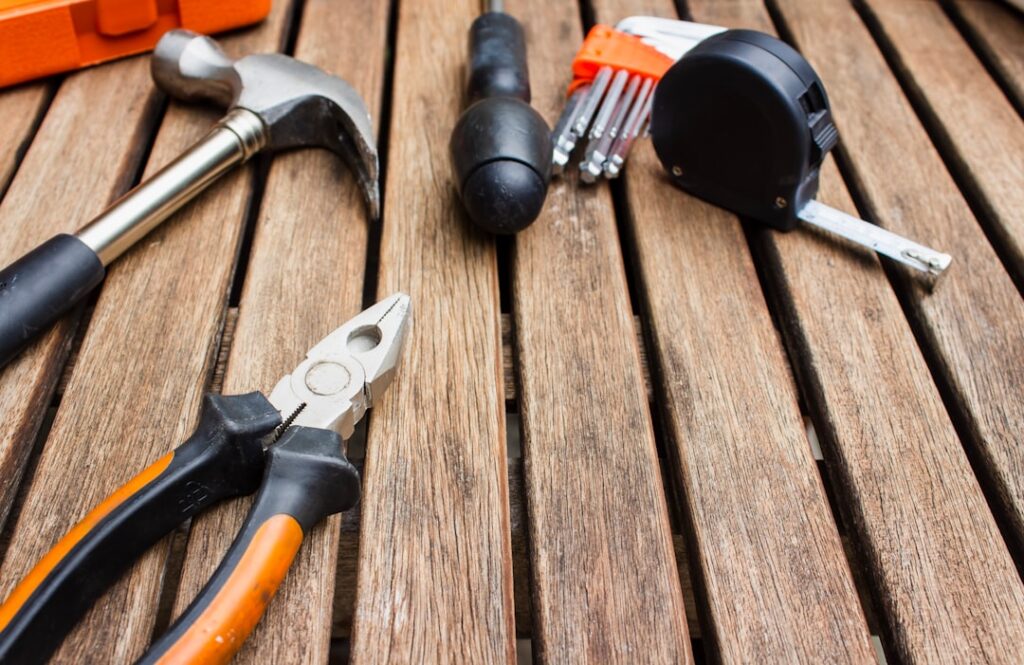
You do not need much, which is part of the appeal. Gather these before you begin:
- Tape measure, pencil, and a carpenter’s square
- Utility knife with extra blades, or a vinyl plank cutter for clean cuts
- Tapping block, pull bar, and rubber mallet
- Spacers for the expansion gap
- Jigsaw or oscillating tool for notches and door casings
Leave an Expansion Gap
This is the rule no one should break. Floating LVP must have room to expand around the entire perimeter of the room. Leave a gap of about 1/4 to 3/8 inch between the planks and every wall, cabinet, and fixed object. Use spacers to hold the gap consistent as you work.
The gap disappears under baseboard or quarter-round trim once you are done, so it is invisible in the finished room. Without it, the floor has nowhere to expand and will eventually peak or buckle.
The Installation Process
Plan your layout so the planks run parallel to the longest wall or toward the main light source, which makes the room feel larger. Start in a corner and work left to right.
- Lay the first row with the tongue side facing the wall, spacers in place.
- Stagger the end joints by at least 6 inches from row to row so seams do not line up.
- Angle each new plank into the previous one and press down until it clicks.
- Use the tapping block and mallet to close any small gaps at the seams.
- Cut the final plank in each row to length, saving the offcut to start the next row.
For the last row, you will likely need to rip planks to width. Measure carefully, account for the expansion gap, and use the pull bar to lock the final pieces into place against the wall.
Handling Doorways and Obstacles
Doorways, cabinets, and pipes are where most of the careful cutting happens. For door casings, the cleanest approach is to undercut the casing and trim with a flush-cut saw so the plank slides underneath, leaving a tidy edge with no awkward notching. Set a scrap plank against the casing as a guide for the saw height.
For pipes and other round obstacles, measure the center point, drill a hole slightly larger than the pipe to allow for expansion, then cut a slit from the plank edge to the hole so the plank fits around it. Glue the small cut piece back in place behind the pipe. Take your time on these details, since they are the cuts people notice.
Working Over Different Subfloors
LVP installs over most existing surfaces, but each has its own rules. Over concrete, confirm the slab is dry and flat, and add a moisture barrier if the manufacturer calls for one. Over existing vinyl or tile, the surface must be well-bonded and flat, with no loose pieces. You can often float LVP over old flooring, which saves the labor of tearing it out.
Avoid installing floating LVP over carpet, which is too soft and will cause the planks to flex and the seams to fail. If you have radiant heat, verify your specific plank is rated for it and follow the temperature guidelines, since some products limit the maximum floor temperature.
Finishing Touches
Once all the planks are down, remove the spacers and install baseboard or quarter-round to cover the expansion gap. Fasten the trim to the wall, never to the floor, so the floating floor can still move freely beneath it. Add transition strips at doorways and where the LVP meets other flooring types.
Do a final walk-through, pressing on seams to confirm everything is locked tight. A properly installed LVP floor should feel solid underfoot with no clicking or movement. Done right, the whole project is well within reach for a determined homeowner and saves a substantial amount over hiring out the labor.
Prefer to explore on your own?
See how new flooring looks in your actual room in seconds — free, no signup.
Try the free Floor Studio →