Trying to pin down what your new floor will really cost before you commit? An LVT flooring cost calculator works by multiplying your room’s square footage by a per-foot rate that combines material, labor, and prep, then adding fixed extras like transitions and delivery. Luxury vinyl tile typically runs $4 to $9 per square foot installed, but the final figure swings with product quality and how much work your subfloor needs. This guide walks you through every input so you can calculate a number you trust.
How an LVT Cost Calculator Actually Works
At its core, the math is simple: total cost equals square footage multiplied by the combined per-foot rate, plus fixed line items. If your room measures 250 square feet and your all-in rate is $6, your base estimate is $1,500 before extras. The trick is dialing in an accurate per-foot rate, because that single number hides material tier, labor complexity, and prep in one figure.
Start by measuring length times width for each room and adding the results together. Then tack on 7 to 10 percent for cutting waste and future repairs, since dye lots vary and matching later is nearly impossible. That padded square footage is the multiplier every other calculation flows from, so measure twice and round up.
Step One: Measure Your Space
Accurate measurement is the foundation, and it is easy to get wrong. For rectangular rooms, multiply length by width in feet. For L-shaped or irregular spaces, break the floor into rectangles, calculate each separately, and sum them. Do not subtract for cabinets or islands unless they are permanent, because you still want material behind and around them for a clean layout.
Closets, hallways, and thresholds count too, and they add up fast in older homes. A 12-by-15-foot bedroom is 180 square feet, but add a 3-by-6-foot closet and you are really covering 198. Always add your waste factor on top of the true total, landing you near 215 square feet to order for that room.
Layout direction quietly changes your waste factor as well. Running planks diagonally or in a herringbone pattern can push cutting waste from the standard 7 to 10 percent up toward 15 percent, because every angled cut leaves an offcut too short to reuse. Rooms with lots of jogs, bay windows, or angled walls behave the same way, so nudge your overage upward whenever the floor plan strays from a simple rectangle.
Step Two: Choose Your Material Tier
LVT pricing tracks closely with wear-layer thickness and construction. Entry-level glue-down tiles start around $2 per square foot and suit low-traffic rooms, but their thin 6-mil to 8-mil wear layers scratch sooner. Mid-grade LVT with a 12-mil to 20-mil wear layer runs $3 to $6 and hits the sweet spot for most homes, balancing durability and price.
Premium rigid-core LVT with attached underlayment, enhanced embossing, and 20-mil-plus wear layers climbs to $6 to $9 per square foot. These floors handle heavy traffic, hide subfloor flaws, and often carry 25-year or lifetime residential warranties. Plug your chosen tier’s number into the calculator as the material portion of your rate.
Watch how retailers quote material, because the fine print can distort your math. Some list a bare plank price while others bundle attached underlayment into the number, which is worth $0.30 to $0.80 per square foot on its own. Sale pricing on discontinued colors can undercut current lines by 25 percent or more, so if you find a closeout with enough stock to cover your padded square footage, grab every case you need at once since replenishment is unlikely.
Step Three: Add Labor Into the Calculator
Professional installation adds $1.50 to $4 per square foot depending on your layout. Simple floating installs in open rooms sit at the low end, while glue-down applications, herringbone or diagonal patterns, and rooms full of obstacles push toward the top. Stairs are their own animal, often billed at $25 to $60 per step rather than by the foot.
If you plan to DIY, drop labor from your rate entirely but budget $50 to $150 for tools like a tapping block, pull bar, utility knives, and a quality straightedge. Be realistic about your first-timer speed, and remember that a botched glue-down job is far harder to fix than a floating floor you can simply unclick and relay.
One labor variable worth pricing separately is furniture and appliance handling. Some crews include moving lightweight furnishings, but disconnecting a gas range, pulling a refrigerator, or removing a toilet often carries a flat fee of $50 to $150 per item. Clarify these charges up front and, where you safely can, clear the room yourself before the installer arrives to keep the billable hours focused on the floor itself.
Step Four: Factor In Prep and Extras
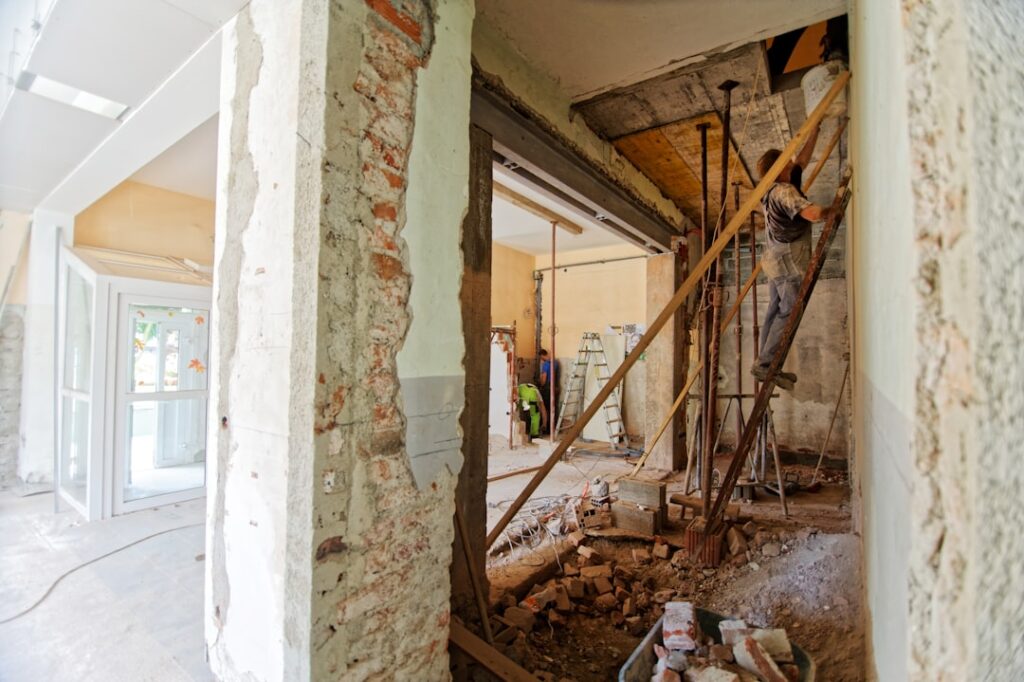
The line items outside the per-foot rate are where budgets quietly balloon. Subfloor leveling with self-leveling compound adds $1 to $2 per square foot when your existing floor is uneven. Tear-out of old flooring runs $0.50 to $3 per square foot, and disposal or dumpster fees can tack on $200 to $500 for a large job.
Do not forget the small stuff that a calculator makes you list. Transition strips cost $3 to $10 each, new baseboard or quarter-round runs $1 to $3 per linear foot, and moisture barriers or premium underlayment add $0.30 to $0.80 per square foot. Summing these fixed and per-foot extras separately keeps your estimate honest.
- Material: $2 to $9 per square foot by tier.
- Labor: $1.50 to $4 per square foot, or $0 for DIY.
- Prep and extras: $1 to $3 per square foot plus fixed transition and trim costs.
A Worked Example You Can Copy
Suppose you are flooring a 400-square-foot kitchen and dining area with mid-grade LVT and a pro install. Add your 8 percent waste factor and you order 432 square feet. Material at $5 and labor at $3 gives an $8 per-foot rate, so 432 times $8 equals $3,456 for the core install.
Now layer in the extras: $200 for light leveling, $150 for tear-out of old vinyl, four transition strips at $8 each, and $120 in delivery. Those add roughly $502, bringing your realistic total to about $3,958. That structured approach is exactly how a good LVT flooring cost calculator turns a fuzzy guess into a number you can plan around.
Getting the Most Accurate Estimate
Calculators give you a strong ballpark, but a walk-through beats any spreadsheet for pinning down prep. Have two or three local installers quote the same measured scope, and watch how their subfloor assessments differ. One may spot a soft spot or moisture issue that another misses, and catching it before install saves you a costly redo.
Finally, revisit your inputs whenever your product choice changes. Bumping from a 12-mil to a 20-mil wear layer might add only $1.50 per square foot yet double your floor’s realistic lifespan, which often makes the upgrade the smartest line in the whole budget. Run the numbers both ways and let the calculator show you the true cost of each decision.
It also pays to think in cost-per-year rather than sticker price alone. A $6-per-square-foot LVT that lasts 25 years costs roughly $0.24 per square foot annually, while a $3 product you replace in eight years actually costs more over the same span once you factor in a second tear-out and install. Feeding lifespan into your calculator alongside upfront price turns a simple estimate into a genuine value comparison, and that longer view usually rewards the sturdier floor.
Prefer to explore on your own?
See how new flooring looks in your actual room in seconds — free, no signup.
Try the free Floor Studio →