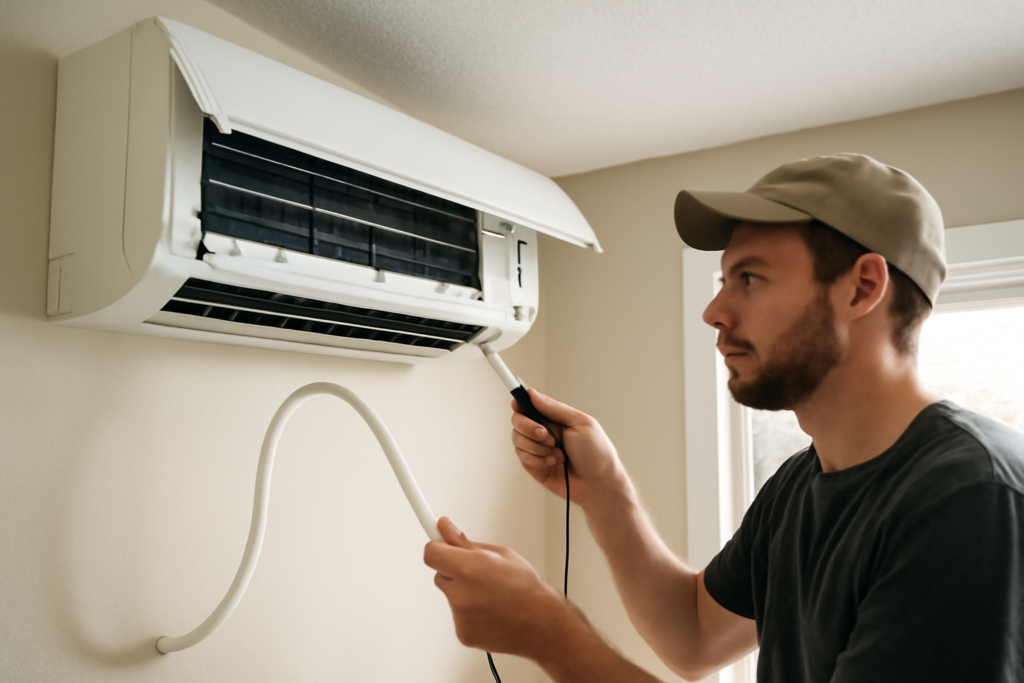
When a ductless system drips water down your wall, the culprit is almost never the refrigerant side. Nine times out of ten it is the mini split drain hose, either clogged with algae slime or run with a slope that lets water pool instead of flow. That flexible corrugated tube carries the condensate an indoor head produces, and a single-zone unit can shed several gallons a day in humid weather. Get the slope, sizing, and cleaning right and the drain does its job silently for years. Get any of them wrong and you get ceiling stains and a service call.
How the Condensate Drain Works
As the indoor coil pulls heat and humidity out of the air, moisture condenses on the cold fins and drips into a shallow drain pan built into the bottom of the head. From there it exits through a drain port, joins the drain hose bundled inside the line-set wrap, and flows by gravity to the outside or to a condensate pump. There is no pressure pushing this water; it moves only because the hose runs downhill.
That gravity-only design is why slope is the single most important detail. The refrigerant lines can turn and rise freely, but the drain hose must fall continuously from the head to the discharge point, or water backs up into the pan and overflows out of the indoor unit.
Getting the Slope Right
The drain hose needs a consistent downward pitch along its entire length. Aim for at least 1/4 inch of drop per foot of run, and steeper is better wherever you have room. Any belly, dip, or upward hump in the line creates a low spot where water sits, stagnates, and eventually clogs with biofilm.
- Maintain a minimum 1/4-inch-per-foot downhill slope from head to outlet.
- Never let the hose rise, even briefly, once it leaves the drain port.
- Support the line so it cannot sag into a belly between fasteners.
- If the outlet sits higher than the head, install a condensate pump rather than fighting gravity.
When the indoor head is mounted low or the drain has to reach a distant discharge, a small condensate pump lifts the water and pushes it uphill through 1/4-inch vinyl tubing. Pumps are reliable but add a failure point, so use gravity wherever the layout allows.
Sizing and Routing the Hose
Most mini-split heads use a drain hose in the range of 5/8 to 3/4 inch outer diameter, and the manufacturer supplies a starter length that connects to the drain port. Keep the hose diameter at least as large as the port; never neck it down to a smaller tube, because a restriction is a guaranteed clog point.
Route the drain inside the line-hide cover with the refrigerant lines and communication wire where possible, keeping it on the low side of the bundle. At the wall penetration, drill the hole with a slight downward pitch to the outside so water always flows away from the structure. Terminate the outlet where discharge water will not stain a walkway, undermine a foundation, or freeze into a hazard in winter.
Why Drain Hoses Clog
The warm, damp, dark interior of a condensate drain is a perfect home for algae and mold. Over a season, a slimy biofilm builds up on the hose walls, gradually narrowing the passage until water can no longer get through. Dust pulled through the indoor coil settles in the pan and feeds the growth. In a low spot, this happens even faster because standing water never dries out.
Insects sometimes crawl up the open outdoor end and nest in the line, and in freezing climates a poorly pitched outlet can ice over. But by far the most common cause of a clogged drain is plain algae slime, which is why regular flushing matters so much.
Clearing a Clogged Drain
If water is dripping from the indoor head, the drain is almost certainly blocked. You can usually clear it yourself without any special tools beyond a wet/dry vacuum.
- Locate the outdoor end of the drain hose where it discharges.
- Hold a wet/dry vacuum nozzle tightly against the outlet, sealing the gap with a rag or your hand.
- Run the vacuum for a minute or two to suck the clog and standing water out through the outlet.
- Flush the line from the indoor side by pouring a cup of water into the drain pan and confirming it runs freely out the end.
- If flow is still slow, disconnect the hose and rinse it, or run a flexible drain brush through it.
Vacuuming from the outlet is the fastest fix because it pulls the plug backward without forcing debris deeper into the pan. Once the line is clear, verify strong flow before you put the cover back.
Preventing Future Clogs
A little maintenance keeps the drain flowing. Two or three times a season, flush the line with a cup of a 1:16 bleach-and-water solution or distilled white vinegar poured into the drain pan or an accessible cleanout. This kills the algae before it can build into a plug. Some installers place algae-inhibiting tablets in the pan for slow-release protection.
Keep the outdoor outlet clear of debris and, in cold climates, positioned so it cannot ice shut. Clean the indoor filters monthly so less dust reaches the pan in the first place, since dust is the food source that feeds the slime.
Installation Tips for a New Head
When mounting a new indoor unit, plan the drain route before you drill. The head should sit dead level or with a barely perceptible tilt toward the drain-port side, and the wall penetration should pitch downward to the exterior. Keep the drain hose on the bottom of the line-set bundle so it always has the lowest path.
Test before you close the cover: pour water into the pan and watch it exit outside within a few seconds. If it hesitates, pools, or backs up, fix the slope now, because a drain hose buried behind a finished line-hide cover is miserable to correct later. A properly sloped, correctly sized, and regularly flushed mini split drain hose is the difference between a system you forget about and one that drips down your wall every August.
When You Need a Condensate Pump
Gravity is always the first choice, but plenty of installations cannot use it. If the indoor head sits below the level where you need the water to exit, in a basement or an interior room far from an exterior wall, a condensate pump is the answer. The pump has a small reservoir with a float switch that turns it on when water collects, then pushes the condensate uphill through 1/4-inch or 3/8-inch vinyl tubing to a drain or the exterior.
Choose a mini-split-rated pump with a safety switch that shuts the air conditioner off if the reservoir overflows, which prevents water damage if the pump ever fails. Mount it accessibly so you can clean the reservoir, because the same algae that clogs a gravity hose will foul a pump’s float. A quality pump runs $40 to $120 and, wired to the safety cutoff, protects the room from any drain failure.
Winterizing the Drain Outlet
In cold climates, a heat pump runs all winter and produces condensate during defrost cycles, so the drain outlet must not freeze shut. A hose that terminates in the open where meltwater can refreeze will eventually ice over and back water up into the head. Position the outlet so it drips onto ground that drains, not onto a walkway where an ice patch forms.
For units that run in hard freezes, some installers add self-regulating heat tape along the drain line or route the discharge to a location that stays above freezing. At minimum, keep the outdoor end clear of debris and check it during cold snaps. A frozen drain is one of the few condensate problems that looks like a system fault but is really just a blocked outlet doing exactly what physics dictates.