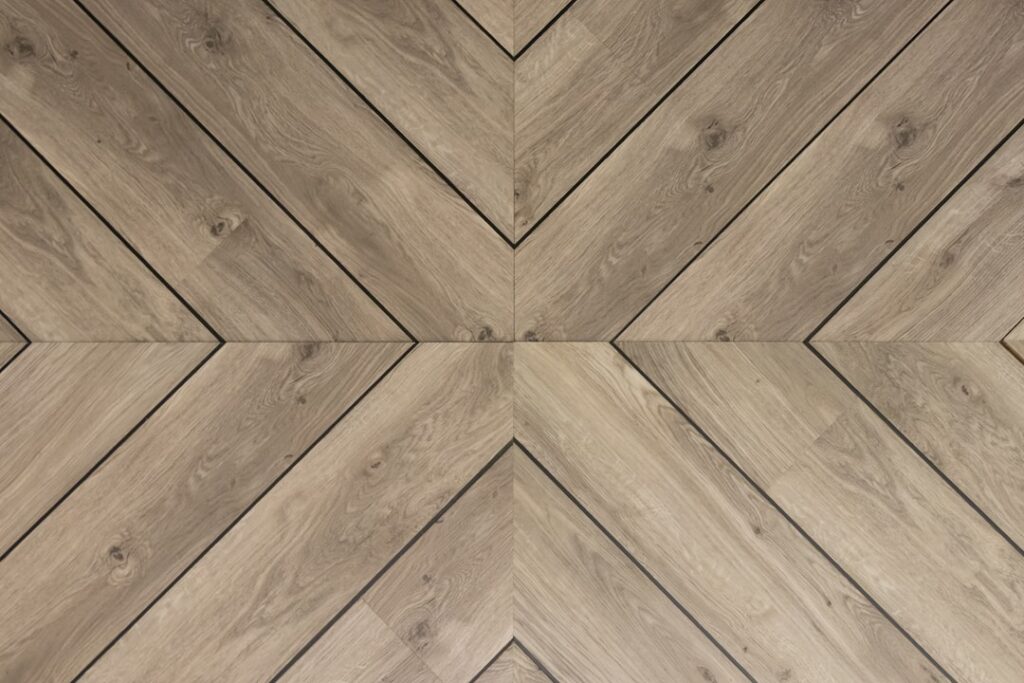
When it comes to fast, beginner-friendly floor refreshes, nothing beats peel and stick laminate flooring, with material often costing as little as 1 to 3 dollars per square foot and no special tools required. You simply remove a backing and press each plank or tile onto the subfloor. This guide explains what the product really is, its honest strengths and weaknesses, how to install it, and where it makes the most sense.
What Peel and Stick Flooring Really Is
First, a quick clarification on terms. Most products sold as peel and stick are technically a form of vinyl or resilient flooring with a self-adhesive backing, designed to look like wood-grain laminate or stone. True traditional laminate is a click-together floating floor with a fiberboard core, while peel and stick planks are thin, flexible tiles or strips with adhesive on the back. People shop for both under similar names, so this guide focuses on the self-adhesive product that most homeowners mean when they say peel and stick.
Each plank has a wear layer on top, a printed design that mimics wood or tile, and a pre-applied adhesive layer protected by a peel-off backing. You stick them directly to a prepared subfloor.
The Pros of Peel and Stick
- Extremely easy to install. No glue to spread, no nails, no click mechanism to fuss with. Peel, place, and press.
- Budget-friendly. Among the least expensive flooring options, both in material and because you can install it yourself.
- No special tools. A utility knife, a straightedge, and a roller are usually all you need.
- Low and thin profile. The planks are thin, so they often fit under appliances and doors without major adjustments.
- Easy spot repairs. A damaged plank can often be peeled up and replaced individually.
- Good for renters and quick refreshes, especially with removable or temporary versions.
The Cons to Consider
- Adhesion depends entirely on prep. The glue only sticks well to a clean, smooth, dry surface. Dust, moisture, or texture causes lifting.
- Less durable than thicker floors. Thin planks show wear sooner and can be gouged or dented more easily.
- Edges can lift over time. Especially in high-traffic areas or with temperature swings, corners may peel.
- Moisture is a weak point. Water can seep into seams and loosen the adhesive, so it is risky in very wet areas unless the product is rated for it.
- Lower resale appeal. Buyers often see it as a budget, temporary solution.
- Shows subfloor flaws. Any bump or dip telegraphs through the thin material.
Subfloor Preparation Is Everything
With peel and stick, the success of the entire project rests on the subfloor. The adhesive needs a clean, smooth, dry, and stable surface to grip. Before installing:
- Remove old flooring residue, wax, and any loose material.
- Clean thoroughly so no dust or grease remains, then let the surface dry completely.
- Fill cracks, gaps, and low spots with floor patch, and sand down high spots.
- If the subfloor is rough or uneven, install a smooth underlayment so the planks have a flat surface to bond to.
- Let the planks acclimate in the room for the recommended time so they adjust to temperature and humidity.
Skipping prep is the number one reason peel and stick floors fail.
Step-by-Step Installation
- Find the center of the room and snap chalk lines to create a square layout grid.
- Dry-lay a row first to check spacing and avoid thin slivers at the walls.
- Peel the backing off the first plank and press it down firmly along your guideline.
- Continue placing planks tightly edge to edge, working outward in your planned pattern and staggering end joints for a natural look.
- Cut border and edge pieces with a utility knife and straightedge to fit against walls.
- Roll the entire floor with a flooring roller or press firmly to activate the adhesive and ensure full contact.
- Avoid heavy traffic or moving furniture for the period the manufacturer recommends so the bond can set.
Cost Expectations
Peel and stick flooring is one of the cheapest options on the market, with material commonly running from about 1 to 3 dollars per square foot. Because installation is so straightforward, most people skip professional labor entirely, which is a major part of the savings. Buy extra planks beyond your room measurement to allow for cutting waste and to keep spares for future repairs, since matching a discontinued pattern later can be difficult.
How Long Does It Last?
Lifespan varies widely based on quality, traffic, and installation. In a low-traffic room with good prep, a quality peel and stick floor can last many years. In a busy entry or kitchen, or over a poorly prepped subfloor, it may show wear and edge lifting much sooner. Choosing a product with a thicker wear layer and investing in proper subfloor prep are the two biggest factors in how long it holds up.
Where It Works Best
Peel and stick flooring shines in low-stakes, budget-conscious projects: rental units, laundry rooms, closets, home offices, guest rooms, and quick refreshes where you want a new look without a big investment. It is also great for DIY beginners building confidence. It is a weaker choice for high-traffic entryways, very wet bathrooms unless specifically rated, and homes where you need a premium, long-term floor that adds resale value.
Tips for Better Results
To get the most from peel and stick flooring, warm the room to a comfortable temperature during installation so the adhesive bonds well, since cold makes glue sluggish. Press every plank firmly and roll the whole floor afterward. Stagger seams so they do not line up in a noticeable grid, and keep a few spare planks for repairs. Clean with a damp mop rather than soaking the floor, and wipe spills promptly to protect the seams.
Final Thoughts
Peel and stick laminate flooring is the ultimate quick, affordable, do-it-yourself floor. Its weaknesses, mainly durability and a dependence on flawless subfloor prep, are real, but they are manageable when you match it to the right room and take the prep seriously. Clean and smooth the subfloor, acclimate the planks, press and roll firmly, and keep spares on hand. For closets, offices, rentals, and budget refreshes, it delivers a fresh new look in an afternoon at a price almost any project can absorb.
Prefer to explore on your own?
See how new flooring looks in your actual room in seconds — free, no signup.
Try the free Floor Studio →