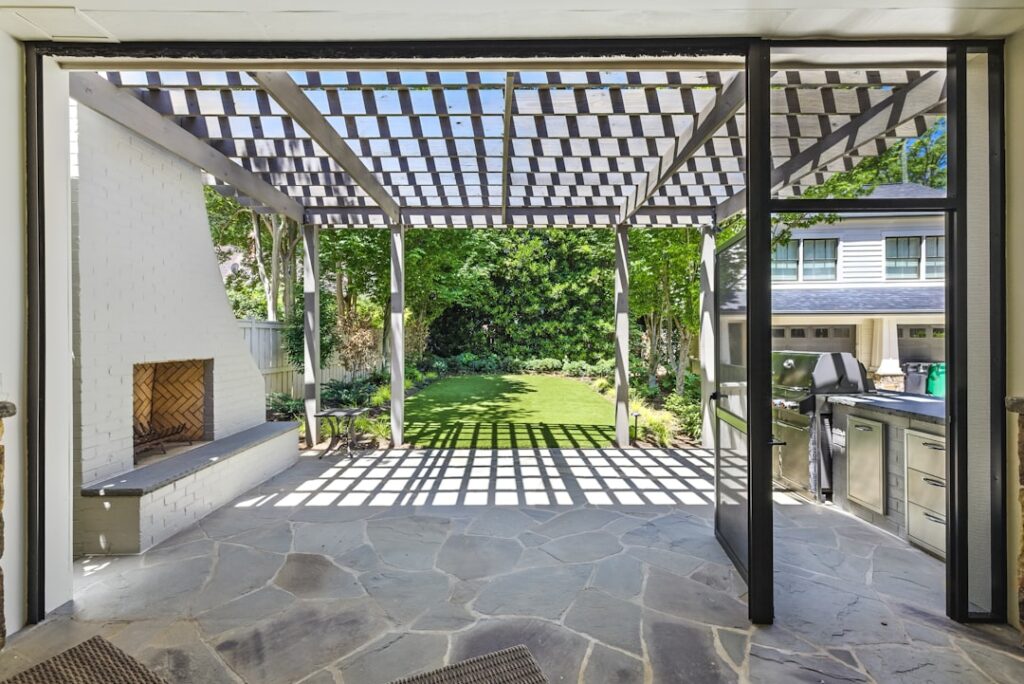
A pergola that opens and closes solves the one flaw of a traditional pergola: it never blocked rain and only threw partial shade. Swap the fixed rafters for a roof of pivoting louvers and you control the space like a set of window blinds overhead. Open for full sun, tilt for dappled shade, close tight for a waterproof roof when a storm rolls in.
These are almost always aluminum louvered roof systems, and they have gone from luxury-only to attainable in the last decade. I install both motorized and manual versions, and the mechanics are simpler than they look. This guide covers how the louvers work, the choice between motor and hand crank, install, and what it all costs.
How a Louvered Roof Works
The roof is a series of parallel aluminum blades, the louvers, that pivot on pins along their length. A linkage bar connects every louver so they all rotate together in unison. Move the linkage and the whole roof opens from flat-closed to nearly vertical in one motion.
When the louvers lie flat and overlap slightly, the roof is watertight. Rain hits the closed blades and runs into integrated channels along the frame’s beams, which route the water down through hollow posts to grade, so you get a hidden gutter system with no visible downspouts. Tilt the louvers partway and you dial in exactly how much sun and airflow you want. Open them fully and the sky is wide open. That range, from sealed roof to open frame, is the entire appeal.
Motorized vs Manual Louvers
The two ways to drive the louvers change the price and the experience significantly.
Manual louvered pergolas
A hand crank or a push rod moves the linkage. You turn a handle at the post and the louvers rotate. Manual systems cost far less, have nothing electrical to fail, and work fine for a patio you adjust a couple of times a day. The downside is obvious: you are outside cranking when the rain starts, and there is no automation.
Motorized louvered pergolas
A small electric motor drives the linkage, controlled by a wall switch, remote, or phone app. This is where the feature earns its reputation. You can add a rain sensor that closes the roof automatically at the first drops, a wind sensor that opens the louvers to relieve pressure in a gale, and even sun-tracking that adjusts tilt through the day. Motorized units cost more and need a power supply, but the convenience is night and day. Most of my clients who can run power choose motorized and never regret it.
Aluminum Construction and Specs
Nearly every quality opening roof is powder-coated extruded aluminum, and for good reason. Aluminum will not rot, warp, or rust, it carries the louver load across long spans without sagging, and the hollow extrusions double as the concealed water channels. Powder coating resists fading and chalking for decades.
Typical specs to expect: louver blades 6 to 8 inches wide, post sections around 4 by 4 to 6 by 6 inches of structural aluminum, and clear spans up to roughly 14 to 20 feet between posts depending on the system’s engineering. Better units are rated for real snow loads and wind speeds, so check the load rating if you live where it snows or blows. Marine-grade coatings are worth it near the coast.
Freestanding vs Attached Configurations
Like any pergola, an opening-roof unit mounts two ways. Attached models bolt a beam to the house wall and stand on two outer posts, extending the roofline over a patio. Freestanding models stand on four posts anywhere in the yard, over a pool or an outdoor kitchen.
The louver mechanism works identically either way. The only real difference is water management: an attached unit must flash properly at the wall and shed water away from the siding, while a freestanding unit drains through all four posts. Confirm the frame’s rated span matches your opening before ordering, because louvered roofs have maximum blade lengths beyond which they need an intermediate beam.
Step-by-Step Install
- Pour the footings. Set concrete footings below your local frost line, 12 inches deep in the South up to 48 inches in the North, with anchor bolts or base plates to match the post bases. Let concrete cure two to three days.
- Attach the ledger (attached models). Bolt the wall beam to studs or the rim joist and flash it so water sheds outward over the siding.
- Stand the posts. Bolt the aluminum posts to the base plates and plumb them in both directions. The hollow posts will carry drainage, so keep the internal channels clear.
- Set the frame beams. Connect the perimeter beams that hold the louver pins and integrated gutters. Level everything; the louvers only seal if the frame is true.
- Install the louvers. Drop each aluminum blade onto its pivot pins and connect them to the shared linkage bar. Test that they all rotate together smoothly.
- Add the drive. Fit the hand crank for a manual unit, or mount the motor and run power for a motorized one. Wiring a motorized roof to a switched circuit should be done by a licensed electrician.
- Wire sensors and test. Connect optional rain and wind sensors, then cycle the roof fully open and fully closed several times. Pour a bucket of water over the closed roof to confirm it drains through the posts with no leaks.
Cost, Timeline, and What Drives the Price
An opening louvered roof is a premium feature and the price reflects it. Expect roughly $50 to $100 per square foot for a manual aluminum system and $80 to $150-plus per square foot for a motorized one, installed. A typical 12 by 16 foot motorized unit lands between $15,000 and $30,000 installed, while a comparable manual system may run $8,000 to $15,000.
- Manual DIY kit, 12×14: $7,000-$12,000 materials
- Motorized system installed: $15,000-$35,000 depending on size and sensors
- Rain and wind sensors: $300-$1,000 added
- Integrated LED lighting and screens: $1,000-$4,000 added
Size, motor quality, snow-load rating, coating grade, and add-ons like screens, heaters, and lighting drive the spread. Installation of a kit runs one to two days for a crew once footings are cured; footings add a few days of concrete cure time up front.
Maintenance and Add-Ons
Aluminum louvered roofs are close to maintenance-free. Rinse the blades and clear the internal gutters and post drains of leaves twice a year so water keeps flowing. Wipe pivot points and check the linkage annually. On motorized units, test the rain sensor each season so it still closes when it should.
Popular add-ons turn the pergola into a true outdoor room: integrated LED strips in the beams for night use, retractable side screens for bugs and privacy, radiant heaters mounted to the frame to extend the season, and smart-home integration so the roof responds to a voice command or a weather forecast. Because the aluminum frame is engineered for load, these bolt on without structural worry.
Pro Tips Before You Buy
- Confirm the snow-load and wind rating for your region. A blade span rated for mild climates can fail under heavy wet snow.
- Keep the post drains clear. A clogged internal gutter turns a waterproof roof into an overflow onto your patio.
- Spend on the rain sensor if you go motorized. It is the feature that pays for itself the first time a storm hits while you are away.
- Have a licensed electrician wire any motorized unit. Outdoor low-voltage and line-voltage runs must be code-compliant and weatherproof.
- Pour footings below the frost line even for aluminum. The frame is only as stable as the concrete under it.
A pergola that opens and closes is the most versatile shade structure you can put over a patio, giving you full sun, adjustable shade, and a waterproof roof from one aluminum frame. Choose motorized if you can run power and want a set-and-forget roof, manual if you want the feature for less, and either way you turn an exposed patio into a space you can use in almost any weather.