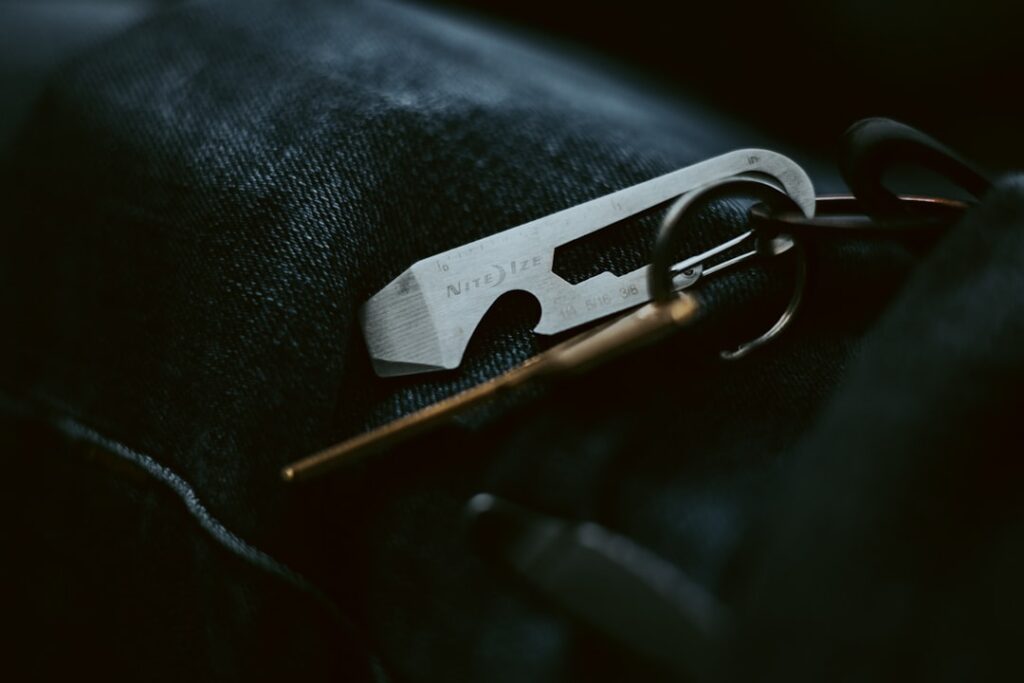
If your pocket door drags on the floor, sits crooked in the opening, or slides open on its own, the fix almost always involves a small, purpose-made tool called a pocket door wrench. This specialized wrench reaches the adjustment nuts on the door’s roller hangers, letting you raise, lower, and level the door without removing it. Understanding what this tool is, how to use it, and what to do if you do not have one will help you get a stubborn sliding door gliding smoothly again.
Part of our Windows & Doors guide — explore the full guide →
- What Is a Pocket Door Wrench?
- Why Pocket Doors Need Adjustment
- How the Adjustment Mechanism Works
- Using a Pocket Door Wrench Step by Step
- Alternatives If You Don't Have the Wrench
- Fixing a Door That Won't Reach the Nuts
- Other Common Pocket Door Repairs
- Matching the Wrench to Your Hardware Brand
- Adjusting for a Smooth, Quiet Slide
- Preventing Future Problems
What Is a Pocket Door Wrench?
A pocket door wrench is a long, thin, often offset or angled wrench designed to reach the height-adjustment nuts on the roller assemblies at the top of a pocket door. Because those nuts sit in a tight gap between the top of the door and the track hidden inside the wall, a standard wrench or socket cannot reach them at the right angle. The specialized shape, sometimes an S-curve, sometimes an extended box-end, lets you turn the adjuster while the door hangs in place. Manufacturers like Johnson Hardware often include or sell the correct wrench for their specific hardware.
Why Pocket Doors Need Adjustment
Pocket doors hang from wheeled hangers that ride a track, and over time or after installation they can fall out of alignment:
- The door drags on the floor or the threshold.
- There is an uneven gap (reveal) at the top or along the jamb.
- The door rubs the strike jamb and will not latch cleanly.
- The door drifts open or shut on its own because it hangs off-level.
All of these come down to the door’s height and pitch, exactly what the adjustment nuts, and the wrench that turns them, control.
How the Adjustment Mechanism Works
Each roller hanger connects to a bracket on top of the door through a threaded bolt and nut. Turning that nut raises or lowers that end of the door. Because a pocket door has two hangers, front and back, you can raise or lower each end independently, which lets you both change the overall height and correct a tilt. Getting both ends level is the goal, a level door glides freely and stays put wherever you leave it.
Using a Pocket Door Wrench Step by Step
Adjusting the door with the proper wrench is straightforward:
- Slide the door to the open or partially open position so you can access the hangers through the top of the opening.
- Locate the adjustment nut on each roller bracket, usually visible in the gap above the door.
- Fit the pocket door wrench onto the nut. Its shape lets you reach around the track.
- Turn the nut to raise the door up off the floor if it is dragging, or lower it if the gap at the bottom is too large.
- Adjust each end until the door hangs plumb and level, checking the reveal at top and sides.
- Test the slide, the door should move smoothly and not drift.
Make small quarter-turn adjustments and re-check often, rather than large turns that overshoot.
Alternatives If You Don’t Have the Wrench
If your kit did not come with the tool, or you have lost it, you have options:
- An open-end or offset box wrench in the matching size can sometimes reach the nut, especially if it is a thin profile.
- A deep socket on a long extension may work if the nut is accessible from below or the side.
- Adjustable pliers or a small crescent wrench can turn the nut when clearance allows, though they are clumsier.
- Buy the correct wrench, they are inexpensive and available from the door hardware manufacturer or a hardware store.
Identify your hardware brand first, since Johnson, National, and other systems use slightly different nut sizes and access angles.
Fixing a Door That Won’t Reach the Nuts
Sometimes the adjustment nuts are buried so far into the wall pocket that no wrench reaches them from the front. In that case you may need to remove the door from the track to access the hangers, then rehang it. Most doors lift off by tilting and unhooking the hanger wheels from the track carriage after removing the floor guide at the bottom. This is more involved but lets you inspect worn rollers and reset everything from scratch.
Other Common Pocket Door Repairs
While you have the door apart, watch for related issues the wrench alone cannot fix:
- Worn or seized rollers: If the wheels are cracked or the bearings are shot, replace the hangers.
- A bent or dirty track: Clean debris from the track and straighten any dents so wheels roll freely.
- A missing floor guide: The bottom guide keeps the door from swaying; replace it if broken.
- An out-of-level track: If the track itself was installed crooked, no amount of hanger adjustment fully fixes drift, the track must be re-leveled.
Matching the Wrench to Your Hardware Brand
Not all pocket door hardware is the same, and using the wrench made for your system saves a lot of frustration. Johnson Hardware, one of the most common brands in American homes, sells a dedicated adjustment wrench shaped to reach its hanger nuts, and the newer soft-close and heavy-duty kits sometimes use a different adjuster than older models. National Hardware, Stanley, and Prime-Line systems each have their own nut sizes and access designs. Before buying a replacement, identify your hardware by any stamp on the track or hangers, or measure the adjustment nut. When in doubt, contacting the manufacturer with your model number gets you the exact tool, and many will send the small wrench inexpensively or even free as a replacement part.
Adjusting for a Smooth, Quiet Slide
Beyond simply leveling the door, small tweaks with the wrench can make a pocket door glide more quietly and stay where you want it. If the door tends to roll open on its own, the track may be pitched slightly, and lowering the trailing end a hair often corrects the drift. If the door bounces or feels rough, the height may be uneven between the two hangers, putting extra load on one wheel. Aim for both hangers set so the door hangs plumb with an even gap all around, then test by sliding it slowly, it should move with light finger pressure and stop smoothly. Combine a precise wrench adjustment with a clean, straight track and fresh rollers, and even an old, sticky pocket door can feel brand new.
Preventing Future Problems
Keep a pocket door running smoothly with a little upkeep. Vacuum dust and debris out of the track periodically, since grit is a leading cause of hard sliding. Avoid slamming the door, which knocks hangers out of adjustment. If the door starts to drag again, a quick touch-up with the wrench usually restores it before the rubbing wears a groove in the floor or jamb. Keep the wrench in a drawer so it is handy for the occasional tune-up.
The humble pocket door wrench is one of those specialized tools that seems trivial until the day your sliding door starts dragging or drifting, and then it is exactly what you need. By reaching the roller-hanger adjustment nuts that ordinary wrenches cannot, it lets you raise, lower, and level the door in minutes without tearing into the wall. Keep the correct wrench for your hardware on hand, make small careful adjustments until the door hangs plumb, and pair those tune-ups with a clean track and sound rollers. Do that, and a pocket door that once dragged and stuck will glide silently open and closed for years to come.