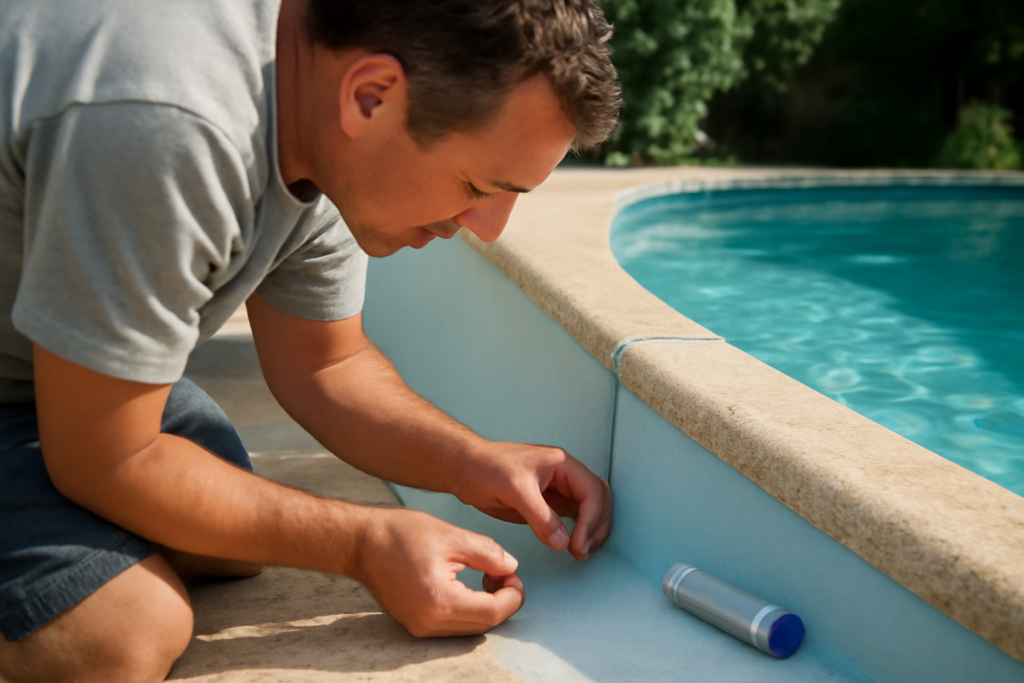
The best thing about pool epoxy putty is that you can fix a leak without draining a single gallon of water. This hand-moldable, two-part repair compound cures fully while submerged, bonding to concrete, fiberglass, gunite, plaster, tile, PVC, and metal — which makes it the go-to for the cracks, gaps, and around-fitting leaks that plague every aging pool.
Used correctly, a stick of putty that costs under $15 can stop a leak that would otherwise mean draining, patching, and refilling thousands of gallons. This guide covers what pool epoxy putty is, where it works, how to apply it underwater for a lasting seal, and where its limits are so you know when a putty patch is enough and when it is not.
What Pool Epoxy Putty Is and How It Works
Pool epoxy putty comes as a two-part stick or tub: a resin and a hardener. Most versions are a coaxial “tootsie roll” — an outer layer of one component wrapped around a core of the other. You cut off a piece and knead it with wet fingers until the color turns uniform, which mixes the two parts and starts the chemical cure. Because the reaction is chemical rather than air-drying, the putty hardens even when it is completely underwater.
Once cured, it forms a rigid, waterproof plug that bonds tenaciously to the surrounding surface. Typical products reach a firm set in 20 to 60 minutes and full cure in 24 hours, with bond strengths that comfortably handle the modest hydrostatic pressure inside a residential pool. A standard 4-ounce stick runs $8 to $15 and repairs several small defects.
What Pool Epoxy Putty Can Fix
Putty is a spot repair for defined defects, not a resurfacing product. It excels at the small, localized problems that cause slow leaks.
- Cracks in plaster or gunite: Hairline to roughly quarter-inch cracks in the shell can be packed and sealed.
- Leaks around fittings: The gap around return jets, skimmers, lights, and drain fittings is the most common leak point, and putty molds neatly around these shapes.
- Loose or hollow tiles and coping: You can re-bed a popped tile or fill the void behind a hollow one.
- Fiberglass gouges and chips: Surface damage on a fiberglass shell fills cleanly.
- Pipe and PVC repairs: A cracked fitting or pinhole in exposed plumbing can get an emergency seal.
- Steps and ladder anchors: Loose anchor cups and cracked step corners re-bond well.
What It Should Not Be Used For
Knowing the limits keeps you from trusting a putty patch where it will fail. Wide structural cracks that flex with ground movement need proper injection or shell repair, not surface putty, because the rigid plug will crack again as the shell moves. Large delaminated areas of plaster call for resurfacing, not a patch.
Putty is also a rigid material, so joints that expand and contract significantly — such as the expansion joint between the pool deck and coping — want a flexible pool caulk instead. And while an emergency putty wrap can slow a pressurized plumbing leak, a permanent fix for a pressure line is a proper coupling or replacement fitting. Match the repair to the failure.
How to Apply Pool Epoxy Putty Underwater
The magic of applying pool epoxy putty is that the surface prep and the repair both happen with the water in place. Prep still matters, though — the putty grips clean substrate, not algae and scale.
- Clean the repair area. Scrub the crack or fitting with a wire brush or abrasive pad to remove algae, scale, and loose material. Even underwater, the surface must be sound and clean for the putty to bond.
- Cut and knead the putty. Slice off enough to fill the defect. Knead it with wet fingers for the full time on the label — usually one to two minutes — until the color is completely uniform with no streaks. Wet hands prevent it from sticking to your skin.
- Work quickly. Once mixed, you have a limited working window, often 15 to 20 minutes, before it firms up. Have the area cleaned and ready before you start kneading.
- Press it in firmly. Push the putty deep into the crack or around the fitting, forcing out trapped water and air. Overfill slightly and smooth it with a wet finger or plastic tool, feathering the edges into the surrounding surface.
- Hold if needed. On a vertical or overhead spot, hold light pressure for a couple of minutes until it grabs.
Cure Time and When to Swim
Most pool epoxy putties reach a firm, tack-free set within 20 to 60 minutes and become swim-safe in a few hours, but the full chemical cure — where the patch reaches maximum strength and chemical resistance — takes about 24 hours. For a leak repair, it is worth leaving the pump off and the water still for the first hour so the fresh patch is not disturbed by flow around a fitting.
Water temperature affects cure speed. In a warm summer pool at 80°F and up, the putty sets faster; in cool spring water below 60°F, give it extra time before relying on the seal. Resist the urge to test the repair by swimming hard right next to it for the first day.
Choosing a Product and Getting a Clean Result
Look for a putty specifically labeled for underwater or pool and marine use — a general hardware-store epoxy stick may not be rated to cure submerged or to withstand chlorine. Reputable underwater-cure putty sticks and pool-specific repair epoxies are widely sold at pool-supply shops and home centers. White and gray are the common colors; white blends into most plaster while gray suits gunite and concrete.
A few tips lift the result from functional to nearly invisible. Keep a cup of pool water handy to wet your fingers and tools so the putty stays smooth. Mix small batches for several defects rather than one big piece that firms up before you finish. And feather the edges thin so the patch does not leave a raised lump that catches feet or hands.
Cost, Coverage, and When to Call a Pro
Pool epoxy putty is one of the cheapest repairs in the pool-maintenance world. A single 4-ounce stick costs $8 to $15 and handles several small defects, while a larger tub for a bigger project runs $20 to $40. Compare that to the cost of draining and refilling a 20,000-gallon pool, which wastes the water, risks a fiberglass or plaster shell floating or cracking when empty, and can run into hundreds of dollars once you factor in re-balancing the chemistry.
Still, know when a putty patch is a stopgap rather than a solution. If a leak persists after a careful repair, if you are losing more than a quarter inch of water a day, or if cracks keep reopening, the problem is likely structural or in the underground plumbing — situations for a professional leak-detection service that can pressure-test the lines and pinpoint the source. Putty buys you time and fixes the common defects, but chasing a mystery leak with stick after stick of epoxy wastes money.
Keep a stick or two on hand year-round so a small crack gets sealed the day you spot it. Catching a hairline defect early, before water works behind the shell or erodes a fitting pocket, is what separates a two-dollar fix from a major off-season repair.
Final Thoughts on Pool Epoxy Putty
For the everyday leaks and chips that come with owning a pool, pool epoxy putty is one of the most cost-effective tools you can keep in the pump-house cabinet. It stops a slow leak around a return fitting or a cracked step in an afternoon, underwater, for the price of a couple of dollars per repair — a fraction of the cost and hassle of draining the pool.
Respect its limits: it is a spot fix for defined defects, not a cure for a structurally failing shell or a moving joint. But for the routine cracks, loose tiles, and leaking fittings that make up the vast majority of pool problems, a well-kneaded, firmly pressed patch of pool epoxy putty delivers a permanent, watertight seal that keeps your water where it belongs.