Most people who switch a popcorn ceiling to knockdown underestimate one thing: scraping is only half the job. Once the cottage-cheese texture comes off, you are left with a ceiling full of tape seams, gouges, and bare paper that has to be patched and primed before any new texture will stick evenly. Skip those middle steps and the knockdown flashes, peels, or shows every flaw you hoped to hide.
The full sequence runs in six stages: test the old texture for asbestos, wet-scrape it off, repair the drywall, prime with a stain-blocking primer, spray and knock down the new texture, then paint. A typical 12 by 14 foot bedroom takes a careful DIYer three to four days once drying time is counted. Most of that time is waiting, not working.
If you only want the old texture gone, a removal job ends at the scraping stage. This conversion goes further, all the way to a finished, painted knockdown ceiling that looks like it came from a new build.
Is Converting a Popcorn Ceiling to Knockdown Worth It?
For most homes, yes. Popcorn texture traps dust and cobwebs, is nearly impossible to clean, and crumbles when you try to patch or repaint it. Buyers often read it as a sign of an untouched 1970s or 1980s interior. Knockdown, by contrast, has a flatter, mottled look that hides minor drywall flaws without the dated feel, and it takes paint with a normal roller.
Converting a popcorn ceiling to knockdown also costs far less than hanging new drywall over the old ceiling. You reuse the existing board, and the texture itself is just joint compound thinned with water. The tradeoff is labor and mess. Plan to empty the room completely, or at least move everything to the center and wrap it in plastic.
Some homeowners look for shortcuts, such as trying to roll on popcorn ceiling coatings or skim a heavy texture paint over the old surface. Rolling anything over popcorn usually pulls the loose texture off in strips and leaves a lumpy mess. Removal first is the reliable route.
Safety First: Asbestos, Lead, Dust, and Ladders
Popcorn texture applied before the mid-1980s can contain asbestos. Do not scrape, sand, or even wet a ceiling until a sample has been tested by an accredited lab. Mist a small area, scrape a teaspoon-sized sample into a sealed bag while wearing a respirator, and send it in. Results usually come back in a few days. If asbestos is present, stop and hire a licensed abatement contractor; disturbing it yourself can release fibers that stay in the home for years, and many areas regulate how it must be removed.
Painted popcorn ceilings in homes built before 1978 can also carry lead paint. Test the paint layer with a lead test kit or through the same lab. If it tests positive, follow lead-safe work practices: wet methods only, plastic containment, no dry sanding, and HEPA cleanup.
Even clean joint compound creates fine dust when you sand patches, and some compounds contain crystalline silica. Wear an N95 or, better, a P100 respirator, sand with a pole sander attached to a HEPA shop vacuum where you can, and clean with HEPA filtration instead of sweeping.
Ladder work is constant on this project. Use a sturdy step ladder or a rolling scaffold rated for your weight plus tools, keep three points of contact, and never stand on the top step or the paint shelf. For two-story foyers or stairwell ceilings, hire a pro with proper staging.
Tools and Materials
- Pump garden sprayer and clean water (with a few drops of dish soap)
- Wide ceiling scraper or 6 to 10 inch taping knife with rounded corners
- Plastic sheeting (4 to 6 mil for floors, 1 mil for walls), painter’s tape, and drop cloths
- All-purpose joint compound, setting-type compound for deep gouges, and paper or mesh tape
- Pole sander with 150 to 220 grit screens, plus a HEPA shop vacuum
- Stain-blocking primer suitable for drywall and joint compound
- A drywall texture sprayer hopper with an air compressor (at least 2 to 3 CFM at 40 psi)
- Knockdown knife (a wide flexible plastic or rubber-edged blade, 18 to 24 inches)
- Bucket, mixing paddle, and drill
- Ceiling paint and a roller with a 3/8 to 1/2 inch nap
- Respirator, safety glasses, hat, and gloves
A hopper gun with an air compressor is the tool that makes knockdown look professional. Aerosol texture cans work for patches but not for a whole ceiling. Rental stores often carry hopper guns, though they are inexpensive enough to buy.
Step-by-Step: Popcorn Ceiling to Knockdown
1. Prep and Contain the Room
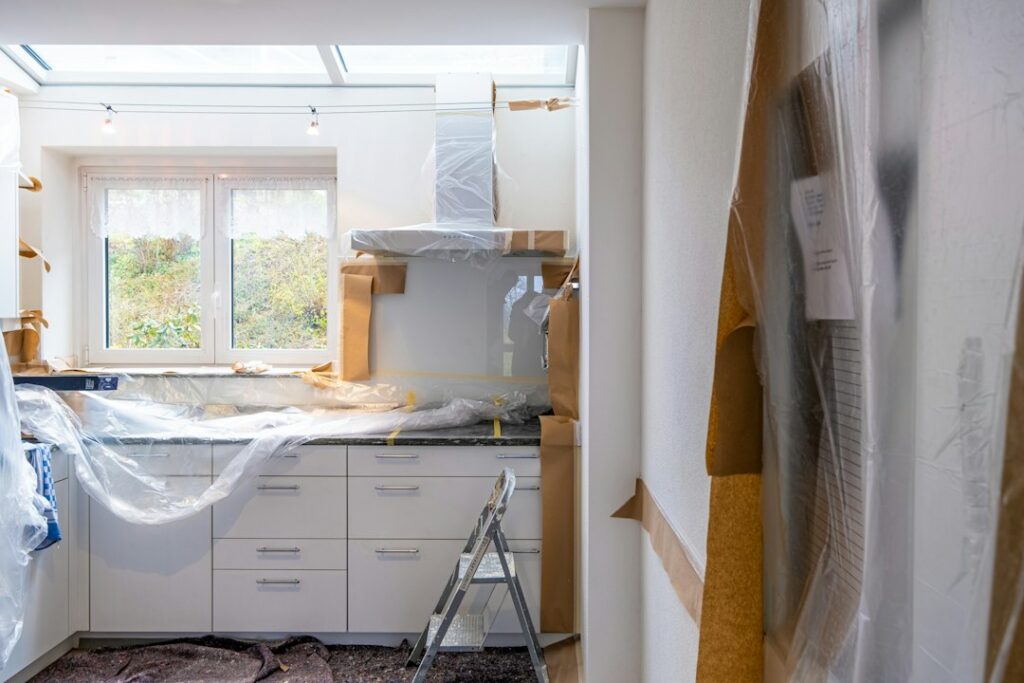
Turn off the breaker for any ceiling fixtures and confirm the power is off with a non-contact voltage tester before you remove fixtures or cover boxes. Never work on powered wires. Cap and tape the boxes, cover vents, and run plastic from the top of the walls down to the floor. Wet scraping drops a lot of soggy material, so lay a floor tarp that runs a few inches up each wall.
2. Wet and Scrape
Spray a 4 by 4 foot section with water and wait 10 to 15 minutes. The texture should soften like oatmeal. Hold the scraper at a low angle and push gently; let the water do the work. Gouging the paper face is the most common mistake. If a section resists, it is probably painted, and you may need to score it lightly and soak it twice. Keep the surface damp, not dripping, so the drywall paper does not delaminate.
3. Inspect and Repair
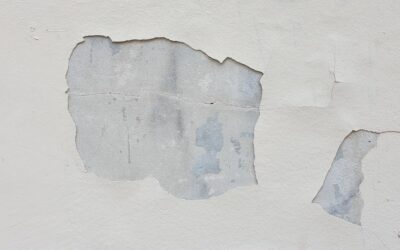
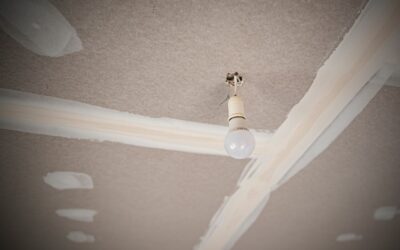
Let the ceiling dry overnight, then look at it under a work light held at a low angle. Expect exposed tape seams, nail pops, and torn paper. Reset popped fasteners with drywall screws, cut away loose tape and re-tape the seam, and seal torn paper with a thin coat of primer before mudding over it (mud on raw torn paper bubbles). Fill deep gouges with setting compound, then skim with all-purpose compound. Knockdown hides small flaws but not ridges or dips larger than about 1/8 inch.
4. Sand and Prime
Lightly sand patches flush and vacuum the ceiling. Apply a full coat of stain-blocking primer over the entire surface. This step seals water stains, gives the patched and unpatched areas the same absorbency, and keeps the new texture from drying at different speeds. Skipping primer is the main reason a fresh knockdown dries blotchy.
5. Mix and Spray the Texture
Thin all-purpose joint compound with water to roughly the consistency of pancake batter. Mix thoroughly with a paddle so no lumps clog the gun. Set the compressor around 25 to 40 psi and use a medium orifice. Hold the gun about 18 to 24 inches from the ceiling and spray in overlapping circular passes, aiming for about 60 to 70 percent coverage in splatters, not a solid coat. Test on a scrap of drywall first to dial in splatter size.
6. Knock It Down
Wait until the splatters lose their wet shine, usually 10 to 20 minutes depending on humidity. Then drag the knockdown knife lightly across the surface at a shallow angle, barely touching the peaks to flatten them. Work in one direction, overlap passes slightly, and wipe the blade often. Too early and the compound smears; too late and it chips. Do one section at a time so the timing stays consistent.
7. Dry, Prime, and Paint
Let the texture cure 24 hours, or longer in humid weather. Prime again if your paint label calls for it, then roll on a flat ceiling paint with a thicker nap that reaches into the texture’s low spots. Flat sheen hides the most.
Troubleshooting Common Problems
- Texture smears into flat blobs: you knocked down too soon or the mix was too thin. Let the next section set longer or add compound.
- Splatters are too small or too uniform: raise the mix thickness slightly, lower the air pressure, or use a larger orifice.
- Bubbles in patched areas: mud was applied over torn paper without sealing. Cut out the bubble, prime the paper, and re-patch.
- Visible seams or tape lines through the texture: the seams needed another skim coat before texturing. Sand, skim, prime, and spot-texture.
- Blotchy dry color: unprimed patches absorbed moisture faster. A coat of primer before paint usually evens it out.
- Scraper won’t release the popcorn: the texture was painted. Score it, soak twice, or consider covering the ceiling with thin drywall instead.
Cost to Convert Popcorn to Knockdown
DIY costs are mostly materials and tool rental. Expect roughly $100 to $300 for a single room covering compound, primer, paint, plastic, and a hopper gun, plus a lab fee for the asbestos test that typically runs a modest amount per sample. If you need to buy a small compressor, add more.
Professional removal plus new knockdown texture commonly lands in the range of $2 to $4 per square foot for standard ceilings, sometimes more for vaulted ceilings, heavy repairs, or painted popcorn. Asbestos abatement is a separate and much larger expense, often several dollars per square foot on top of the finish work. Get at least three quotes and ask whether priming, repairs, and painting are included.
When to Call a Pro
Hire a professional if your test comes back positive for asbestos, if lead paint is present and you cannot set up proper containment, or if the ceiling is over a stairwell or higher than you can safely reach from a step ladder. Pros are also worth the money when the drywall is badly damaged, when water stains point to a leak that needs to be fixed first, or when you want an especially consistent finish across an open floor plan where flaws would be easy to spot.
A drywall finisher who does knockdown daily can spray and knock down a whole house in a day once the prep is complete. Some homeowners split the work: they handle containment and paint, and pay a finisher for repairs and texture.
Frequently Asked Questions
Can I apply knockdown texture directly over popcorn?
No. Popcorn is soft and loosely bonded, so wet compound and the drag of the knockdown knife pull it loose. Remove the popcorn, repair, and prime before texturing.
How long does a popcorn ceiling to knockdown conversion take?
For one average room, plan on three to four days: one day for prep and scraping, one for repairs, one for priming and texturing, and one for paint, with drying time in between.
Do I need to test for asbestos if my house was built after 1990?
Risk is much lower in newer homes, but older stock materials were sometimes used after bans took effect. A lab test is inexpensive and removes the guesswork, so it is still a smart step.
Can I use a roller instead of a sprayer for knockdown?
You can roll thinned compound with a thick-nap roller and knock it down, which gives a softer variation of the look. It is slower and less consistent than spraying, but it works for small rooms.
What paint sheen works best on a knockdown ceiling?
Flat ceiling paint is the standard choice because it hides texture shadows and minor flaws. Higher sheens highlight every ridge.