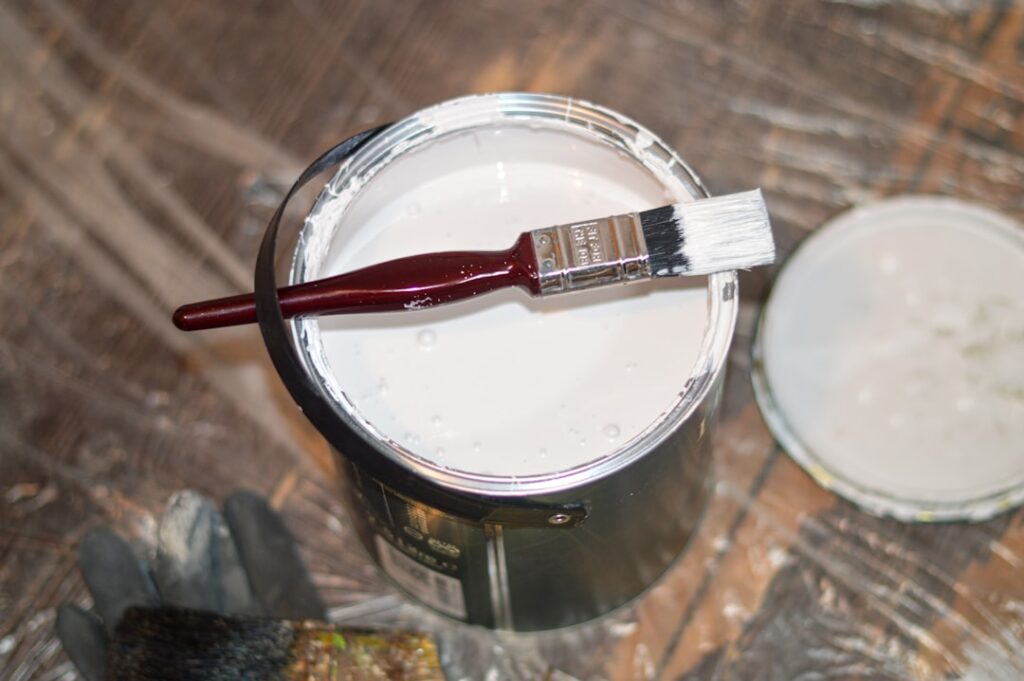
A single dropped shampoo bottle can leave a nickel-sized chip in a porcelain tile that stares at you every morning. The good news is that you rarely need to rip out the whole floor to fix it. Porcelain touch up paint is a small-batch coating designed to fill and recolor those chips, scratches, and worn spots so they blend back into the surrounding surface. Done right, a repair that costs under $15 can hide damage that would otherwise cost hundreds to replace. I’ve used it on floor tile, wall tile, tubs, and pedestal sinks, and the difference between an invisible fix and an obvious smear comes down almost entirely to prep and color matching.
What Porcelain Touch Up Paint Actually Is
Most products sold under this name are not true paint in the wall-paint sense. They are either a two-part epoxy, a urethane-modified acrylic, or an air-dry enamel formulated to bond to the hard, glassy glaze on porcelain and ceramic. The epoxy versions cure to a hard, glossy shell that resists water and mild abrasion, which makes them the better choice for floors and wet areas. Air-dry enamels are easier to apply and are fine for a low-traffic wall tile or a sink that only sees occasional splashing.
You’ll find them in three formats: tiny bottles with a built-in brush (think nail-polish applicator), squeeze tubes, and small paired cans of resin and hardener. Brands like Rust-Oleum Specialty Tub and Tile, Porc-A-Fix, and Homax all make versions, and prices run roughly $8 to $25 for enough material to handle several chips.
Matching the Color Correctly
Color is where most DIY repairs fail. Porcelain “white” is never just white. There’s arctic white, biscuit, bone, almond, and a dozen manufacturer-specific shades that shift under different lighting. Porc-A-Fix sells more than 100 keyed colors matched to major fixture brands like Kohler, American Standard, and TOTO, so if you know the manufacturer, start there.
For tile with no known brand, buy a neutral white and a biscuit, then test both on an inconspicuous spot such as inside a cabinet run or behind an appliance. View the dried sample in daylight and again under your kitchen or bathroom lighting. A shade that looks perfect at noon can read yellow under warm LED bulbs at night. When in doubt, err slightly toward the cooler, brighter option, since a too-warm patch stands out more.
Tools and Materials You’ll Need
- Porcelain touch up paint in your matched color
- 220 and 400-grit wet/dry sandpaper
- Acetone or isopropyl alcohol (90%+) for degreasing
- Painter’s tape and a few cotton swabs
- A fine artist’s brush (a 10/0 liner) for tight chips
- Clear porcelain glaze or a gloss sealer if the product doesn’t dry glossy
Keep a lint-free rag and a small cup of solvent nearby. Enamel that lands where you don’t want it wipes off cleanly for the first 60 seconds, but becomes a scraping job once it flashes off.
Step-by-Step Repair Process
Start clean. Scrub the chip and about an inch around it with a degreasing cleaner, rinse, and let it dry completely. Any soap film, silicone residue, or body oil will keep the paint from bonding. Then wipe the area with acetone on a cotton swab.
Next, knock down any sharp edges around the chip with 220-grit paper, then feather the immediate rim with 400-grit. You want the crater smooth, not polished glass, so the paint has a little tooth to grab. Wipe away the dust with solvent again and let it flash dry for two minutes.
Apply the paint in thin coats. This is the single most important tip: resist the urge to fill a deep chip in one pass. A thick glob will sag, trap air bubbles, and dry with an orange-peel texture. Build the repair up in layers, letting each one set for the time on the label (usually 30 to 60 minutes for enamel, longer for epoxy). For a chip deeper than 1/16 inch, the first coats are really filler; the last thin coat is what you’ll see.
Level the final coat flush with the surrounding glaze. If the dried patch sits slightly proud, wet-sand it gently with 400-grit once it has fully cured, then buff. If the product doesn’t dry glossy on its own, brush a drop of clear porcelain glaze or gloss sealer over the repair to match the sheen of the tile.
Curing and Cure Times
Handle-dry and fully cured are two different things. An air-dry enamel may feel dry to the touch in an hour but needs 24 to 72 hours to reach full hardness. Epoxy kits often want a full 3 to 7 days before heavy use. Keep water off the repair during this window. On a shower floor, that means no showers for at least three days, which is inconvenient but non-negotiable if you want the fix to last. Keep the room between 60°F and 80°F while it cures; cold slows everything down and can leave the finish tacky.
Repairing Different Surfaces
The same bottle behaves a little differently depending on where you’re using it. On a floor tile, the repair sits in a horizontal, high-traffic zone, so an epoxy formula and an extra gloss topcoat are worth the effort; foot grit will find any soft spot. On a wall tile behind a sink or backsplash, an air-dry enamel is usually plenty because the surface only sees splashes, and you can get away with fewer coats. Tubs and sinks add one wrinkle: they flex slightly under weight and expand with hot water, so a repair there needs a flexible urethane or epoxy rather than a brittle enamel that will crack at the edge. For a chip on a tub floor where you stand, rough the area a touch more aggressively with 220-grit for extra bite, since that spot takes the most abuse of any porcelain in the house.
Grout lines near a chip deserve attention too. If the damage reaches a joint, dig out any loose grout and let the touch-up paint bridge only the tile face, then re-grout the joint separately. Painting over crumbling grout just seals in a problem that will resurface within months.
When Touch Up Paint Isn’t the Answer
Paint hides cosmetic damage. It does not restore structural integrity. If a floor tile is cracked all the way through, loose, or hollow-sounding when you tap it, the tile needs replacement, not paint. The same goes for a tub with a spider-web of stress cracks; that’s a sign the substrate is flexing, and paint over it will just crack again.
Large damaged areas bigger than a quarter are also poor candidates. A brush repair over a broad zone almost always shows edges and texture differences. For those, look at a professional porcelain reglazing service, which sprays the whole fixture and runs $350 to $600 for a tub but delivers a seamless result.
Making the Repair Last
Once cured, treat the repaired spot a little gently. Skip abrasive scouring powders and stiff brushes directly on it, and use pH-neutral cleaners instead of harsh acids. A well-executed patch on a low-traffic tile can hold for years. On a shower floor or a heavily walked kitchen tile, expect to touch it up again every couple of years as foot traffic slowly wears the coating. Keeping the leftover bottle labeled with the room and color makes that follow-up a five-minute job instead of another color-matching hunt.
Porcelain touch up paint won’t fool a contractor who gets down on hands and knees with a flashlight, but for everyday viewing it makes chips genuinely disappear. Spend your effort on clean prep, honest color matching, and thin coats, and you’ll get a repair that reads as original glaze from standing height, which is all that really matters in a busy home.
Prefer to explore on your own?
See how new flooring looks in your actual room in seconds — free, no signup.
Try the free Floor Studio →