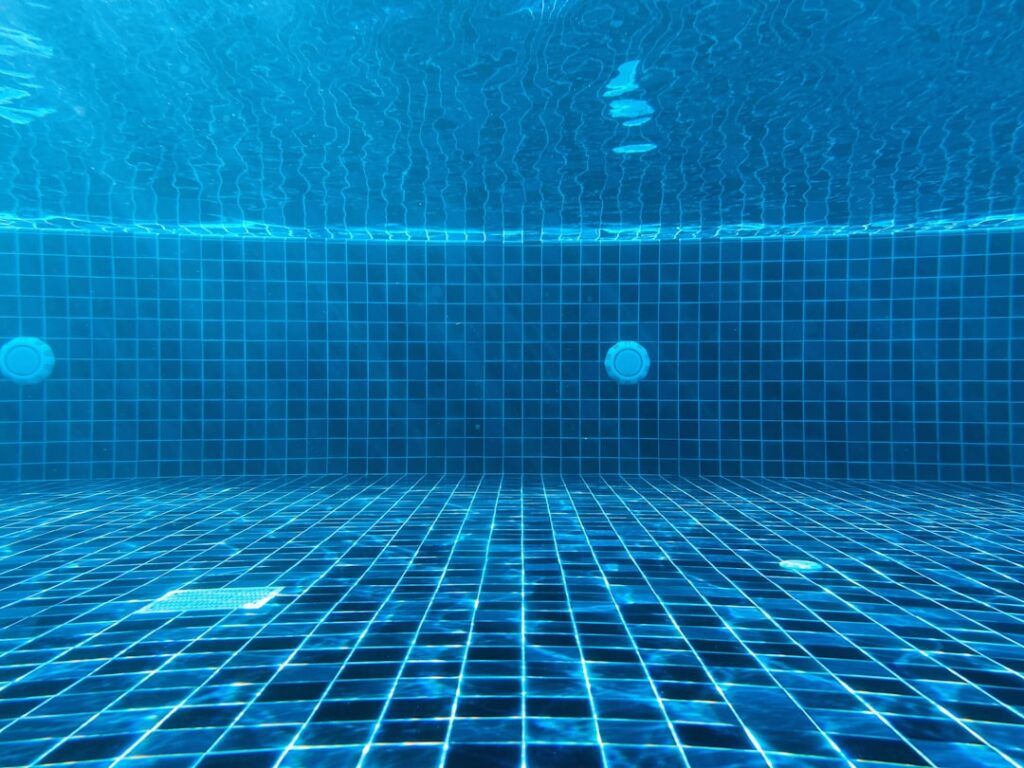
Few details make or break a pool more quietly than the grout holding the tile together. Good pool tile grout keeps water where it belongs, resists the relentless chemistry of chlorinated water, and stops small cracks from turning into expensive leaks. When the grout fails, you get loose tile, stained joints, and water creeping behind the shell.
Part of our Tile & Grout guide — explore the full guide →
Whether you are building a new pool, replacing a tired waterline band, or just trying to keep your existing joints clean, the grout you choose and how you maintain it matters far more than most homeowners realize. This guide walks through the grout types that actually hold up underwater, what installation and repair cost, and how to keep those joints crisp.
Why Pool Grout Is Different From Bathroom Grout
The grout in your shower lives in a fairly forgiving world. Pool grout does not. It sits in water that may swing between 78°F and 90°F, gets dosed with chlorine or salt, freezes and thaws in colder climates, and absorbs UV exposure all summer long. That combination breaks down ordinary cement-based products fast.
Standard sanded cement grout is porous. In a pool, that porosity is a problem because it soaks up water, harbors algae, and degrades when pool pH drifts out of the ideal 7.2 to 7.8 range. Acidic water in particular eats cement grout, etching the joints and washing out the binder over a season or two. That is why pool builders rarely rely on plain cement grout below the waterline.
Best Grout Types for Pool Tile
You have three realistic options, and the right one depends on where the tile sits and how much abuse it takes.
- Epoxy grout: The gold standard for waterline tile and submerged applications. Epoxy is nonporous, chemical-resistant, and bonds tightly, so it shrugs off chlorine, salt, and pH swings. It costs more and is harder to install, but it can last 15 to 20 years or longer with minimal staining.
- Modified cement grout (polymer-fortified): A step up from plain cement, with latex or acrylic additives that improve water resistance and flexibility. It is cheaper and more forgiving to install than epoxy, but it still needs sealing and will not match epoxy’s lifespan underwater.
- Hydraulic or specialty pool setting materials: For the bond beneath the tile, builders often use a thinset and bedding mortar rated for submersion. The grout you see is only part of the system; what holds the tile to the shell matters just as much.
For the waterline band, which takes the worst of the chemical and freeze-thaw stress, epoxy grout is almost always worth the premium. For decorative tile on steps or raised walls that stay submerged, polymer-modified grout can be acceptable if you stay on top of sealing.
What Pool Tile Grout Costs
Costs vary with material, pool size, and whether you are doing a full waterline or spot repairs. Treat these as ballpark estimates, not quotes:
- Epoxy grout material: roughly $8 to $20 per pound, and a typical waterline job uses several pounds depending on tile size and joint width.
- Professional waterline tile and grout replacement: commonly $1,500 to $5,000 for an average residential pool, driven mostly by labor, draining, and surface prep.
- DIY regrouting supplies: a few hundred dollars in grout, tools, and sealer if you handle a small repair yourself.
Draining a pool, scaffolding access, and the labor to chip out failed joints are usually the biggest line items. A simple touch-up costs little; a full waterline restoration is a meaningful project.
How to Repair Failing Grout Joints
Small repairs are within reach for a handy homeowner, though anything structural or below the waterline often justifies a pro. If you tackle a localized fix, work methodically:
- Lower the water below the repair area so the joints can dry fully. Grout will not cure properly against wet substrate.
- Remove the failed grout with a grout saw or oscillating tool, clearing the joint to a consistent depth without chipping the tile edges.
- Clean out dust, algae, and old sealer. A clean, dry joint is the single biggest factor in a lasting repair.
- Mix the grout per the manufacturer’s instructions and pack it firmly into the joints, leaving no voids.
- Tool the joints smooth, then clean haze off the tile face before it sets.
- Let it cure fully, often several days for epoxy, before refilling the pool.
Always follow the product data sheet for cure times and temperature ranges. Epoxy in particular has a working window measured in minutes, so mix only what you can place quickly.
Sealing and Protecting Your Grout
If you used a cement-based or polymer-modified grout, sealing is not optional. A quality penetrating sealer reduces water absorption, slows staining, and makes routine cleaning easier. Plan to reseal cement grout every one to two years, more often in heavily used or high-sun pools.
Epoxy grout is the exception. Because it is already nonporous, it does not need a sealer, which is a big part of its long-term appeal. That maintenance savings often offsets the higher upfront cost over the life of the pool.
Keeping Pool Tile Grout Clean
Calcium scale and waterline grime are the two enemies of crisp-looking joints. White, crusty buildup at the waterline is calcium carbonate or calcium silicate, and it clings to grout as readily as it does to tile. Stay ahead of it and the grout stays bright.
- Brush the waterline weekly with a soft brush to stop scale from bonding.
- Use a pool-safe tile cleaner or a paste of baking soda and water for light deposits.
- For stubborn calcium, a pumice stone works on hard tile and grout but can scratch softer glass tile, so test first.
- Keep water chemistry balanced; high calcium hardness and high pH accelerate scaling.
Avoid harsh acid washing as a routine habit. Muriatic acid will strip calcium, but repeated acid exposure shortens the life of cement grout and can etch some tile finishes. Reserve aggressive treatments for occasional deep cleans, handle acids with proper ventilation and PPE, and consider a pool professional for anything beyond surface cleaning.
When to Call a Professional
Cosmetic cleaning and a few feet of touch-up grout are reasonable DIY territory. Once you see widespread hollow-sounding tile, recurring leaks, or grout failure across the whole waterline, the issue is usually deeper than the joint itself, and a pool tile specialist should evaluate it.
The right grout, installed and maintained correctly, is one of the cheapest forms of insurance for an expensive backyard investment. Match the product to the exposure, keep the chemistry balanced, and brush the waterline regularly, and your pool tile grout will stay watertight and good-looking for many seasons.
Prefer to explore on your own?
See how new flooring looks in your actual room in seconds — free, no signup.
Try the free Floor Studio →