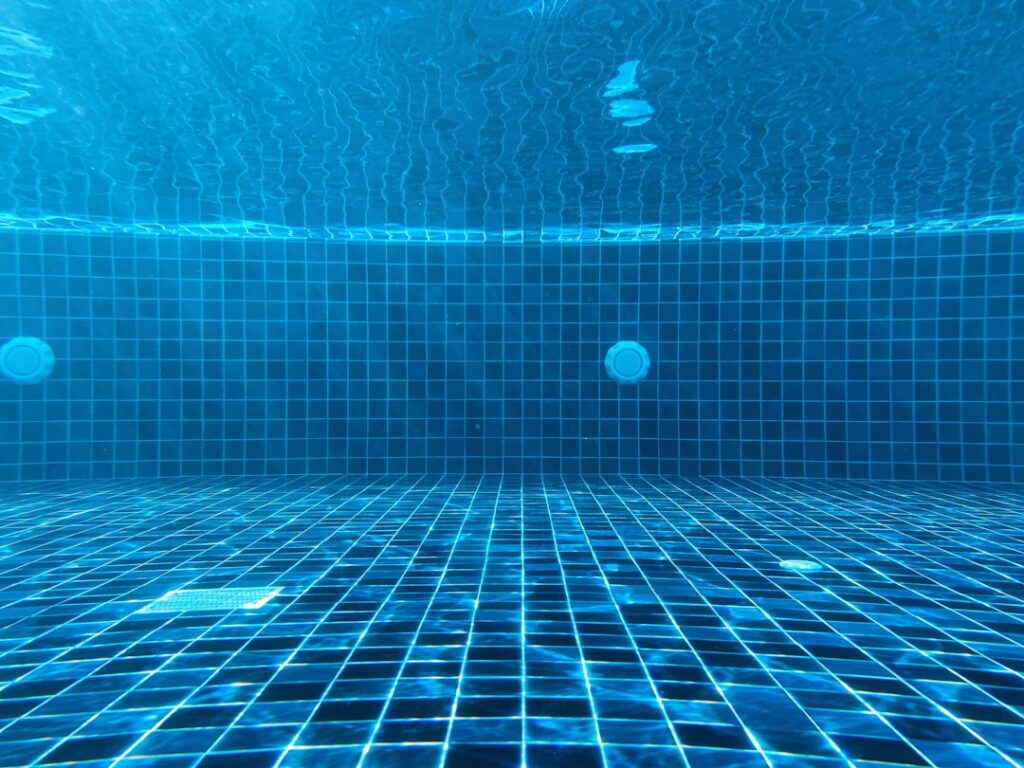
The grout holding your pool tile together does far more than fill the gaps; it is a continuous waterproof barrier under constant chemical assault. Choosing the right pool grout is one of those decisions that quietly determines whether your tile stays watertight for decades or starts crumbling and staining within a few seasons. A pool is one of the harshest environments grout ever faces: permanent submersion, chlorine or salt, fluctuating temperatures, and water pressure all working against it. The grout that performs beautifully on a kitchen backsplash can fail quickly underwater, so the product choice matters as much as the workmanship.
Why Pool Grout Is Different
Ordinary indoor grout is not engineered for permanent submersion in chemically treated water. Pool grout has to resist:
- Constant water exposure, which breaks down porous cement grout over time.
- Pool chemicals, chlorine and salt, that attack and bleach standard grout.
- Freeze-thaw cycles in cold climates that crack inflexible grout.
- Staining from algae, minerals, and metals in the water.
Because of these demands, the grout you choose is not a minor detail but a core part of keeping the pool shell sealed and the tile in place.
Epoxy vs. Cement Grout
The biggest decision is the type of grout, and for pools the case for epoxy is strong:
- Epoxy grout: Made from epoxy resins and a hardener, it is nonporous, highly chemical-resistant, stain-proof, and never needs sealing. It bonds tenaciously and stands up to chlorine and salt. The downsides are a higher cost, a faster working time that punishes slow installers, and a more demanding application.
- Cement grout: Cheaper and easier to work with, but porous. In a submerged pool environment it absorbs water and chemicals, stains more easily, and breaks down faster unless it is a high-quality polymer-modified product and diligently maintained.
For waterline tile and especially for the submerged tile inside the pool, epoxy grout is widely considered the better long-term investment. Many homeowners use epoxy throughout because the durability and stain resistance pay off over the life of the pool.
Waterline Tile and Submerged Tile
Pools have two zones that both need attention. The waterline tile band, that strip at the surface where water meets the wall, takes the worst of the scale, oils, and chemical exposure. Submerged tile on steps, benches, and the pool floor lives underwater permanently. Both benefit from a nonporous grout that resists staining and chemical attack.
The waterline is where scale and grime show first, so a stain-resistant epoxy grout keeps that visible band looking clean far longer than cement. On submerged tile, the watertight bond of epoxy helps prevent water from working its way behind the tile, which is a common cause of tiles popping loose.
Choosing a Grout Color
Color affects both looks and maintenance:
- White and light grout brightens the pool and complements blue water, but shows scale lines, mineral deposits, and any staining more readily.
- Gray and medium tones hide deposits and dirt better while still looking clean.
- Blue and dark grout blends with the water and tile for a seamless look, masking the most grime.
Glass tile, common at the waterline, often pairs with a complementary grout that lets the glass catch the light. With epoxy grout, the color stays consistent since it does not absorb stains the way cement does, so what you install is closer to what you keep.
Application Best Practices
Epoxy grout rewards preparation and speed, because it sets faster than cement and is unforgiving once it skins over. Key practices:
- Drain and dry the work area. Tile and joints must be clean and dry before grouting submerged surfaces.
- Mix small batches. Epoxy has a short working window, so mix only what you can install before it stiffens.
- Pack joints fully. Voids and pinholes let water intrude, so work grout completely into every joint with a hard rubber float.
- Clean as you go. Epoxy haze is far harder to remove once cured, so wipe and detail joints promptly with the recommended cleaning method.
- Cure before filling. Let the grout cure for the manufacturer’s recommended time, often several days, before refilling the pool.
Because epoxy is demanding and the stakes are high, many homeowners hire an experienced pool tile installer rather than risk a failed grout job on a freshly drained pool.
Sealing and Maintenance
One advantage of epoxy grout is that it does not require sealing, since it is already nonporous. If you use cement grout, sealing becomes essential and must be repeated, though sealing submerged grout is inherently difficult and another reason pools favor epoxy.
For ongoing care, keep your water chemistry balanced. Aggressive or imbalanced water, with low pH or high chlorine, accelerates grout and plaster deterioration. Brush the waterline regularly to remove scale and oils before they build into a hard line, and address any calcium scaling promptly. Watch for early warning signs of grout failure: loose tiles, hollow sounds when tapping the tile, missing or cracked grout, and water loss that points to leaks behind the tile.
Common Pool Grout Problems
Knowing the warning signs lets you catch trouble before it spreads. The most frequent issues homeowners run into:
- Calcium scaling: A white, crusty buildup along the waterline grout caused by imbalanced water chemistry. It looks like the grout is deteriorating but is actually mineral deposit, removable with the right scale treatment.
- Staining and discoloration: Cement grout absorbs metals, algae, and organics from the water and discolors. Epoxy grout largely avoids this.
- Cracking and crumbling: Often a sign of freeze-thaw stress, shell movement, or a low-quality grout breaking down under chemical attack.
- Tiles popping loose: Usually means water has gotten behind the tile through failed grout, undermining the bond.
Telling scale from grout failure matters, because scale is cleaned off while failing grout must be replaced. When in doubt, scrub a test spot; if the white layer comes off and sound grout remains beneath, it was scale, not damage.
When to Regrout
If you notice crumbling, cracked, or missing grout, or tiles that move and sound hollow, it is time to address the grout before water gets behind the tile and undermines the bond. Regrouting involves draining the pool, removing the failed grout, cleaning the joints, and applying fresh, ideally epoxy, grout. Caught early, regrouting the waterline is a manageable refresh. Left too long, water intrusion can loosen large sections of tile and turn a grout repair into a full retile.
The bottom line on pool grout is simple: spend a little more on a nonporous, chemical-resistant epoxy product up front, install it carefully, and keep your water balanced. Do that, and the grout becomes the part of the pool you never have to think about, which is exactly how it should be.