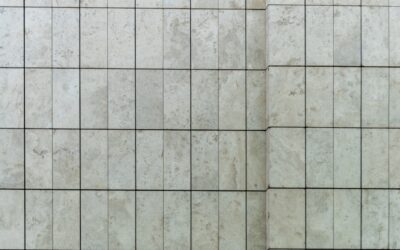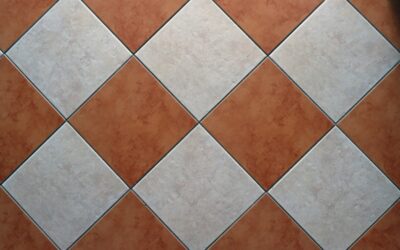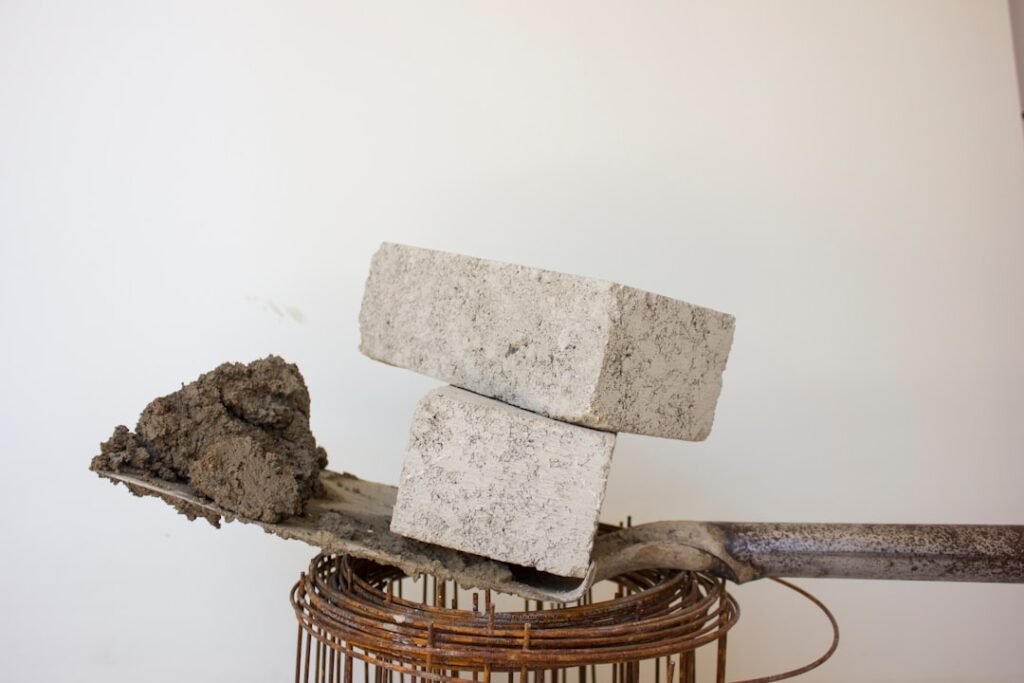
Walk into any tiled kitchen, bath, or entryway in America and odds are the lines between the tiles are filled with cement grout, the most widely used and most misunderstood part of any tile job. Cement grout is a powder of Portland cement, fine aggregate, and additives that you mix with water to fill the joints between tiles, locking them in place and sealing out debris. It is affordable, strong, and available in dozens of colors, which is why it dominates residential tile work. But cement grout is also porous, which means it stains, absorbs water, and needs proper sealing and care to perform the way it should. Understanding how it works saves you from the cracked, discolored joints that plague poorly done tile.
Part of our Tile & Grout guide — explore the full guide →
What Cement Grout Actually Is
At its core, cement grout is a cementitious mixture: Portland cement bound with fine sand or other aggregate, sometimes enhanced with polymers for added strength and water resistance. When you add water and let it cure, it hardens into a rigid filler that grips the edges of each tile and holds the whole installation together as a unit.
Because it is cement-based, the cured grout has tiny pores throughout. Those pores are what make cement grout breathable and easy to work with, but they are also why it readily soaks up water, grease, and colored liquids. That single trait, porosity, drives nearly every rule about how to seal and maintain it.
Sanded Versus Unsanded Cement Grout
The most important choice with cement grout is whether to use sanded or unsanded, and it comes down to the width of your tile joints. Getting this wrong leads to cracking or sagging.
- Sanded grout — Contains fine sand for strength and to resist shrinkage. Use it for joints 1/8 inch and wider, which covers most floor tile and many walls.
- Unsanded grout — Smoother, without sand, made for narrow joints under 1/8 inch. Common with polished stone and glass tile that sand could scratch.
- Polymer-modified grout — Either type with added latex polymers for better water resistance and flexibility, a good upgrade for wet areas.
The rule of thumb: wide joints need sand for strength, narrow joints need the smooth unsanded version. Use unsanded in a wide joint and it will crack; force sanded into a hairline joint and it won’t pack properly.
Mixing Cement Grout Correctly
Cement grout lives or dies on the mix, and a too-wet batch is the most common DIY error. Always follow the manufacturer’s water ratio precisely, since adding extra water to make the grout easier to spread weakens the cured product and causes it to crack, shrink, and lighten unevenly.
Add the powder to the water gradually and mix to a smooth, peanut-butter consistency with no dry lumps. Then let the mix slake, or rest, for the time listed on the bag, usually about 10 minutes, which lets the chemicals fully activate. Stir it once more before applying. Mix only as much as you can use within its working time, typically 30 minutes to an hour, because grout that starts to set in the bucket cannot be revived with more water without ruining it.
Applying and Finishing Grout
The application sequence affects both strength and appearance, and rushing the cleanup ruins an otherwise good job. A reliable process keeps joints full and faces clean.
- Spread grout across the tile with a rubber float held at a 45-degree angle, packing it fully into every joint with no voids.
- Scrape excess off the tile face by dragging the float diagonally across the joints.
- Wait until the grout firms up, roughly 15 to 30 minutes, then wipe the surface with a damp, well-wrung sponge in gentle circular strokes.
- Rinse the sponge often and avoid over-wetting, which pulls cement out of the joints and weakens them.
- Once the surface dries, buff away the light grout haze with a clean dry cloth.
Tool the joints to a slightly concave, uniform depth as you go, since neat, consistent joints are the hallmark of a professional-looking tile job.
Why Sealing Cement Grout Is Essential
Because cement grout is porous, sealing is not optional if you want it to stay clean and resist water. An unsealed joint absorbs spills, grows mildew in wet areas, and discolors quickly, especially light-colored grout in a kitchen or bath. A penetrating sealer soaks into the pores and repels liquid so spills bead on top.
Apply sealer only after the grout has fully cured, typically 48 to 72 hours after installation. A quart of quality grout sealer costs about $15 to $40 and treats a good amount of tile. Plan to reseal every one to three years depending on traffic and moisture, and test whether resealing is due by dripping water on a joint, if it darkens and soaks in, the seal has worn off and it is time to reapply.
Cleaning and Maintaining Cement Grout
Cement grout responds well to regular, gentle cleaning and poorly to harsh chemicals. For routine cleaning, scrub joints with warm water and a soft brush, adding a mild detergent or a pH-neutral cleaner for grimier areas. Avoid acidic cleaners like vinegar and harsh acids, which eat away the cement surface over time and break down the sealer.
For set-in stains and mildew, an oxygen bleach solution or a dedicated grout cleaner works without damaging the joints. A stiff nylon brush reaches into the texture better than a flat sponge. If grout becomes permanently discolored, you can renew its look with a grout colorant or, in worse cases, scrape out the top layer and re-point with fresh grout. Keeping joints sealed and cleaning spills promptly prevents most of these problems before they start.
When to Choose Cement Grout and When to Skip It
Cement grout is the right call for the vast majority of residential tile, including most floors, backsplashes, and walls, thanks to its low cost, strength, wide color selection, and ease of use and repair. It is forgiving for DIYers and simple to patch or re-point years later. Its limits show up in demanding wet environments and where staining is a constant worry. For a steam shower, a pool surround, or a commercial kitchen, epoxy grout, which is nonporous and never needs sealing, often makes more sense despite its higher cost and trickier installation. For nearly everything else in a home, properly mixed, applied, and sealed cement grout delivers durable, attractive joints that last for decades.