
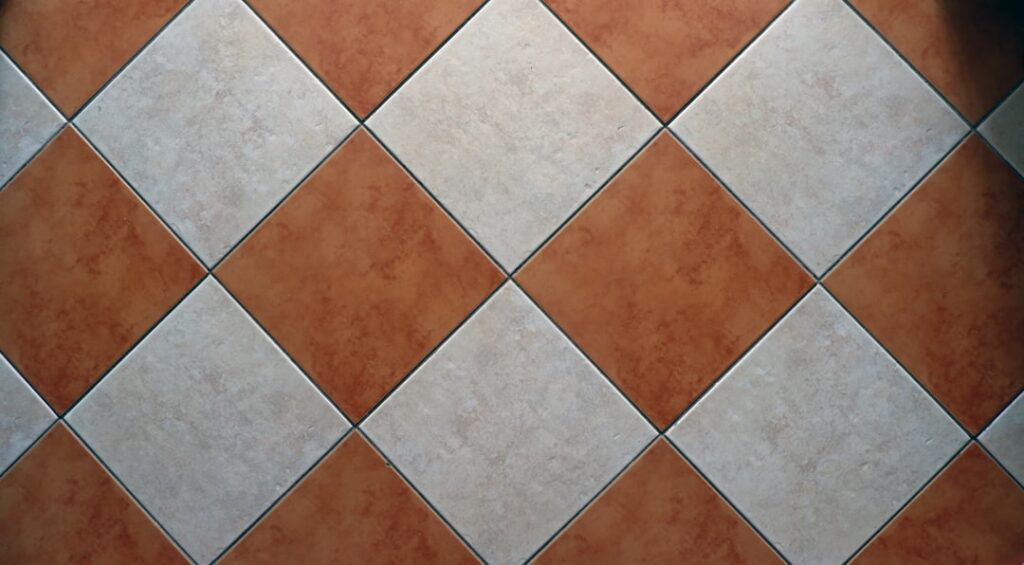
Walk into any home improvement store and you’ll find a wall of bags labeled “grout,” and figuring out which one you actually need can stall a weekend project fast. Construction grout is a broad family of cement- or resin-based fillers used to bond, seal, and support everything from bathroom tile to steel column bases. Knowing the difference between a $12 bag of tile grout and a $45 bag of non-shrink structural grout will save you money and keep your project from failing down the road.
Part of our Tile & Grout guide — explore the full guide →
I’ve mixed a lot of grout over the years, and the single most common mistake I see homeowners make is grabbing whatever bag is closest without matching the product to the job. This guide breaks down the main types, where each one belongs, how to mix it, how long it takes to cure, and roughly what you’ll pay.
What Grout Actually Does
At its core, grout is a flowable material that fills gaps. In tile work it seals the joints between tiles so water and dirt can’t get behind them. In structural and masonry work it does something bigger: it transfers load, locks reinforcing steel in place, and fills voids under equipment or precast panels. That’s why “grout” covers products ranging from a soupy pourable mix to a stiff paste you press in with a rubber float.
The key distinction is whether the grout is decorative and water-sealing (tile grout) or load-bearing (structural and masonry grout). Mixing those up, using tile grout to level a post base for example, is a recipe for cracking and failure.
Sanded vs. Unsanded Tile Grout
For most home tile projects, the first choice you’ll make is sanded versus unsanded. Both are cement-based, but the sand content changes where each one performs.
- Sanded grout: Contains fine silica sand for added strength. Use it in joints 1/8 inch and wider, floors, showers, and anywhere the grout line will take stress. The sand resists shrinkage and cracking in wider gaps.
- Unsanded grout: Smoother and stickier, made for narrow joints under 1/8 inch. It clings to vertical surfaces well, so it’s the go-to for polished stone, glass tile, and delicate finishes that sand would scratch.
A bag of either typically runs $15 to $25 for 25 pounds, enough to fill roughly 100 to 200 square feet of tile depending on joint width and tile size. Cure time is usually 24 to 72 hours before you seal, and full strength lands around 28 days like most cement products.
Epoxy Grout for High-Moisture Areas
Epoxy grout swaps cement for a resin-and-hardener system. It’s the premium choice for showers, backsplashes behind stoves, and countertops because it’s essentially waterproof, stain-resistant, and never needs sealing. Restaurant kitchens use it for exactly those reasons.
The trade-offs are real: epoxy costs $60 to $150 per unit, sets fast so you have limited working time, and is stickier and harder to clean off tile faces during application. If this is your first grout job, practice on a small section first. For a busy family bathroom, though, the durability is worth the extra effort and cost.
Non-Shrink Structural Grout
This is where grout stops being about tile. Non-shrink grout is a high-strength, flowable cement product engineered so it does not shrink as it cures. That property matters when you’re filling the gap between a steel baseplate and a concrete foundation, setting anchor bolts, or supporting machinery, because any shrinkage would leave voids and let the load rock.
Products like Sika Grout 212 or Quikrete Non-Shrink Precision Grout reach compressive strengths of 5,000 to 8,000 psi or higher. Homeowners run into this type when setting a steel post base for a deck, patching under a precast lintel, or anchoring a heavy fence post bracket. Expect to pay $20 to $50 for a 50-pound bag. You can mix it to different consistencies, from a stiff plastic pack to a fluid pour, depending on how the manufacturer’s data sheet directs for your gap size.
Cement Grout for Masonry and Rebar
Masonry grout is a fluid concrete mix poured into the hollow cells of concrete block (CMU) walls, usually around vertical rebar, to bond the wall into a solid reinforced unit. It’s a different animal from tile grout: it contains pea gravel or coarse sand and is mixed soupy enough to flow down into narrow block cavities without leaving gaps.
You’ll see two consistencies specified: “fine grout” for cavities up to about 2 inches wide and “coarse grout” for wider cells. Retaining walls, block foundation stem walls, and reinforced garden walls all rely on it. Most homeowners buy this as bagged product for $8 to $15 per bag, or order it ready-mix by the yard for larger pours. Rebar must be positioned and lapped correctly before the pour, so check your local code or plans first.
How to Mix Grout Correctly
Mixing is where good products go bad. The number one rule: follow the water-to-powder ratio on the bag, and resist the urge to add extra water to make it easier to spread. Too much water weakens the cured grout and causes color to blotch in tile joints.
- Add powder to water (not the other way around) in a clean bucket.
- Mix with a paddle on a low-speed drill until you get a smooth, lump-free paste, about the consistency of peanut butter for tile grout.
- Let it “slake” for 5 to 10 minutes, then remix briefly. This step lets the chemicals fully activate.
- For flowable structural or masonry grout, mix to the pourable consistency the data sheet specifies and use it within the stated working time, often 20 to 30 minutes.
Only mix what you can use before it starts to stiffen. Once grout begins to set in the bucket, throw it out, do not re-wet it.
Cure Times and Working Temperature
Temperature drives everything. Most cement grouts want an ambient range of 50°F to 90°F while curing. Below 50°F the cure slows dramatically and strength suffers; above 90°F or in direct sun it can flash-set before you finish. Here’s a rough timeline for planning:
- Tile grout: Light foot traffic after 24 hours, seal after 48 to 72 hours, full cure at 28 days.
- Epoxy grout: Light use in 24 hours, full chemical resistance in about 7 days.
- Non-shrink structural grout: Handles load progressively; check the data sheet, but many reach 5,000 psi in 28 days.
Keep fresh grout damp or covered in hot, dry conditions so it cures slowly and strong rather than drying out too fast and cracking.
Choosing the Right Bag
Match the product to the job and you’ll rarely go wrong. Narrow tile joints call for unsanded; wider joints and floors want sanded; wet, high-traffic areas justify epoxy. Anything load-bearing, post bases, baseplates, machine mounts, needs non-shrink structural grout, and block walls with rebar need masonry grout. When in doubt, read the bag’s intended-use line and the coverage chart, and buy 10 percent extra so you’re not running back to the store mid-project.


