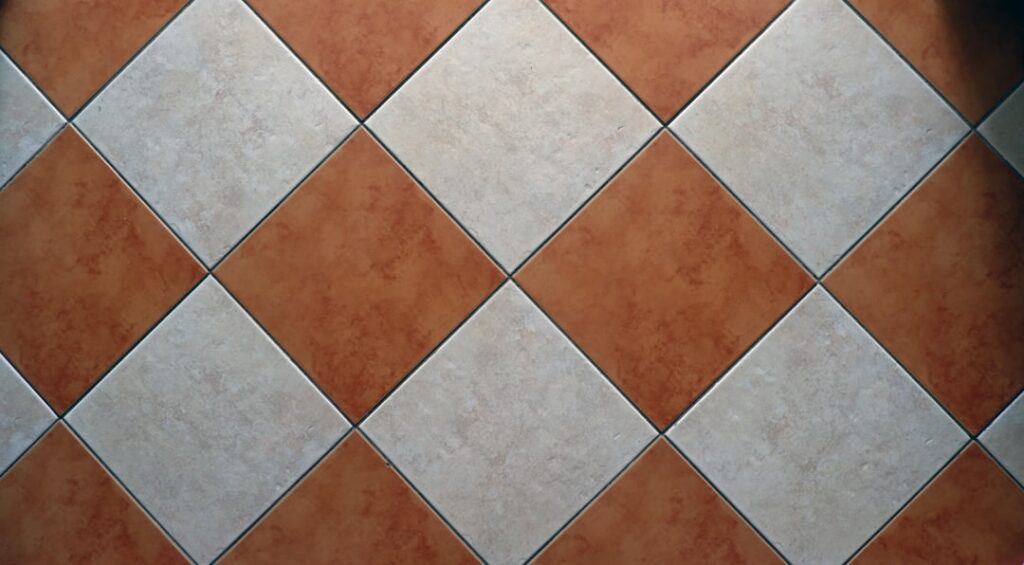
The line between a tile job that looks professional and one that screams “weekend DIY” usually comes down to the grout, not the tile. Polyblend grout is one of the most widely stocked grout lines in home centers, which makes it a default choice for homeowners tackling their first backsplash or bathroom floor. Used correctly, it delivers clean, color-consistent joints that last for years. Used carelessly, it cracks, stains, and fades. This guide covers the types, the color question, and the application steps that separate crisp joints from a patchy mess.
Sanded vs Unsanded Polyblend
The first decision is which formula to buy, and it hinges on the width of your grout joints, not personal preference. Picking wrong leads to cracking or a joint that simply will not fill.
- Sanded grout: for joints 1/8 inch and wider; the sand adds bulk and prevents shrinkage cracks in larger gaps
- Unsanded grout: for joints narrower than 1/8 inch; the smooth texture packs into tight lines without scratching delicate tile
Use unsanded on polished marble, glass, or metal tile, where sanded grout can scratch the surface during application. For floor tile and wide-jointed installations, sanded is the standard because it resists shrinking and holds up under foot traffic.
Color Matching and Consistency
Polyblend offers a deep color range, from bright white to charcoal, which is part of its appeal. The trick is consistency across the whole job.
Color is achieved through pigment, and the final shade depends on how much water you mix in and how long the grout cures. Mix too wet and the cured color comes out lighter and blotchy. To avoid mismatched sections, mix all your grout to the same consistency, work in continuous areas, and buy enough from a single batch with matching lot numbers. For large projects, dry-blend multiple bags together before adding water so any tiny pigment variation averages out.
Mixing It Correctly
Grout failure often starts in the bucket. Follow the bag ratios rather than guessing, because the powder-to-water balance controls both strength and color.
- Add the powder to clean, cool water, not the other way around, to reduce dust and clumping.
- Mix to a smooth, peanut-butter consistency that holds a shape without slumping.
- Let the batch slake, or rest, for about 10 minutes so the chemicals fully activate.
- Remix briefly, then begin applying within the working window of roughly an hour.
Never add more water to a stiffening batch to extend it, since that weakens the grout and shifts the color. Mix smaller batches if you work slowly.
Applying the Grout
Application rewards a steady rhythm. Spread, pack, and clean in manageable sections rather than racing across the whole wall.
Hold a rubber float at a 45-degree angle and press the grout diagonally across the joints, forcing it fully into each line. Working diagonally keeps the float edge from digging grout back out of the joints. Cover a few square feet, then switch the float to a steeper angle and scrape off the excess before it hardens.
Cleaning and Tooling the Joints
Timing the cleanup is where many homeowners stumble. Wipe too soon and you pull grout out of the joints, wait too long and the haze becomes a chore.
After the grout firms up for about 15 to 30 minutes, wipe diagonally with a damp, well-wrung sponge, rinsing often in clean water. Shape the joints smooth and consistent. A few hours later, a dry microfiber cloth buffs away the cloudy grout haze left on the tile faces. If haze persists after it cures, a grout haze remover clears it without harming the tile.
Sealing for Long-Term Durability
Standard cement-based Polyblend grout is porous, which means it absorbs water and stains unless sealed. Skipping this step is why so many bathroom grout lines turn dark and grimy within a year.
Wait for the grout to cure fully, typically 48 to 72 hours, then apply a penetrating grout sealer with a small applicator brush or bottle tip. Wipe excess off the tile before it dries. Reseal high-moisture areas like showers and kitchen backsplashes every year or two. Polyblend also offers a premixed urethane and acrylic grout that is stain resistant and never needs sealing, a convenient upgrade if you want to skip the maintenance.
Cement Grout vs Premixed Urethane
Polyblend is sold in two very different formulas, and choosing between them shapes both your labor and your long-term maintenance. The traditional cement powder is cheaper, while the premixed line trades cost for convenience.
- Cement-based powder: economical, proven, and available in sanded and unsanded versions, but porous and requires sealing
- Premixed urethane or acrylic: stain and crack resistant, color consistent, never needs sealing, but costs more and is better for smaller jobs
For a large floor on a budget, cement grout is the practical pick as long as you commit to sealing it. For a shower, backsplash, or any high-moisture area where you want to skip annual sealing, the premixed stain-resistant grout pays for itself in saved maintenance. Premixed also comes ready to use straight from the tub, eliminating mixing variables that cause color inconsistency.
Fixing Common Grout Problems
Even careful work can run into trouble, and most grout problems have straightforward fixes. Knowing the cause saves you from tearing out a whole installation.
Patchy, inconsistent color almost always traces back to uneven water in the mix or wiping the joints before the grout cured, which pulls pigment out unevenly. Hairline cracks in the grout lines usually mean the mix was too wet or the substrate flexes, calling for a flexible caulk at corners and movement joints instead of rigid grout. Powdery, crumbling grout indicates a weak mix or premature water exposure during curing. For cosmetic color problems on cured grout, a grout colorant or grout stain can refresh the lines without removal, while badly failed grout should be raked out and replaced. Addressing the root cause, whether mixing, curing, or substrate movement, prevents the same failure from returning.
Getting Professional Results
The difference between amateur and professional grout is rarely skill, it is patience and consistency. Mix every batch the same, work in continuous sections, and clean at the right moment.
Keep two buckets of rinse water going so you are never wiping with dirty water, which redeposits haze. Seal porous grout once it cures, and your joints will resist stains and moisture for the life of the tile. Whether you choose the sealable cement formula or the maintenance-free premixed line, careful technique with Polyblend grout produces results that look like a pro laid them.