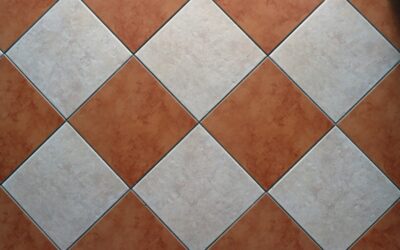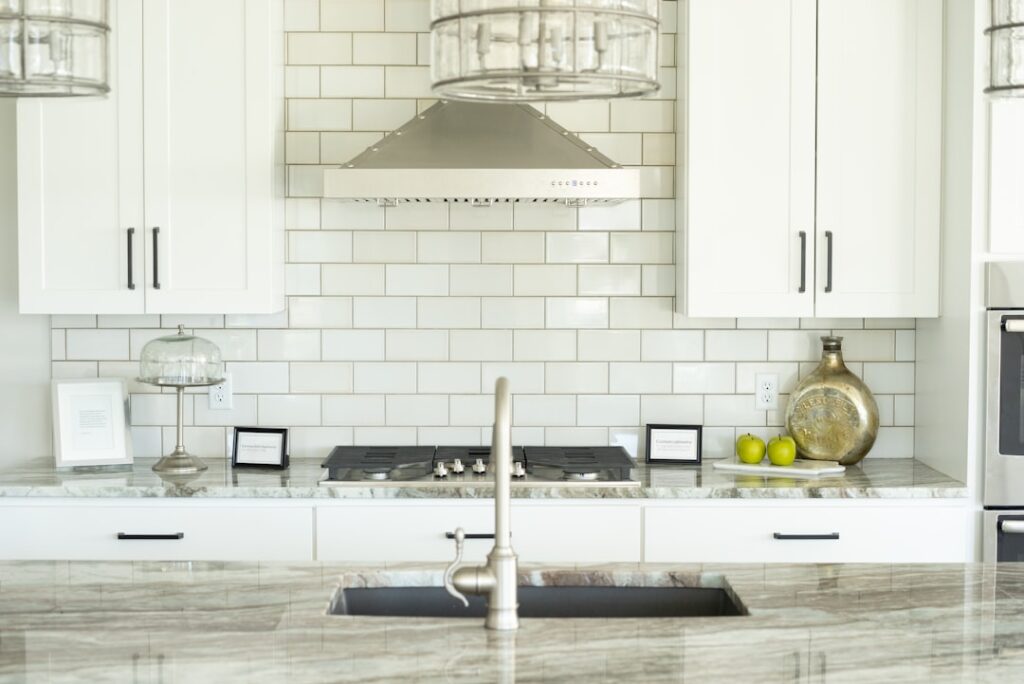
Grout is the thin gray line most people never think about until it turns black. In a kitchen, that neglect catches up fast. Kitchen tile grout takes a daily beating from grease, red wine, coffee, tomato sauce, and mop water, and the wrong product or color turns your backsplash and floor into a permanent stain map. Choosing the right grout, sealing it correctly, and cleaning it the right way is the difference between joints that still look sharp in ten years and ones you are scrubbing every weekend.
Part of our Kitchen Remodeling guide — explore the full guide →
This guide covers the grout types that survive kitchen abuse, the colors that hide it best, and the maintenance routine that keeps everything looking new.
Why Kitchen Grout Fails Faster Than Anywhere Else
The kitchen combines every enemy grout has. Cooking throws airborne grease that settles into porous joints. Spills are acidic, from citrus to vinegar to wine, and acid eats cement. Foot traffic grinds grit into floor joints, and constant mopping keeps them damp. A bathroom grout line mostly fights water and soap; a kitchen line fights chemistry, abrasion, and moisture at the same time.
That is why the product you pick matters more here than in any other room. A standard sanded cement grout that lasts 15 years in a hallway can look dingy in a kitchen within two if it is never sealed.
While you’re upgrading the kitchen floor, it might be a good time to rethink the seating too. Swapping out old bar stools is one of those small changes that makes the whole room feel more pulled together.
We may earn a commission when you purchase through our links.
Types of Kitchen Tile Grout Compared
There are three practical choices, and the right one depends on where the joint lives and how much maintenance you are willing to do.
Cement Grout (Sanded and Unsanded)
Sanded cement grout is the standard for floor joints wider than 1/8 inch and costs about $15 to $25 for a 25-pound bag that covers roughly 100 square feet. Unsanded cement grout suits narrow wall joints under 1/8 inch, like a tight backsplash. Both are affordable and easy to work with, but both are porous, which means they must be sealed and will stain if you skip that step.
Epoxy Grout
Epoxy grout is the premium answer for kitchens. It is made of resin and hardener rather than cement, so it is nonporous, stain-proof, and never needs sealing. A wine spill wipes right off. It costs more, around $40 to $70 per unit, and it sets fast, giving you only 45 to 60 minutes of working time, which makes it harder to install. For a backsplash behind a stove or a busy floor, the extra cost pays for itself.
Single-Component Ready-Mix Grout
Products like a pre-mixed urethane grout come in a tub, ready to spread, and offer good stain resistance without epoxy’s tricky handling. They cost $30 to $50 per gallon and work well for backsplashes, though they cure slowly in humid, poorly ventilated spaces.
Choosing the Best Kitchen Tile Grout Color
Color hides sins. On a floor, a mid-tone gray or greige forgives grease and foot traffic far better than bright white or deep charcoal, both of which show every crumb and water spot. Match the grout close to the tile for a seamless look that visually enlarges the room, or contrast it to make a pattern like a herringbone backsplash pop.
A practical rule: on kitchen floors, never choose pure white grout unless you enjoy scrubbing. On a backsplash away from the floor, white is more forgiving because it stays drier and cleaner. Warm gray is the most requested kitchen grout color for a reason. It disappears into most tile and hides the inevitable grease film between deep cleans.
Sealing Kitchen Grout the Right Way
If you use cement grout, sealing is the single most important step, and it is the one most people skip. A penetrating sealer soaks into the grout and blocks liquids from absorbing. Apply the first coat 48 to 72 hours after grouting, once the joints are fully cured.
- Choose a penetrating (impregnating) sealer, not a topical one, for kitchen floors.
- Apply with a small foam brush or applicator bottle directly on the joint.
- Wait 5 to 10 minutes, then wipe excess off the tile face before it hazes.
- Apply a second coat after an hour for high-traffic floors.
- Reseal floor grout every 12 months and backsplash grout every 2 to 3 years.
Epoxy and urethane grouts skip this step entirely, which is a large part of their appeal for anyone who hates maintenance.
How to Clean Kitchen Tile Grout
For routine cleaning, a neutral pH cleaner and a soft brush handle most grime. Avoid vinegar and lemon on cement grout; the acid slowly dissolves it and strips the sealer. For a deeper clean on stained joints, a paste of baking soda and water scrubbed with an old toothbrush lifts most discoloration, and an oxygen bleach solution brightens dingy lines without the harshness of chlorine.
For grease near the stove, a degreasing cleaner works far better than dish soap, which just smears the film around. Rinse thoroughly afterward, because leftover cleaner residue attracts dirt and makes joints look gray again within days.
Grout Joint Width and Tile Pairing
The width of your grout line changes both the look and the performance of a kitchen. Narrow joints of 1/16 to 1/8 inch suit rectified porcelain and give a clean, contemporary look with less grout to keep clean. Wider joints of 3/16 to 1/4 inch are necessary for handmade, irregular, or natural stone tile where edges are not perfectly uniform, and they hide small size variations between pieces.
Joint width also dictates the grout you can use. Sanded grout is required for joints 1/8 inch and wider because the sand prevents shrinkage and cracking. Unsanded grout is limited to joints under 1/8 inch and is the right pick for a tight subway backsplash. Trying to force unsanded grout into a wide floor joint is a recipe for cracks within a year, while sanded grout in a hairline wall joint simply will not pack in. Match the grout type to the width you planned when you laid out the tile, and the joints will resist cracking through years of the expansion and contraction a kitchen floor sees between seasons.
One more pairing note for high-gloss or glass tile: use a non-sanded or an epoxy grout, because the abrasive sand in standard sanded grout can leave fine scratches across a polished or glass surface that catch the light and never fully buff out.
When to Regrout Instead of Clean
Sometimes cleaning is a losing battle. If grout is crumbling, missing in sections, or cracked along the counter-to-backsplash joint, it needs replacement, not scrubbing. Cracks at changes of plane, like where the backsplash meets the countertop, mean rigid grout was used where flexible caulk belonged; fix that with a matching color caulk instead.
To regrout, rake out the old joint with an oscillating tool or grout saw to at least half the tile depth, vacuum the dust, and apply fresh grout. Color-matched caulk should go in every corner and along the countertop seam so future movement does not crack the new work.
Getting Kitchen Tile Grout Right
The smartest move most homeowners can make is spending a little more up front. Epoxy grout on a backsplash and a well-sealed sanded grout in a mid-tone gray on the floor will outlast and outshine cheap white cement grout that was never sealed. Choosing durable kitchen tile grout, sealing it on schedule, and cleaning it with the right products turns the most-abused joints in your home into a surface you barely have to think about. Plan for the messes the kitchen guarantees, and your grout lines will still look crisp long after the trends that inspired the tile have faded.
Prefer to explore on your own?
See how new flooring looks in your actual room in seconds — free, no signup.
Try the free Floor Studio →