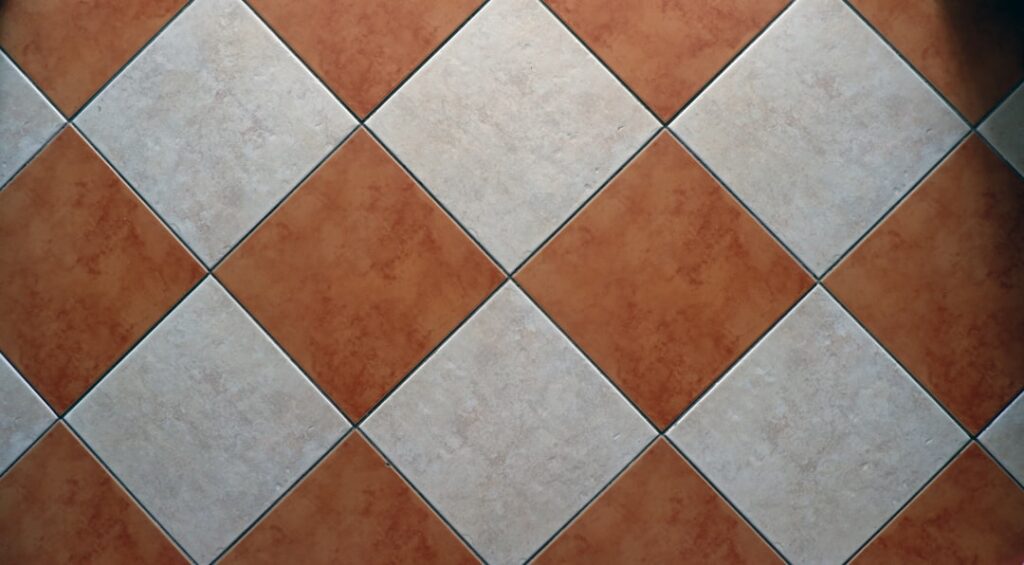
Crumbling, stained, or cracked grout is one of the most common cosmetic complaints in any tiled bathroom or kitchen, and yet it is also one of the most rewarding weekend projects a homeowner can tackle. Knowing how to replace grout properly will extend the life of a tile installation by 10-15 years and restore the look of a tired-looking floor or shower wall for roughly $50-$80 in materials. Pros charge anywhere from $7 to $20 per square foot for the same work, so the labor savings on even a small bathroom add up fast.
When to Regrout Instead of Retile
If the tile itself is sound and only the grout is failing, regrouting is almost always the right call. Look for hairline cracks, dark mildew streaks that no longer respond to cleaning, soft spots you can dig into with a fingernail, or grout that has fallen out entirely along the bottom of a shower wall. If tiles are loose, drummy when tapped, or actively detaching, the problem is below the grout line and a full demo and retile is the honest answer.
Check whether the existing material is sanded or unsanded grout. Sanded grout is used in joints wider than 1/8 inch and includes silica sand for strength. Unsanded grout fills joints up to 1/8 inch and is smoother. Match the original or you will end up with a visible texture difference.
Tools and Materials You Will Need
- Oscillating multi-tool with grout removal blade (Dewalt DWA4220, $25) or manual grout saw
- Vacuum with HEPA filter
- Margin trowel and grout float
- Two large sponges (yellow car-wash type)
- Two 5-gallon buckets for clean and dirty water
- Drop cloths and painter’s tape
- Safety glasses, dust mask (N95 minimum), knee pads
- Polyblend sanded or unsanded grout (Custom Building Products, $18-$24 per 10 lb bag)
- Grout sealer (Aqua Mix Sealer’s Choice Gold, $30 per quart)
Step 1: Remove the Old Grout
Tape off baseboards, fixtures, and tubs to protect them from grout dust. Set the multi-tool to a medium speed and run the carbide blade down the center of each joint. Aim for at least 2/3 the depth of the grout, which is typically 1/8 to 3/16 inch on a floor and 1/16 to 1/8 inch on a wall. Stop short of the tile edges to avoid chipping the glaze.
For tight spots near corners or fixtures, switch to a hand grout saw with a tungsten carbide blade (Goldblatt G06112, $12). Vacuum constantly. Old grout dust is one of the worst silica exposures in residential work and OSHA’s permissible exposure limit is 50 micrograms per cubic meter as an 8-hour average. Wear a respirator if you are doing more than 25 square feet.
Step 2: Clean the Joints Thoroughly
Vacuum every joint twice, then wipe the tile and joints with a damp microfiber cloth. Any remaining dust, soap scum, or old sealer will weaken the bond of the new grout. For showers with heavy mildew staining, scrub the cleaned joints with a 1:10 bleach-to-water solution and let dry for at least four hours before grouting. Joints must be bone dry before you mix.
Step 3: Mix the New Grout
Add water gradually to the powder, not the other way around. Manufacturer ratios are usually 1 quart of water per 10 lb bag of sanded grout, but adjust based on humidity. Mix to a peanut-butter consistency that holds a peak when you lift the trowel. Let the mixture slake for 10 minutes, then remix briefly before applying. Never add more water after the slake; it weakens the cement bond and causes color variation across the installation.
Step 4: Apply the Grout
Work in 10-square-foot sections. Scoop grout onto the tile with a margin trowel, then press it diagonally into the joints using a rubber grout float held at a 45-degree angle. Push hard enough to fill the joint completely from the bottom. Make a second pass at a steep 90 degrees to scrape off the excess.
Watch the clock. Most polymer-modified grouts give you about 20-30 minutes of working time at 70 degrees F before they start to set. If you take longer, the haze becomes nearly impossible to remove cleanly.
Step 5: Tool and Clean the Joints
Wait 15-30 minutes until the grout firms up to the consistency of soft cheese. Wring out a damp sponge until it is barely moist and wipe diagonally across the joints. Rinse the sponge in clean water after every two passes. Two thorough sponge cleanings, spaced 20 minutes apart, will produce crisp joint lines and minimal haze. After the grout sets overnight, buff off any remaining haze with a dry microfiber cloth.
Step 6: Seal After Curing
Cement-based grout needs 72 hours to fully cure before sealing. Skip this step and the sealer will not penetrate properly. Apply Aqua Mix Sealer’s Choice Gold or Miracle 511 Impregnator with a small foam applicator, working the sealer into each joint. Wipe excess off the tile face within 5 minutes. Two coats with an hour between applications gives 10-15 years of stain protection on a kitchen floor or 3-5 years in a wet shower environment.
Costs and Timing
A 40 square foot bathroom floor with 1/8 inch joints uses about one 10 lb bag of grout and a half quart of sealer, total materials under $60. Expect 6-8 hours of labor split across two days, including cure time. A tile pro will quote $400-$800 for the same job. The biggest variable is removal: heavily set epoxy grout doubles the labor and may require professional help.
Epoxy Grout as an Upgrade
If you are regrouting a shower or kitchen backsplash that has stained or mildewed repeatedly, consider replacing the cement-based grout with epoxy grout like Laticrete SpectraLOCK Pro Premium ($35-$45 per kit) or Mapei Kerapoxy ($55-$65 per unit). Epoxy grout is non-porous, stain-proof, and never needs sealing. The trade-off is a faster set time (about 45 minutes of working window), a stickier cleanup, and a higher material cost. For a shower that you do not want to maintain again for 20 years, the upgrade pays off. Wear nitrile gloves during the install; epoxy resins can cause skin sensitization with repeated bare-handed exposure.
Done right, replacing grout transforms a tile installation back to like-new condition. Take your time on removal, match the grout type, and respect the cure schedule, and the result will outlast the next two paint cycles in the room.