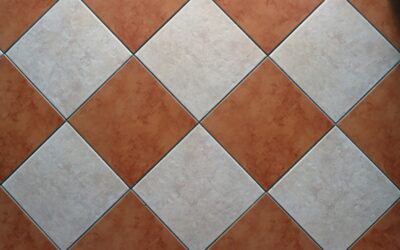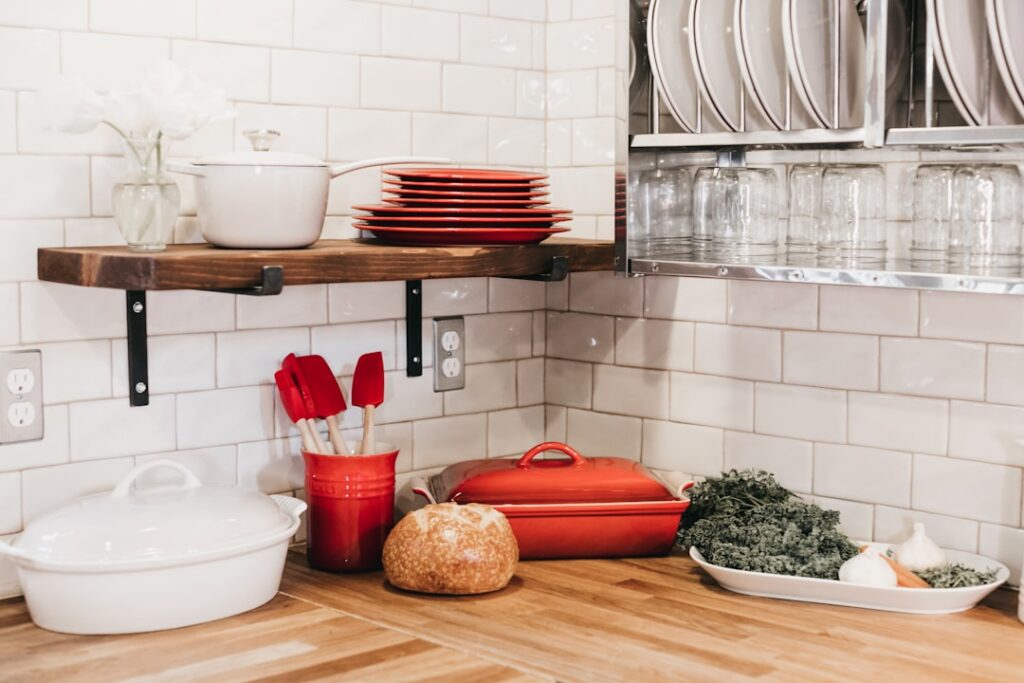
Most homeowners spend weeks choosing the perfect tile and then pick kitchen grout in the last five minutes at the checkout counter. That choice matters more than the tile in a lot of ways, because grout is what gets dirty, cracks, stains, and shows every drop of spaghetti sauce that hits the floor. The right grout type and color can make a mediocre tile look custom, while the wrong one turns a beautiful floor into a maintenance headache within a year.
Part of our Kitchen Remodeling guide — explore the full guide →
The kitchen is the hardest room in the house on grout. It sees grease, water, foot traffic, and dropped food constantly, so the decisions you make here have real consequences. This guide walks through the grout types worth considering, how to pick a color you won’t regret, and the sealing and cleaning routine that keeps everything looking sharp.
Cement Grout vs. Epoxy Grout in the Kitchen
There are two families of grout you’ll actually choose between. Traditional cement-based grout is the standard, and it comes in sanded and unsanded versions. Sanded grout is used for joints wider than 1/8 inch, which covers most floor tile, while unsanded grout goes in the thin joints of wall tile and polished stone that sand could scratch. Cement grout is affordable at roughly $15 to $25 per bag, easy to work with, and comes in dozens of colors. The tradeoff is that it’s porous, so it absorbs stains and needs sealing.
Epoxy grout is the premium option, and in a kitchen it earns its keep. Made from resin and hardener, it’s essentially non-porous, which means it resists grease, wine, coffee, and acidic spills without any sealing at all. It runs $8 to $12 per pound and installs more slowly because it sets fast and is stickier to work with, but on a backsplash behind a stove or a busy floor it can be the difference between grout that stays clean and grout you scrub every weekend. Many pros now use epoxy exclusively on kitchen backsplashes for exactly this reason.
Choosing a Grout Color You Won’t Regret
Color is where people make emotional decisions and pay for them later. The instinct with white subway tile is bright white grout, but bright white on a kitchen floor or a busy backsplash will look gray and blotchy within months no matter how diligent you are. A better move for most kitchens is a color that’s one or two shades off pure white, or a soft gray that hides everyday grime.
Think about the effect you want before the maintenance. Matching grout to the tile makes the surface read as one seamless field, which calms down a busy space and makes small rooms feel larger. Contrasting grout, like charcoal against white tile, turns each tile into a graphic element and shows off patterns like herringbone or hexagon. There’s no wrong answer, but darker mid-tones are the practical sweet spot in a working kitchen because they disguise the inevitable staining while still looking intentional.
Order a sample and let it cure fully before committing. Wet grout and dry grout are dramatically different colors, and most brands dry two to three shades lighter than the swatch on the bag. If you can, grout a small board of leftover tiles and live with it for a few days under your actual kitchen lighting.
Sealing Cement Grout the Right Way
If you go with cement grout, sealing is not optional in a kitchen. An unsealed cement joint is a sponge for grease and liquid, and once a stain soaks in, it’s nearly impossible to remove. Wait 48 to 72 hours after grouting for the joints to cure fully, then apply a penetrating sealer with a small brush or applicator bottle directly onto the grout lines.
Penetrating sealers soak into the pores and repel liquids from the inside, which is what you want on a floor. Membrane-forming sealers sit on top and can look plasticky, so most pros prefer penetrating types for kitchens. Plan to reseal high-traffic floor grout once a year and backsplash grout every couple of years. A quick test tells you when it’s time: drop water on the grout, and if it soaks in and darkens the joint rather than beading up, the seal has worn off.
Keeping Kitchen Grout Clean
Daily cleaning is simpler than people assume, and harsh chemicals usually do more harm than good. For routine maintenance, warm water and a stiff nylon brush handle most of what a kitchen throws at grout. When you need more muscle, a paste of baking soda and water scrubbed into the joints, then rinsed, lifts grease and light staining without eating away at the sealer.
Avoid bleach and acidic cleaners like vinegar on cement grout as a regular habit. Acids slowly dissolve the cement binder and strip sealer, which makes the grout more porous and more stain-prone over time. Save the aggressive stuff for occasional deep cleaning, and rinse thoroughly afterward. If your grout is permanently discolored despite your best efforts, a grout colorant or “grout stain” can recolor and seal the joints in one step for far less than regrinding and replacing.
When to Repair or Replace Grout
Hairline cracks, crumbling, and missing chunks are signs the grout has failed, and in a kitchen those gaps let water reach the subfloor or the wall behind your backsplash. Small sections can be raked out with a grout saw and refilled, which is a very doable weekend project. Widespread cracking, though, usually points to movement in the substrate or the wrong grout for the joint width, and patching won’t hold.
One common mistake worth calling out: grout does not belong where tile meets a counter, tub, or wall corner. Those transitions move seasonally and need flexible caulk, not rigid grout. If you see grout cracking only along those edges, the fix is to rake it out and run a bead of color-matched silicone instead. Getting your kitchen grout right the first time, from type to color to sealing, saves you years of scrubbing and keeps the floor you paid good money for looking new.
Matching Grout Width to Your Tile
Joint width is a decision people rarely think about, yet it changes both the look and the practicality of a tiled kitchen. Wider joints of 1/4 inch or more suit rustic, handmade, and natural-stone tile whose edges vary, and they help the whole field look intentional rather than forcing tiles into lines they can’t hold. Narrow joints around 1/16 to 1/8 inch give a crisp, contemporary look with rectified porcelain and modern subway tile, showing off the tile rather than the grid.
The width you choose dictates which grout you can use. Sanded grout is required for wider joints because the sand keeps it from shrinking and cracking as it cures, while unsanded grout is reserved for the thinnest joints and delicate polished surfaces. Getting this pairing wrong is a common cause of cracking and crumbling grout down the road, so confirm the recommended joint width for your specific tile before you buy either the tile or the grout. On a kitchen floor that sees heavy traffic and seasonal movement, a slightly wider sanded joint also gives the grout more body to resist chipping at the edges where feet and chair legs land hardest.
Prefer to explore on your own?
See how new flooring looks in your actual room in seconds — free, no signup.
Try the free Floor Studio →