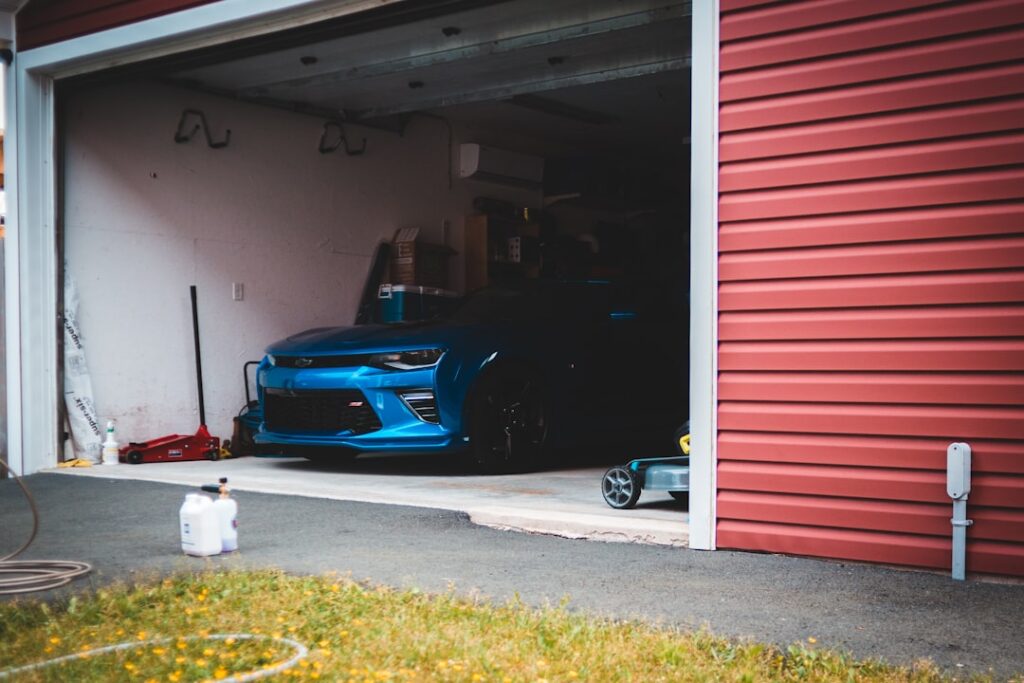
A bare concrete garage floor is a magnet for problems: it soaks up oil, throws off dust, stains under a dripping car, and cracks and pits over the years. A quality residential garage floor coating fixes all of that at once, sealing the slab against spills, brightening the space, and giving you a surface you can actually sweep and mop. But not all coatings are equal, and the difference between a five-year showroom floor and a peeling mess in twelve months usually comes down to the product you choose and how well the concrete is prepped. This guide breaks down the options, costs, and process so you get it right.
Why Coat a Garage Floor
The reasons go well beyond looks. An unsealed slab is porous, so it absorbs automotive fluids, road salt, and moisture, leading to permanent stains and, over time, surface deterioration. Concrete also naturally sheds a fine dust that coats tools, boxes, and anything stored in the garage. A coating seals the surface, so oil and chemicals wipe up instead of soaking in, dust is eliminated, and the floor becomes far easier to clean.
There are safety and value benefits too. Many coatings include broadcast flakes or grit that add slip resistance, and a bright, reflective floor makes the garage lighter and more usable as a workshop or gym. A finished floor also reads as a genuine upgrade to buyers, giving the space a clean, cared-for impression.
If you’re running out of room even with a clean garage floor, a backyard shed takes the overflow — seasonal gear, tools, lawn equipment. And if you’re parking outside while the garage doubles as a workshop, a carport keeps your car covered without needing a second garage.
We may earn a commission when you purchase through our links.
The Main Coating Types
Three families of coating dominate residential garages, and they differ significantly in durability, cure time, and price.
- Epoxy: The most popular option. A two-part resin that bonds to concrete and cures into a hard, thick, chemical-resistant film. Excellent durability and a wide range of colors and flake finishes at a mid-range price.
- Polyaspartic and polyurea: Premium coatings that cure fast, often walkable in a day, resist UV yellowing, and handle temperature swings and hot tires well. More expensive but longer-lasting and less prone to peeling.
- Acrylic and DIY paint kits: The budget end. Concrete paints and single-part sealers are cheap and easy but far less durable, and they wear and peel faster under vehicle traffic.
A common professional system combines a polyaspartic or epoxy base, a broadcast of decorative color flakes for texture and grip, and a clear polyaspartic topcoat, blending durability, slip resistance, and appearance. For a long-term floor, that layered approach outperforms a single coat of paint by a wide margin.
The Hot-Tire Problem and Why Prep Matters
The number-one reason garage coatings fail is not the product, it is poor surface preparation and the phenomenon called hot-tire pickup. When a car parks, the hot tires cool and grip a weakly bonded coating, then peel it up when you drive off. The defense is proper adhesion, which starts with mechanically profiling the concrete, either grinding it with a diamond grinder or acid-etching it, so the coating bites into an open, clean surface rather than sitting on a smooth, sealed one.
Prep also means fixing cracks and pits, removing old coatings and oil stains, and confirming the slab is dry and free of moisture problems. A moisture test, taping plastic to the floor overnight and checking for condensation, is worth doing, because vapor pushing up from below will lift even a good coating. Skipping prep to save time is the single most expensive mistake in a garage floor project.
What It Costs
Pricing spans a wide range depending on the system and who installs it. A DIY epoxy kit for a two-car garage typically runs $150 to $600 in materials, making it the cheapest route if you do the labor. Professional epoxy installations commonly land around $3 to $7 per square foot, while premium professional polyaspartic and polyurea flake systems run roughly $5 to $12 per square foot or more.
For a standard two-car garage of about 400 to 500 square feet, that puts professional coatings in the ballpark of $1,500 to $5,000 depending on the system, prep required, and your region. The premium coatings cost more up front but last longer and resist peeling and yellowing, so weigh the price against how long you want the floor to hold up.
DIY Versus Professional Installation
Homeowners can absolutely tackle an epoxy kit, and doing so saves the most money, but success hinges on prep and working within the coating’s pot life before it hardens. DIY is most realistic on a clean, sound, dry slab with a straightforward epoxy or paint product, and you should budget a full weekend for etching or grinding, cleaning, coating, and cure time.
Professional installation makes sense for fast-curing polyaspartic systems, which require experience and move quickly, and for slabs with cracks, old coatings, moisture concerns, or oil contamination that need serious prep. Pros bring diamond grinders, patch the concrete properly, and often warranty the work, which is worth the premium for a floor you want to last many years without redoing.
Maintenance and Longevity
A well-installed coating is easy to live with. Sweep or dust-mop regularly and clean up automotive fluids reasonably promptly, most spills wipe off the sealed surface with a rag or a damp mop and mild cleaner. Avoid harsh solvents and abrasive scrubbers that can dull the finish, and use a mat under a vehicle that drips heavily. Placing a mat where you do metalwork protects against dropped tools and sparks.
Lifespan depends on the system and traffic. A budget DIY paint may need redoing in a few years, quality epoxy commonly lasts five to ten years, and premium polyaspartic flake floors can last fifteen to twenty years or more. Reapplying a clear topcoat down the road can refresh a worn floor without stripping it entirely.
Final Thoughts
A residential garage floor coating transforms a dusty, stain-prone slab into a clean, sealed, easy-care surface, and the payoff scales with the product and the prep. Match the coating to your goals, budget epoxy or DIY paint for value, premium polyaspartic for maximum life, and treat surface preparation as non-negotiable, since grinding or etching and a dry, clean slab are what keep the coating bonded against hot tires and time. Get those two decisions right and your garage floor will look sharp and perform for many years.