A dated brick or tired fireplace can drag down an entire room, and resurfacing fireplace with tile is one of the most transformative weekend upgrades a homeowner can tackle. New tile can turn a builder-grade surround into a modern focal point, whether you dream of sleek large-format porcelain, warm zellige, or classic marble. This step-by-step guide walks you through choosing materials, staying heat-safe, and getting a professional-looking result.
- Why Tile Is a Great Fireplace Upgrade
- Choosing the Right Tile
- Heat Safety and Clearances
- Tools and Materials You Will Need
- Step-by-Step: Tiling Over Brick or an Existing Surround
- What It Costs
- Common Mistakes to Avoid
- Design Ideas for Your New Tiled Fireplace
- Maintaining Your Tiled Fireplace
- Final Thoughts on Resurfacing Fireplace With Tile
Why Tile Is a Great Fireplace Upgrade
Tile is ideally suited to fireplaces because it is durable, heat-tolerant, and endlessly customizable. Unlike paint, which can look flat, or stone veneer, which is heavy and bulky, tile offers crisp lines and a huge range of looks. It handles the warmth radiating from a firebox surround, cleans easily, and can be installed over many existing surfaces, including brick, with the right preparation. The result is a lasting update that instantly modernizes the room.
Choosing the Right Tile
Not every tile is right for a fireplace, so choose thoughtfully. Consider both looks and performance:
- Porcelain and ceramic: durable, heat-tolerant, and available in countless styles; a reliable default.
- Natural stone (marble, slate, travertine): luxurious and heat-friendly, though it needs sealing.
- Zellige and handmade tile: beautiful texture for a surround, best kept away from direct flame contact.
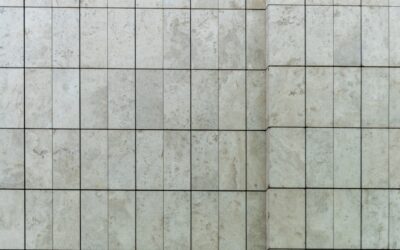
- Large-format tile: minimal grout lines for a clean, modern surround.
Crucially, understand the difference between the surround (the decorative area around the opening) and the firebox interior. The surround handles radiant warmth and accepts most tile, but any tile close to direct flame or extreme heat should be rated accordingly, and firebrick belongs inside the firebox itself. When in doubt, keep decorative tile on the surround and consult the fireplace manufacturer’s clearance requirements.
Heat Safety and Clearances
Safety comes first with any fireplace project. Always respect the manufacturer’s specified clearances to combustibles and never cover vents, controls, or gas components. Use a heat-resistant thinset and grout rated for the temperatures your fireplace produces; standard mastic adhesive is not appropriate near heat. For wood-burning units, keep decorative tile at the recommended distance from the firebox opening. If your fireplace is gas or has any question about clearances, check the owner’s manual or consult a professional before tiling.
Tools and Materials You Will Need
Gather everything before you start so the job flows smoothly. A typical resurfacing project calls for:
- Your chosen tile, plus 10 to 15 percent extra for cuts and mistakes.
- Heat-resistant thinset mortar and matching grout.
- A notched trowel, tile spacers, and a rubber grout float.
- A wet saw or angle grinder with a diamond blade for cuts.
- A level, tape measure, and pencil for layout.
- Cement backer board and screws if you are building up a new substrate.
- Painter’s tape, drop cloths, sponges, and a bucket.
Step-by-Step: Tiling Over Brick or an Existing Surround
Here is the core process for resurfacing fireplace with tile:
- Step 1 – Prep the surface: clean thoroughly, remove soot and dust, and repair loose mortar. Brick can be tiled over if it is sound, but a very uneven brick face may need a skim coat or backer board to create a flat plane.
- Step 2 – Create a flat substrate: for uneven brick, install cement backer board or apply a leveling coat so tile sits flat.
- Step 3 – Dry-lay and mark: plan your layout, center the pattern on the opening, and mark reference lines so cuts fall in inconspicuous spots.
- Step 4 – Set the tile: spread heat-resistant thinset with a notched trowel, press tiles firmly, and use spacers for consistent joints. Check for level as you go.
- Step 5 – Cut around the opening: measure and cut tiles to frame the firebox cleanly, respecting clearances.
- Step 6 – Let it cure, then grout: after the thinset sets (typically 24 hours), apply grout, wipe diagonally with a damp sponge, and remove haze once dry.
- Step 7 – Seal if needed: seal natural stone tile and cement grout to protect against soot and staining.
What It Costs
Resurfacing a fireplace is affordable relative to its impact. A DIY project often costs $200 to $600 in materials for an average surround, depending on the tile you choose. Premium marble, zellige, or large-format porcelain pushes material costs higher. Hiring a professional typically runs $500 to $2,000 or more depending on tile, surround size, and complexity. Because a fireplace surround is a small area, even upscale tile stays within reach, making this one of the highest-impact updates per dollar in a room.
Common Mistakes to Avoid
A few pitfalls trip up first-timers. Do not use ordinary mastic adhesive near heat; always use a rated thinset. Do not tile over a dirty, greasy, or loose surface, since adhesion will fail. Do not ignore clearances or cover vents and controls. Do not skip sealing porous stone and grout, which soot will quickly stain. And do not rush the layout; a well-centered, level pattern is what makes the finished surround look professional.
Design Ideas for Your New Tiled Fireplace
Once you understand the mechanics, the fun part is choosing a look that transforms the room. Because a fireplace surround is a small, high-visibility area, it is the perfect place to be a little bold. Popular design directions include:
- Floor-to-ceiling drama: run tile all the way up the chimney breast for a striking modern statement.
- Vertical stacked tile: set rectangular tiles vertically for a contemporary, elongating effect.
- Herringbone or chevron: add tailored pattern and movement around the firebox.
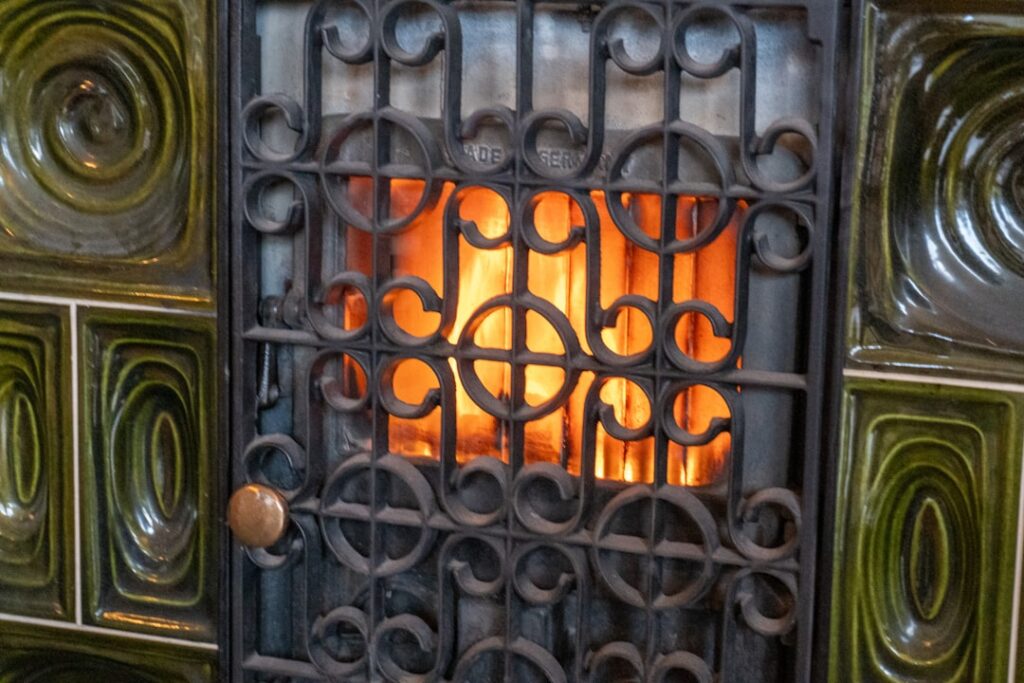
- Handmade or zellige surround: introduce texture and glaze variation for artisanal warmth.
- Marble or marble-look slab: wrap the surround in luxurious veining for timeless elegance.
Coordinate the tile with the mantel and hearth for a cohesive result. A clean-lined tile pairs well with a simple floating mantel, while a classic marble surround suits a more traditional wood mantel and molding.
Maintaining Your Tiled Fireplace
A tiled fireplace is refreshingly low-maintenance, but a little care keeps it looking its best. Dust and wipe the surround regularly with a soft cloth and mild cleaner to keep soot and airborne grime from building up. For wood-burning fireplaces, clean any smoke residue promptly before it sets. If you used natural stone or cement-based grout, keep them sealed so soot and heat do not cause permanent staining; reseal periodically as the sealer wears. Inspect the grout lines occasionally for cracks, especially near the firebox where heat cycling is greatest, and touch up any gaps to keep the installation solid. With these simple habits, a well-installed tiled fireplace stays a beautiful, functional centerpiece for many years, rewarding the effort you put into resurfacing it.
Final Thoughts on Resurfacing Fireplace With Tile
Few projects deliver as much visual payoff for the effort as resurfacing fireplace with tile. By choosing heat-appropriate tile, respecting clearances, preparing a flat and clean substrate, and working through the layout patiently, even a confident DIYer can transform a dated fireplace into a striking centerpiece. Take safety seriously, seal porous materials, and give the thinset time to cure, and your refreshed fireplace will anchor the room beautifully for years to come.
If this is your first tiling project, a fireplace surround is actually an ideal place to start, because it is a small, contained area where mistakes are limited and the visual payoff is enormous. Take your time with the layout, keep your cuts clean, and do not rush the curing or grouting stages. If your fireplace is gas, or if you have any uncertainty about clearances and heat ratings, do not hesitate to consult the manufacturer’s documentation or a professional before you begin; safety should never be guessed at. With careful preparation and the right heat-rated materials, you can achieve a designer-quality focal point that completely reframes how the whole room looks and feels.
Prefer to explore on your own?
See how new flooring looks in your actual room in seconds — free, no signup.
Try the free Floor Studio →