
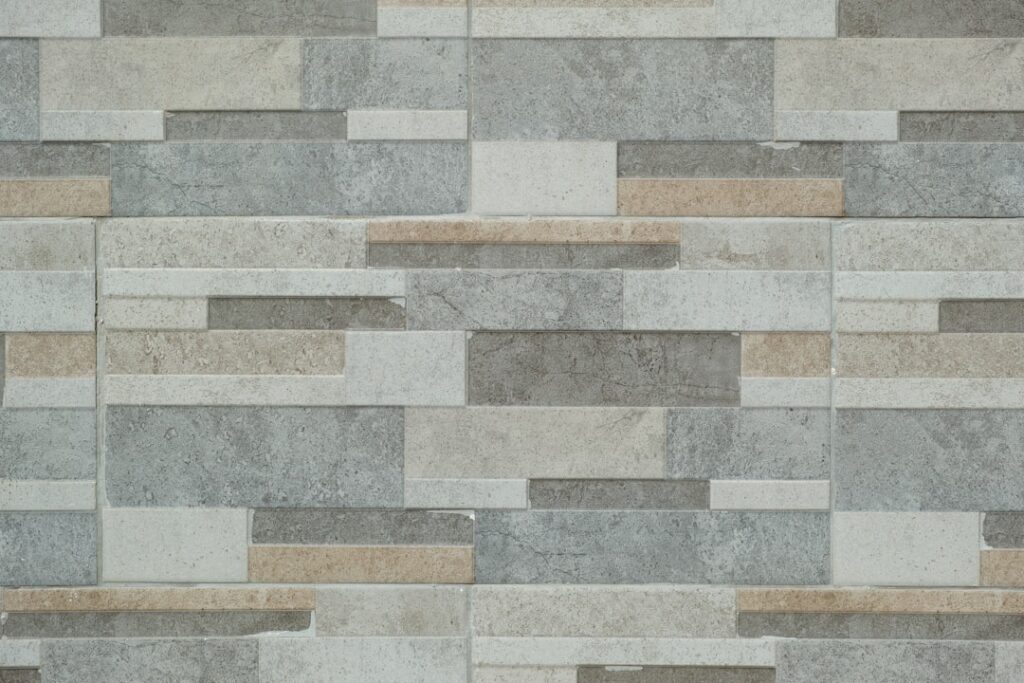
Retaining wall caps are the flat top pieces that crown a segmental block wall, and they do far more than look pretty, they shield the wall from water infiltration, hide the hollow cores of the blocks, and give you a clean, finished edge you can sit on. Skip them and rainwater seeps into the block cores, freezes, and cracks the wall from the top down. Understanding your cap options and installing them correctly is what separates a professional-looking wall from a DIY one.
- Why Caps Matter More Than People Think
- Types of Retaining Wall Caps
- What Retaining Wall Caps Cost
- Choosing the Right Adhesive
- How to Install Retaining Wall Caps
- Cutting and Corners
- Matching Caps to Your Wall System
- Sealing and Winter Protection
- Building Seat Walls and Multi-Use Caps
- How Many Caps to Order
- Common Cap Installation Mistakes
- Final Touches
Why Caps Matter More Than People Think
The top course of a retaining wall is its most vulnerable surface. Without caps, water pools on the exposed block tops and works into the seams and cores. In freeze-thaw climates, that trapped water expands and spalls the concrete, shortening the wall’s life by years.
Beyond protection, retaining wall caps deliver the finished aesthetic that makes a wall look intentional and complete. They also create a smooth surface for a seat wall, a planter edge, or a spot to set potted plants and outdoor lighting.
Types of Retaining Wall Caps
Caps come in several styles to match different block systems and looks. Choosing one that coordinates with your wall block is the first decision.
- Flat concrete caps — the standard, a solid rectangular unit with a slight beveled or bullnose front edge, sold to match brands like Belgard, Techo-Bloc, and Pavestone.
- Bullnose caps — rounded front edge for a softer, more finished look, popular on seat walls.
- Natural stone caps — bluestone or flagstone slabs for a high-end organic look, more expensive and heavier.
- Cast or poured concrete caps — a continuous poured cap for a seamless modern edge, requires forming.
Match the cap to your wall system when possible, manufacturers design coordinating caps that align in color and depth. A mismatched cap is the fastest way to make a nice wall look thrown together.
What Retaining Wall Caps Cost
Caps are priced per piece or per linear foot, and the total depends on material. Here’s what to budget in 2026:
- Standard concrete caps: $3 to $8 per linear foot of wall.
- Premium manufactured caps (Belgard, Techo-Bloc): $6 to $12 per linear foot.
- Natural stone caps: $15 to $30+ per linear foot.
- Adhesive: one 10-ounce tube of landscape block adhesive covers roughly 10 to 15 feet and costs $6 to $10.
For a 40-foot wall, standard caps and adhesive run around $150 to $350 in materials. It’s a small percentage of the wall’s total cost and absolutely worth it.
Choosing the Right Adhesive
Caps are glued down, never mortared in most residential applications, because a flexible adhesive tolerates the ground movement that would crack rigid mortar. Use a polyurethane construction adhesive rated for landscape and masonry use.
Reliable choices include SikaBond Construction Adhesive, Loctite PL Premium, and Belgard’s or Techo-Bloc’s branded block adhesives. These stay flexible, bond in damp conditions, and won’t wash out. Avoid cheap interior construction adhesives, they fail outdoors within a season or two.
How to Install Retaining Wall Caps
Installation is the most DIY-friendly part of building a wall, but a few details make the difference between crisp and sloppy.
- Sweep the top course completely clean, adhesive won’t bond to dust or debris.
- Dry-lay the caps first, spacing them for even joints and planning your cuts before gluing anything.
- Set an overhang, most walls look best with the cap projecting about 1 inch past the wall face for a clean shadow line.
- Apply two beads of adhesive in an S or zigzag pattern on each block top.
- Press each cap firmly into place, checking level as you go.
- Cut end and corner pieces with a masonry saw or a diamond blade on an angle grinder for clean edges.
For curved walls, the caps naturally fan open at the joints; keep the front edges tight and let the back gaps stay slightly wider. On tight radius curves you may need wedge cuts to keep the overhang consistent.
Cutting and Corners
Straight runs rarely divide into whole caps, so plan a cut piece to fall at an inconspicuous end rather than the middle. For 90-degree corners, miter the two caps at 45 degrees so the joint runs diagonally across the corner for a clean, professional finish.
Always wear eye and hearing protection and a dust mask when cutting concrete, and cut wet if your saw allows it to control silica dust.
Matching Caps to Your Wall System
The most common cap mistake is buying a generic cap that doesn’t coordinate with the wall block below it. Manufacturers design caps to pair with specific block lines in both color and depth, and using the matched cap is what makes a wall look professionally built.
Keep these pairing points in mind:
- Color: buy caps from the same manufacturer and color blend as your block, and pull from multiple pallets to avoid banding.
- Depth: the cap should match or slightly overhang the wall’s face depth for a clean shadow line.
- Style: a rugged tumbled wall wants a tumbled cap, while a smooth modern block wants a crisp-edged cap.
If you inherited a wall and can’t identify the block, take a piece to a landscape supply yard, they can usually match it to a current cap line or find a close universal option.
Sealing and Winter Protection
In freeze-thaw regions, the caps take the brunt of the weather, and a little protection extends their life and looks. A breathable masonry sealer applied after the adhesive cures repels water, resists staining from leaves and dirt, and can deepen the color for a richer look.
Reapply sealer every two to three years in harsh climates. Just as important, keep the wall’s drainage working so water never saturates the block from behind and pushes out through the cap joints in a freeze. Before winter, clear any leaves and debris off the caps and confirm the grade above still directs runoff away from the wall top rather than over it.
Building Seat Walls and Multi-Use Caps
Caps aren’t only for retaining walls, they turn a low freestanding wall into functional seating, a favorite around patios and fire pits. A seat wall is typically built about 18 to 20 inches high, the comfortable height of a chair, and topped with a wide bullnose cap.
For seating and other high-touch surfaces, a few extra steps pay off:
- Use a bullnose or beveled cap so there are no sharp edges against legs.
- Glue caps down thoroughly, seat walls get bumped, sat on, and leaned against constantly.
- Aim for a consistent overhang so the seat feels finished and comfortable.
- Consider a wider cap, 12 inches or more, if the wall doubles as a serving ledge.
The same cap that protects a retaining wall becomes the surface people actually touch and use, so it’s worth choosing a comfortable profile and gluing it down for good.
How Many Caps to Order
Running short on caps mid-project means a second supplier trip and the risk of a slightly different color batch, so calculate your needs carefully and add a cushion. Caps are sold by the piece or by linear foot, and the math is straightforward.
Follow these steps to order the right quantity:
- Measure the total linear footage of the wall’s top course, including both faces of a freestanding wall.
- Note the cap length so you know how many pieces cover a foot.
- Add 5 to 10 percent extra for cuts, corners, and the occasional damaged piece.
- For curves and corners, add a few more since angled cuts waste material.
Buy all your caps in one order and from adjacent pallets so the color blend stays consistent across the whole wall. Concrete color can vary slightly between production runs, and nothing looks more like an afterthought than a section of caps that don’t quite match the rest.
Common Cap Installation Mistakes
A few avoidable errors separate a crisp, professional cap job from a sloppy one. Knowing them ahead of time saves rework.
- Skipping the cleaning step: adhesive won’t bond to a dusty block top, sweep it spotless first.
- Using the wrong adhesive: interior construction glue fails outdoors, use a polyurethane landscape adhesive.
- Inconsistent overhang: eyeball-setting caps leaves a wavy front edge, snap a chalk line for a uniform projection.
- Forgetting expansion: caps glued rock-solid to a wall with no drainage can pop loose in a freeze, so keep the wall draining.
Take the extra ten minutes to dry-lay, snap a line, and clean each surface, and the caps go down straight and stay put for decades.
Final Touches
After the adhesive cures, wipe away any squeeze-out and sweep the wall clean. For extra protection in harsh climates, some homeowners seal the caps with a masonry sealer to repel water and resist staining. Done right, retaining wall caps lock in the whole structure, shed water, and give you a durable, finished edge that makes the entire wall look like it was built by a pro. It’s the last five percent of the job that delivers the first impression.


