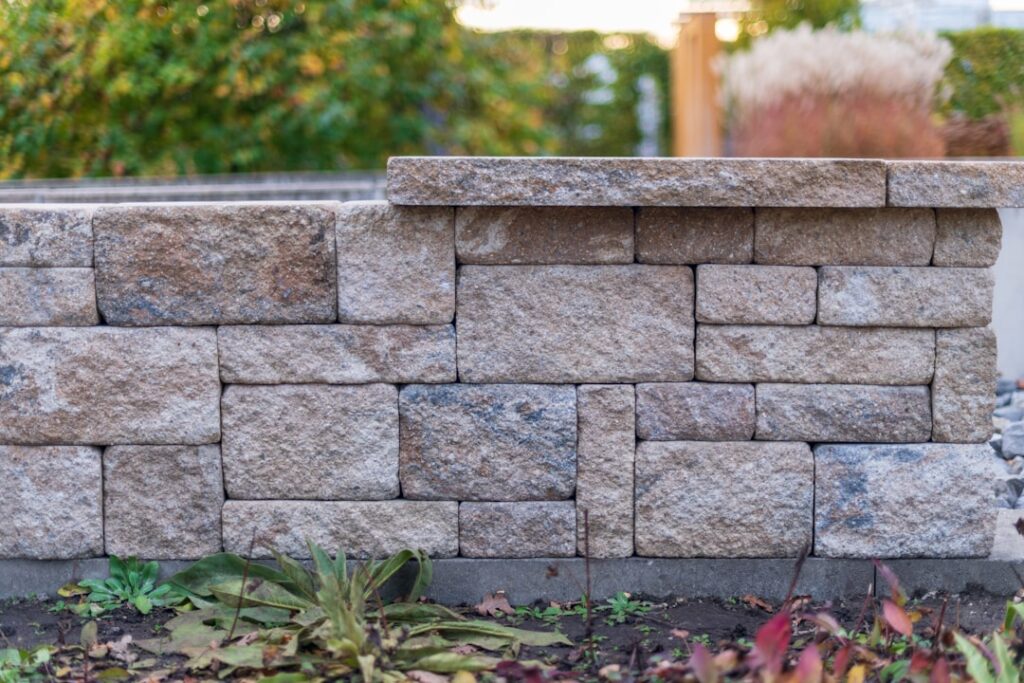
Retaining walls fail from the parts you cannot see. The blocks, stone, or timber facing gets all the attention, but nearly every leaning, bulging, or collapsed wall shares the same autopsy: no compacted base, no drainage behind the wall, or backfill dumped in loose. Proper retaining wall installation is 70 percent earthwork and 30 percent stacking, and the sequence is essentially identical whether you are building with segmental blocks, mortared masonry, natural boulders, or timbers. This guide walks the universal process — excavation, base, drainage, backfill, and compaction — with the specs that keep soil where you put it for decades.
Before You Dig: Height, Loads, and Rules
Three decisions gate everything else. First, height: most municipalities allow walls up to 3-4 feet without a permit; anything taller typically requires an engineered design, and stacking two “short” terraced walls closer together than twice the lower wall’s height counts as one tall wall in the eyes of most codes. Second, surcharge — anything adding load above the wall (a driveway, patio, slope, or parked vehicles within a horizontal distance equal to the wall height) pushes design requirements up sharply and usually into engineering territory. Third, utilities: call 811 at least two working days before excavation, every time, no exceptions.
Soil matters too. Sandy, free-draining soils push less than saturated clay, which both holds water and expands. If your site is heavy clay or the wall protects anything valuable, a geotechnical opinion is cheap insurance against rebuilding.
Step 1: Excavation
Lay out the wall line with paint or string, then dig a trench for the base course. The working numbers: trench depth equals 6 inches of gravel base plus buried facing — bury the first course at roughly one-tenth of the wall height (a 4-foot wall gets 4-6 inches of buried block). Trench width should be about twice the depth of the wall unit so there is room for base material in front and behind. Behind the wall line, excavate back 12-24 inches to create space for the drainage zone; you will refill this with gravel, not the soil that came out. Cut into the slope in benches rather than one tall raw face, and never leave an unsupported vertical cut over 4 feet without shoring — trench collapses are the real safety hazard of this project, not the lifting.
Step 2: The Compacted Base
The base is the foundation, and it is non-negotiable: 6 inches minimum of crushed angular gravel (3/4-inch minus road base, not rounded pea gravel, which never locks up), placed in 2-3 inch lifts and compacted with a plate compactor until it will not take a footprint. Screed the top dead level along the wall line — a level first course is the difference between a crisp wall and one that telegraphs a wave through every course above. Spend whatever time this takes; experienced installers routinely give the first course a third of the total project hours. On walls over 4 feet or in soft soils, engineers may spec a wider or deeper base, or a concrete footing for mortared walls.
Step 3: Drainage — the System That Saves the Wall
Water is the force that destroys retaining walls. Saturated soil weighs nearly double dry soil and adds hydrostatic pressure the wall was never sized for; in winter, that water freezes and jacks the structure apart. Every wall over about 2 feet needs a complete drainage assembly:
- Perforated drain pipe (4-inch, perforations down) laid at the wall’s base on the backfill side, sloped at least 1/8 inch per foot to daylight at the wall ends or to storm drainage. On long walls, add outlets every 30-50 feet.
- Clean drainage gravel (3/4-inch angular, no fines) filling the 12-inch zone directly behind the wall for the full height, so water falls freely to the pipe instead of pressing on the wall.
- Filter fabric (geotextile) separating that gravel column from native soil, preventing fines from migrating in and clogging the system over the years.
- Surface grading above the wall directing runoff away, plus a swale if the slope drains toward the wall.
Weep holes through the face supplement — but do not replace — the pipe. If a bid skips the pipe and gravel, that is not a cheaper wall; it is a shorter-lived one.
Step 4: Building the Face
With the base level and drainage planned, the facing goes up in courses. Universal rules: stagger vertical joints by half a unit, check level every course in both directions, and set each course back slightly into the slope — the “batter,” typically 3/4 to 1 inch per foot of height, which most segmental block systems build in automatically with lips or pins. On walls above 4 feet, engineered designs add geogrid — soil reinforcement mesh laid between courses and extending back into the compacted backfill, which turns the soil mass itself into part of the structure. Material-specific technique differs enough that we cover the two most popular systems separately: see our guides to interlocking retaining wall blocks for pinned and lipped segmental systems, and cinder block retaining wall construction for mortared and core-filled CMU walls. The earthwork in this article applies identically beneath both.
Step 5: Backfill and Compaction — in Lifts, Always
Backfilling is where impatience ruins good walls. The rule: fill and compact in 4-8 inch lifts, never in one dump. Behind the drainage gravel, place approved backfill soil, compact each lift with a plate or jumping-jack compactor, then place the next. Loose backfill settles for years, pulling surface grades down and loading the wall unevenly; a hand-tamped 3-foot column of backfill can settle 2-3 inches, while properly compacted lifts settle almost none. Keep heavy compaction equipment at least 3 feet from the wall face on unreinforced walls — compact the near zone with lighter gear. Cap the top with 6-8 inches of low-permeability soil or the finished surface (sod, planting bed, patio base) graded away from the wall, and install cap units or coping with construction adhesive as the finishing course.
After the Build: Inspection and Early Warning Signs
A finished wall deserves a five-minute walk-past every spring and after major storms. Healthy signs: drain outlets trickling during rain (the system is working), hairline joint movement, and settled grades of under an inch in year one. Warning signs worth acting on: a lean you can see by sighting down the face, a horizontal bulge at mid-height (classic sign of failed drainage or missing geogrid), soil washing out through the face, or standing water above the wall after rain stops. Caught early, most problems are drainage repairs — re-excavating the top few feet to restore grading, or flushing a silted pipe — at a few hundred dollars. Ignored, the same symptoms end in rebuilding, and a rebuilt wall costs more than the original because demolition and disposal join the bill. Keep vegetation with aggressive roots (willows, large shrubs) at least a wall-height away, and never let a downspout discharge into the backfill zone; those two habits prevent the majority of mid-life failures.
Costs, Timeline, and When to Hire
Material quantities for estimating: each face foot of wall needs roughly one to one and a half 80-pound bags’ worth of base gravel, plus the drainage column behind it — gravel is routinely half the material bill and most of the labor.
Professionally installed walls run roughly $25-60 per face foot ($3,000-9,000 for a typical 40-foot, 3-foot-high wall) depending on material and access; DIY segmental block walls cost $12-25 per face foot in materials. A weekend-warrior crew of two can build a 30-foot, 2-3 foot wall in two to three hard weekends — most of it moving gravel. Hire it out, with an engineer involved, whenever the wall exceeds 4 feet, carries a surcharge, retains clay, or protects a structure. And whichever route you take, judge the job by the invisible parts: the compaction, the pipe, and the gravel column. That is where the next 40 years get decided.