No mortar, no poured footing, no masonry skills — just heavy blocks that lock together and lean into the hill. That’s the pitch behind interlocking retaining wall blocks, technically called segmental retaining wall (SRW) units, and it’s largely honest: a first-timer with a strong back and a level can build a 3-foot garden wall that outlasts the mortgage. The engineering hides in how the blocks connect and batter backward, and the systems differ more than the garden-center display suggests. Here’s how the locking mechanisms compare, what the major brands and big-box lines actually cost, and the rules that keep a stacked wall standing.
How SRW Blocks Hold Back Soil
A segmental wall is a gravity structure: massive units (28 to 80+ pounds each) stack in running bond with each course stepped back — the “batter,” typically 6 to 12 degrees — so the wall leans into the retained soil. The interlock between courses resists sliding, the setback converts soil pressure into compression down the wall, and a drainage column of clean gravel behind the blocks keeps water pressure from ever building. Past about 4 feet, walls add geogrid — soil reinforcement mesh laid between courses and extending back into the slope — turning the whole soil mass into part of the wall. Every commercial system is a different answer to one question: how do the courses lock?
Pin Systems vs. Lip Systems
The two dominant connection types behave differently on site:
- Rear-lip blocks (Keystone Country Manor-style, most big-box units, Allan Block’s raised front lip variant): a molded flange on the block’s back-bottom hooks over the course below. Setback is automatic and foolproof — you literally can’t stack them wrong — but the lip fixes the batter and makes tight curves fussier, and lips can shear under heavy surcharge if the wall is underbuilt.
- Pin systems (Versa-Lok, Keystone’s classic pinned units): fiberglass or nylon pins drop through holes connecting courses. Pins allow variable setback (near-vertical when space is tight), stronger positive connection for geogrid walls, and easy splitting for curves and corners — at the cost of slightly slower assembly.
A third family, hollow-core and trapezoidal units (Allan Block), fills each course with gravel, adding mass and drainage in one move; the trapezoid shape swings curves gracefully. For a DIY wall under 4 feet, any of the three works — pick on price, face style, and local availability; taller engineered walls tend toward pinned or hollow-core systems. One buying caution: connection hardware and geometry are proprietary, so a wall started in one system finishes in that system — buy 5 percent extra up front rather than discovering mid-project that the line was discontinued or the new dye lot doesn’t match.
Brands, Sizes, and Real Costs
Big-box lines — Pavestone RockWall, Oldcastle/Belgard garden units — run $2–$6 per small block (roughly 12-inch faces, 20–35 lb) and suit walls to about 3 feet. Contractor-grade systems from Allan Block, Versa-Lok, Keystone, and Belgard sell through landscape yards at $6–$15 per full-size unit (typically 18-inch face, 8-inch height, 60–80 lb), or $12–$25 per face-foot for the fancier tumbled and blended finishes. As installed pricing, budget $15–$30 per sq ft of wall face DIY (blocks, base gravel, drain pipe, backfill) and $40–$80 per sq ft professionally built. A 30-foot-long, 3-foot wall therefore lands around $1,800–$2,700 in DIY materials versus $4,500–$7,000 hired out. Caps finish the top course at $3–$8 per lineal foot, glued down with concrete adhesive.
The Build Rules That Decide Everything
Stacked walls fail at the base and behind the face, almost never at the block. The non-negotiables:
- Excavate a base trench twice the block depth wide, and bury the first course — one inch of burial per 8 inches of wall height, minimum one full course.
- Compact 6 inches of crushed gravel base (3/4-minus, not rounded pea gravel), leveled dead flat. The first course is 80 percent of the job; check level side-to-side and front-to-back on every single block.
- Backfill with 12 inches of clean drainage gravel behind the blocks as you rise, with a perforated drain pipe at the base daylighting to grade. Water pressure, not soil, topples walls.
- Compact backfill every course in 4-inch lifts — but keep plate compactors 3 feet back from the face.
- Respect the height line: most systems allow 3 to 4 feet unreinforced. Taller, or supporting a driveway or slope above? That’s geogrid plus, in most municipalities, an engineer’s stamp and a permit — commonly triggered at 4 feet.
Where Interlocking Blocks Beat the Alternatives
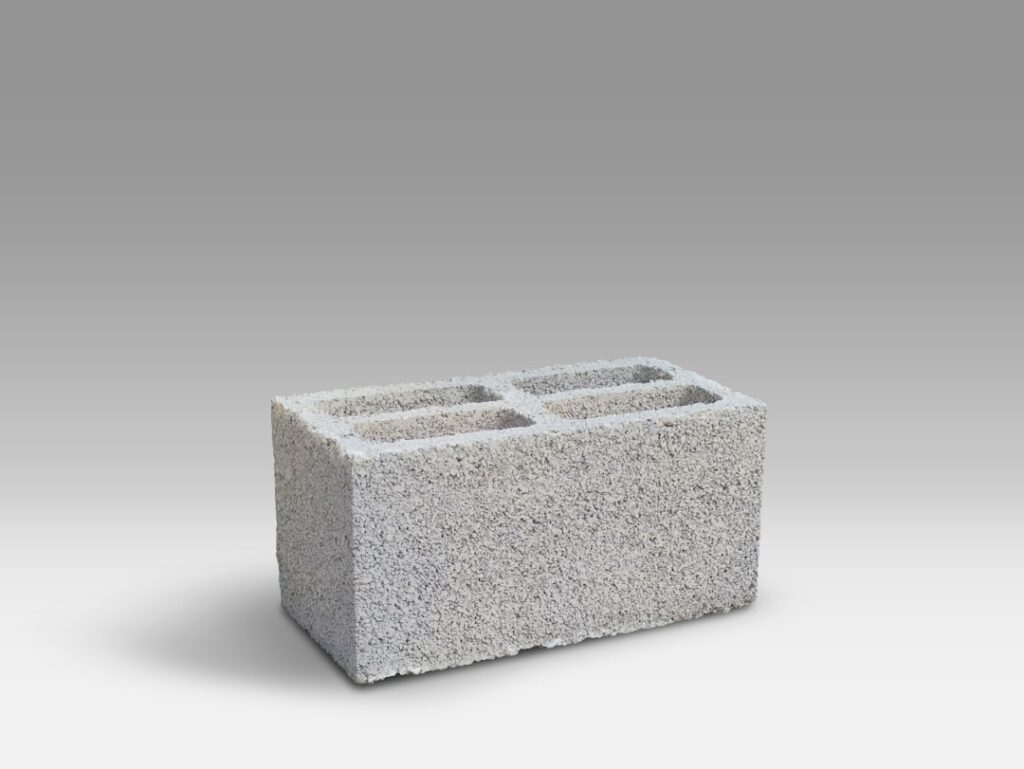
Against a mortared cinder block retaining wall — CMU on a poured footing with rebar and parged or veneered face — segmental blocks win on DIY-friendliness, no footing below frost line, built-in drainage tolerance, and flexibility (they move fractionally with freeze-thaw instead of cracking). The CMU route wins where you need true vertical faces, integrated steps and structures, or an engineered wall tied to other concrete work. Against poured concrete walls, SRWs cost half or less at residential heights. And against timber walls, it’s no contest on lifespan: pressure-treated walls give 15–20 years; concrete SRW manufacturers warranty units for 50+.
Curves, Corners, and Steps
Design details are where block systems show their range. Gentle curves come free with trapezoidal and tapered units — just fan the blocks — while straight-sided units handle curves down to roughly a 4-foot radius by opening the back joints (convex) or splitting blocks (concave). Outside 90-degree corners need either factory corner units or field-split blocks with the cut faces buried; never leave a smooth molded side exposed on a textured wall. Steps integrate naturally by stacking wall units as risers with cap or paver treads — each 8-inch-tall course is conveniently near two standard stair risers split in half, and manufacturers publish step details worth following exactly, since stairs concentrate both loads and lawsuits. Terracing deserves its own caution: two 3-foot walls are only independent structures if the upper wall sits back at least twice the height of the lower one; closer than that, engineering treats them as one tall wall, permit and geogrid included.
Maintenance and Fixing a Bulge
A properly built segmental wall wants almost nothing — pull weeds from the joints, keep the drain outlet clear, and re-glue the occasional popped cap. Watch for two symptoms. Efflorescence, the white mineral haze on new block, is cosmetic and weathers off in a season or two (or scrubs off with a masonry cleaner). A bulge or lean, by contrast, is the wall reporting a drainage or compaction failure behind it, and it doesn’t heal. The repair is honest but laborious: dismantle the face down past the bulge — mortarless construction’s great gift is that blocks come apart and go back undamaged — fix the cause (usually clogged or missing drainage gravel, or uncompacted backfill), and restack. Caught at one course of lean, that’s a weekend; ignored for five years, it’s a rebuild. Walk the wall each spring with a level and you’ll always catch it at the weekend stage.
Buying Checklist
Estimate quantity as wall face area divided by block face area, plus 5 percent for cuts and culls; a 30 x 3 ft wall in 18×8-inch units needs about 95 blocks per course-math or roughly 120 units total with the buried course. Have the pallet delivered as close to the trench as the driver will drop it — a 3-foot wall’s materials weigh several tons, and rehandling blocks is where DIY enthusiasm dies. Rent a plate compactor ($70–$100 a day), buy a 4-foot level and a rubber mallet, and set aside a full weekend for base prep alone. Built on those terms, interlocking retaining wall blocks are the rare hardscape project where the amateur result and the professional result can be genuinely indistinguishable — the blocks do the engineering, provided you do the base.