Walk the hardscape aisle of almost any home center and you’ll find stacks of concrete blocks bearing one familiar name. Oldcastle retaining wall block is among the most widely available segmental wall systems in the country, and for good reason — the blocks are engineered to interlock without mortar, come in a range of textures and colors, and let a determined homeowner build a professional-looking wall over a weekend. Whether you’re terracing a sloped backyard, creating a raised planting bed, or leveling ground for a patio, these dry-stack blocks make retaining walls accessible without hiring a mason.
This guide walks through the popular block styles, how to size a project, realistic costs, and the base-and-drainage fundamentals that determine whether your wall stands straight for decades or bulges and topples after a couple of winters.
What Makes These Blocks Work
Segmental retaining wall blocks rely on interlock and mass rather than mortar. Most designs use a built-in lip or a pin system on the back that automatically sets each course slightly behind the one below, creating a “setback” that leans the wall into the slope it’s holding. Gravity, the setback angle, and the sheer weight of the blocks resist the pressure of the soil behind them. Because they stack dry, they flex slightly with freeze-thaw cycles instead of cracking the way a rigid mortared wall might.
The rear lip also speeds construction — you don’t measure the setback on every block, you just seat each course and the lip does it for you. That self-aligning design is a big part of why these systems are so DIY-friendly.
Popular Block Styles
Oldcastle and its regional brands offer several block families, each suited to different wall heights and looks. Availability varies by region, but the categories are consistent.
- Standard interlocking blocks: The everyday workhorse, often around 12 inches wide, ideal for garden walls and terraces up to a few feet tall.
- Larger structural blocks: Bigger, heavier units with pin or lip connections, built for taller walls and greater soil loads.
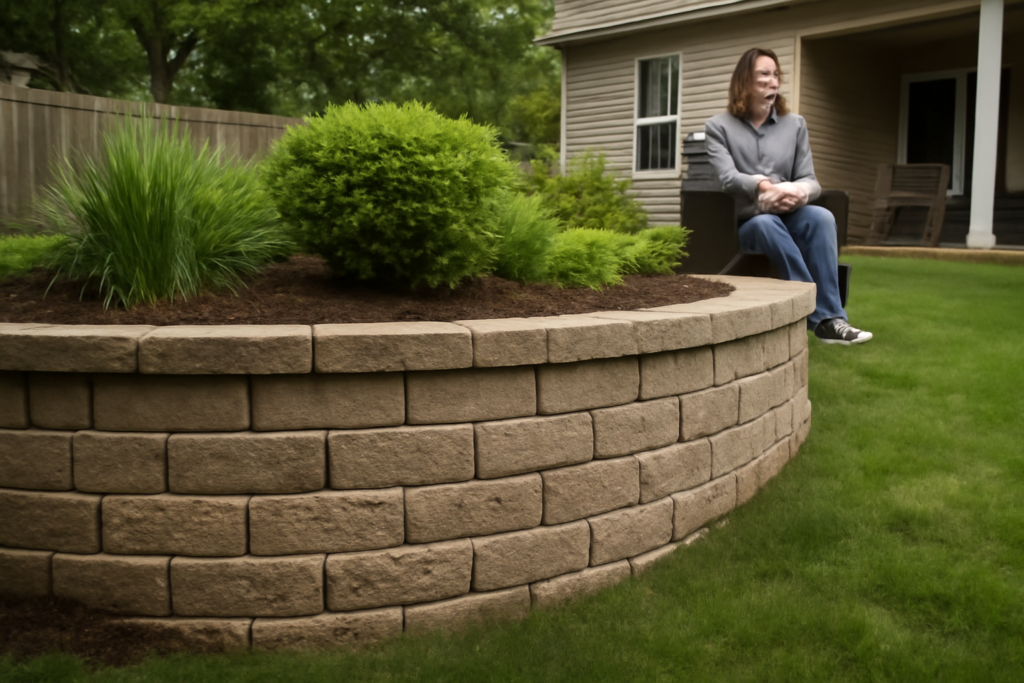
- Tumbled/weathered finishes: Blocks with softened, antiqued edges for a natural-stone appearance popular in landscape beds.
- Multi-piece random patterns: Systems that combine several block sizes for a varied, non-repeating stone look.
- Cap blocks: Flat finishing pieces that top the wall for a clean, uniform edge.
Colors typically range from warm tans and browns to gray blends, letting you match existing hardscape or the tones of your home. Bring a sample home and view it in your yard’s light before buying a full pallet.
How Many Blocks You Need
Estimating quantity is straightforward once you know your wall’s dimensions. Measure the total length and desired height, then calculate square footage of the wall face. Divide by the face area of a single block — printed on the packaging — to get the number of blocks, then add roughly 5 to 10 percent for cuts and breakage. Don’t forget cap blocks for the top course and extra base material below grade.
Blocks are heavy — a single standard unit can weigh 20 to 40 pounds, and larger structural blocks far more. A modest wall quickly adds up to thousands of pounds, so plan delivery to a spot near the work and consider whether you’ll need help moving pallets.
What It Costs
Individual blocks commonly run from about $2 to $6 or more depending on size and style, which puts installed material costs somewhere around $15 to $30 per square foot of wall face for a DIY project, before base gravel and drainage stone. Add base aggregate, drainage rock, and landscape fabric, and budget accordingly. Hiring a contractor typically pushes the installed price to $30 to $60 per square foot, reflecting excavation, compaction, and labor. For a homeowner comfortable with physical work, the DIY savings are substantial — labor is the largest line item on any wall.
Building a Wall That Lasts
The visible blocks get the attention, but a retaining wall succeeds or fails below the surface. The base and drainage are everything.
The Base Course
- Excavate a trench deep enough that the first course sits below grade — a common rule is to bury about one-tenth of the wall’s height plus room for the base material.
- Add and compact a gravel base, typically 4 to 6 inches of crushed stone, in lifts. A hand tamper works for small walls; rent a plate compactor for larger ones.
- Level obsessively. The first course must be perfectly level side to side and front to back — every error multiplies as you build up. Spend most of your time here.
Drainage Behind the Wall
Water pressure is the number one killer of retaining walls. Behind the blocks, place drainage stone — clean crushed gravel — and, for taller walls, a perforated drain pipe at the base that daylights out the end to carry water away. Line the soil side with landscape fabric so dirt doesn’t clog the gravel over time. Never backfill a retaining wall with solid, water-holding soil right against the blocks; the trapped hydrostatic pressure will eventually push the wall out.
Height Limits and When to Call a Pro
Dry-stack block walls have practical and legal height limits. Many jurisdictions require an engineered design and a permit for walls over 3 to 4 feet, and taller walls often need geogrid — a soil reinforcement fabric that anchors back into the hillside between courses. If your wall will hold back a significant slope, sit near a foundation, or exceed local height thresholds, consult your municipality and consider professional engineering. A failing tall wall is dangerous and expensive to rebuild.
For terraced looks, building two or three shorter walls stepped up a slope is often safer and easier than one tall wall — and it creates attractive planting terraces in the bargain.
Curves, Corners, and Steps
One reason segmental block systems are so popular is how easily they handle shapes a rigid wall can’t. Because the blocks stack dry and many are slightly tapered or trapezoidal, you can lay gentle curves simply by fanning the blocks — the taper opens up small gaps on the outside of the curve that stay tight enough to look clean. For sharper curves, some systems offer a splitting feature that lets you snap blocks to a smaller size on the fly.
Corners and steps take a bit more planning. Ninety-degree corners often use specific corner blocks or require you to alternate the block orientation course by course so the joints stagger and lock, just like bricklaying. If your slope calls for built-in steps, plan them into the layout early, keeping the base of each step level and tied into the wall’s drainage. Terracing a long slope into stepped-back sections of shorter wall is often more attractive and structurally sound than fighting to build one tall run, and it creates natural planting shelves along the way.
Common Mistakes That Cause Wall Failure
Most retaining wall failures trace back to a handful of avoidable errors, and knowing them upfront saves a costly rebuild.
- Skimping on the base: A thin or poorly compacted gravel base is the leading cause of settling and leaning. Never rush this step.
- Ignoring drainage: Backfilling with solid soil traps water behind the wall, and the resulting hydrostatic pressure pushes it out. Always use drainage stone and, for taller walls, a drain pipe.
- An unlevel first course: Every error in the base course multiplies with each row above. Spend the time to get it perfectly level.
- Building too tall without reinforcement: Exceeding safe dry-stack height without geogrid or engineering is dangerous. Respect height limits and permit requirements.
- No setback or buried base: A wall built straight up, or with its first course sitting on grade instead of below it, lacks the lean and footing it needs to resist soil pressure.
Avoid these five, and you eliminate the vast majority of the problems that plague amateur walls.
Finishing Touches
Cap the top course with cap blocks, securing them with a bead of concrete adhesive so they don’t shift underfoot or get knocked loose. Backfill the last few inches with topsoil if you’re planting behind the wall, and grade the ground above so surface water runs away from, not toward, the wall. A layer of mulch or plantings softens the look and helps hold the soil.
Built correctly, an Oldcastle retaining wall block project delivers a durable, attractive wall at a fraction of the cost of natural stone or poured concrete. Focus your effort where it counts — a deep, level, compacted base and reliable drainage behind the blocks — and the wall will do its job quietly for decades, turning an awkward slope into usable, beautiful outdoor space.