Every retaining wall project reaches the same moment: a block that’s too long, a curve that needs a wedge, or a corner that won’t line up, and suddenly you need to know how to cut retaining wall blocks without wrecking them or your weekend. The good news is that these dense concrete blocks cut cleanly with several tools you can rent or buy, from a diamond-blade saw for precision to a simple chisel for a rustic split. This guide covers each method, the safety gear you must have, and the tricks that turn ragged breaks into tight, professional joints.
- Understanding What You’re Cutting
- Safety Gear You Can’t Skip
- Method 1: Circular Saw With a Diamond Blade
- Method 2: Angle Grinder for Detail Cuts
- Method 3: Masonry Splitter for High Volume
- Method 4: Hammer and Chisel for a Rustic Split
- Cutting Curves and Corners
- Tips for Clean, Tight Joints
- Choosing the Right Diamond Blade
- Wet Cutting Versus Dry Cutting
- Setting Cut Blocks Into the Wall
- When to Let the Yard Cut for You
- The Bottom Line
- Frequently Asked Questions
Understanding What You’re Cutting
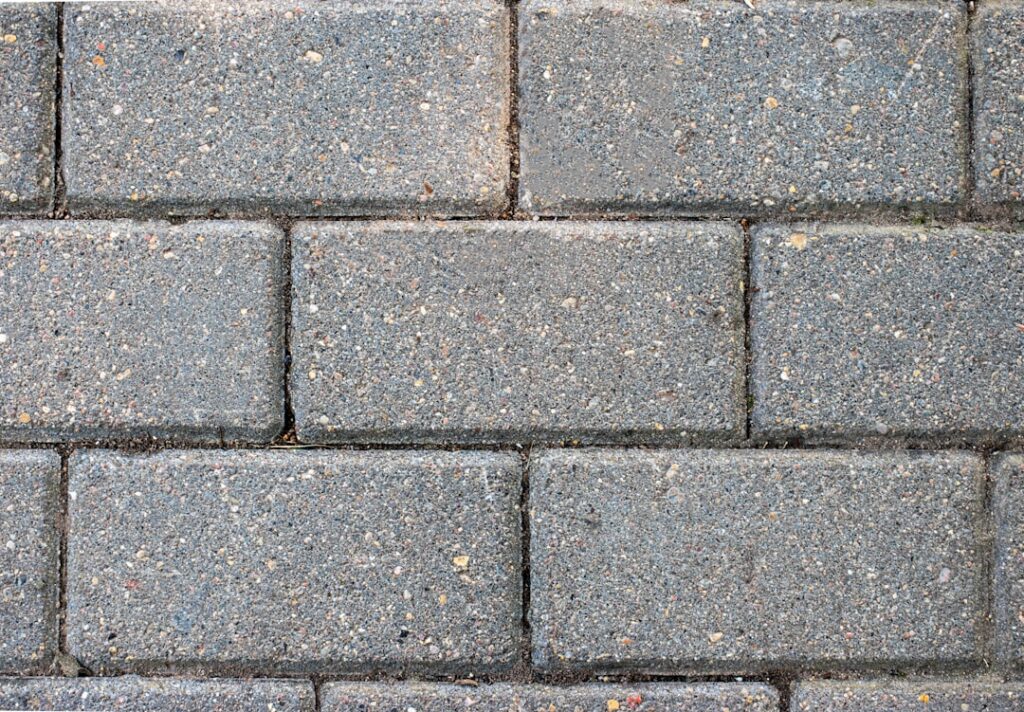
Retaining wall blocks are made of dense, cured concrete, often with aggregate that dulls blades and resists impact. They’re much harder than a cinder block, so a wood-cutting saw or a claw hammer won’t do. The cutting method you choose depends on how clean the cut needs to be and how many blocks you’re processing.
A straight, visible cut on a cap block calls for a saw and a diamond blade. A hidden cut buried in the wall can be a rougher split. Knowing where the cut will show helps you decide how much precision, and effort, the job actually needs.
Safety Gear You Can’t Skip
Cutting concrete throws sharp fragments and, worse, fine silica dust that’s genuinely hazardous to your lungs. Before any blade touches a block, gear up completely.
- Safety glasses or a full face shield against flying chips
- An N95 or better respirator, concrete dust contains crystalline silica that damages lungs
- Heavy work gloves and hearing protection for powered saws
- Long sleeves and sturdy boots to guard against fragments
Whenever possible, cut outdoors and use water to suppress dust, a wet cut dramatically reduces airborne silica. Never dry-cut concrete indoors without serious ventilation and respiratory protection.
Method 1: Circular Saw With a Diamond Blade
For clean, straight, accurate cuts, a circular saw fitted with a diamond masonry blade is the go-to for most homeowners. It’s precise enough for visible cap cuts and fast enough for a moderate number of blocks.
- Mark your cut line clearly on all faces with a pencil and a square
- Set the saw’s blade depth to about 1 inch and clamp or steady the block
- Score along the line with a shallow first pass, then make progressively deeper passes
- Cut from multiple sides for thick blocks, meeting in the middle
- Snap or lightly tap through any remaining web if the saw can’t reach all the way
A wet-rated saw or a hose trickling water on the cut keeps dust down and cools the blade. Don’t force the saw, let the diamond blade grind at its own pace to avoid binding and chipping.
Method 2: Angle Grinder for Detail Cuts
An angle grinder with a diamond blade shines for curves, notches, and tight corners a circular saw can’t reach. It’s more maneuverable but requires a steady hand.
Mark the line, then guide the grinder along it in shallow passes rather than trying to cut through in one plunge. For curved walls, the grinder lets you shave and shape blocks to follow the arc. Keep both hands on the tool, brace the block, and expect this method to throw more dust, so wet-cutting and a respirator are essential.
Method 3: Masonry Splitter for High Volume
If you’re processing dozens of blocks, a hydraulic or manual block splitter is the fastest, dust-free option. Landscape suppliers and rental yards carry them, and many stone yards will split blocks for you.
A splitter works like a giant guillotine: you position the block on the anvil, align the blade with your mark, and pull the lever to shear the block in one clean stroke. The result is a naturally textured, split face that matches the rough look of many wall blocks, ideal for corners and caps where a rustic edge looks better than a sawn one. There’s no dust and no blade to dull, making it the pro’s choice for big jobs.
Method 4: Hammer and Chisel for a Rustic Split
For a handful of hidden cuts or a deliberately rough edge, a brick chisel (bolster) and a 3-pound hammer get the job done with no power at all. It takes practice but costs almost nothing.
- Score a line around all four sides of the block with the chisel and hammer
- Deepen the score groove with repeated passes on each face
- Place the block on a bed of sand or soil to absorb the shock
- Strike the chisel firmly along the scored line until the block splits
The break follows your score, so the more thoroughly you groove all sides, the cleaner the split. This method gives a natural, textured face but less control over a perfectly straight line.
Cutting Curves and Corners
Curved walls and 90-degree corners need special handling. For a gentle curve, you often only need to trim the back edges of blocks so they fan tightly at the face, the gaps hide behind the wall. Mark the taper, then use a saw or grinder to shave the rear corners.
For crisp corners, many block systems sell dedicated corner or cap units, using them saves cutting entirely. When you must miter a corner, cut matching 45-degree angles on two blocks with a saw for a clean joint, or split them for a rugged, interlocking look.
Tips for Clean, Tight Joints
A few habits separate amateur cuts from professional ones. Measure twice against the actual gap in the wall, not a drawing, since real courses drift slightly. Mark on the block face that will show, and cut just outside the line so you can grind down to a perfect fit.
Dry-fit every cut block before setting it permanently. Test the fit in place, shave high spots with a grinder, and only then bed it in the wall. Keeping a bucket of water nearby to rinse dust off cut faces lets you check the fit clearly and keeps the blade cool.
Choosing the Right Diamond Blade
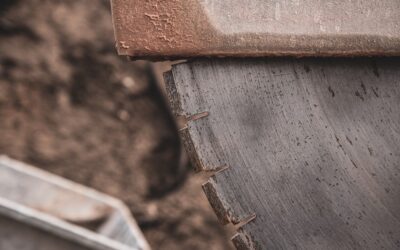
Not all diamond blades cut concrete equally, and the wrong one wastes money and patience. For retaining wall blocks, a segmented or continuous-rim diamond blade rated for masonry and concrete is what you want, not a general-purpose or tile blade. The segmented type clears debris well and cuts faster, while a continuous rim leaves a smoother edge on visible cap cuts.
- Segmented rim: fastest cutting and best debris clearance for rough or hidden cuts
- Continuous rim: smoother, cleaner edge for visible cap and corner cuts
- Turbo rim: a middle ground offering speed and a reasonably clean edge
- Wet-rated blades: designed to run with water for dust control and longer life
Match the blade’s arbor size to your saw and confirm it’s rated for the RPM your tool spins. A quality masonry diamond blade costs $20 to $50 and outlasts cheap abrasive wheels many times over, cutting faster and safer throughout the job.
Wet Cutting Versus Dry Cutting
How you manage dust is a health decision, not just a cleanliness one. Dry cutting concrete releases fine crystalline silica that lodges deep in the lungs and causes serious, permanent damage over time. Wet cutting suppresses that dust dramatically and should be your default whenever possible.
To wet-cut, trickle water onto the cut line from a hose or a saw’s water attachment, keeping the blade and surface wet throughout. The water controls dust, cools the blade, and extends its life. If you must dry-cut, do it outdoors in open air, wear a properly fitted N95 or half-mask respirator, and position yourself upwind. Never dry-cut concrete in an enclosed space. The extra hassle of managing water is trivial compared to protecting your lungs from silicosis.
Setting Cut Blocks Into the Wall
A perfect cut still fails if it’s set poorly. Once a block is cut and dry-fit, place it so the cut edge faces where it’s least visible, toward a corner, into the ground, or against an adjoining block, and keep the finished factory face outward. For visible cap cuts, position the cleanest edge forward.
Bed each block on a level course, checking with a torpedo level as you go, and maintain the wall’s batter, the slight backward lean into the slope, even through cut sections. Where blocks interlock with a lip or pins, make sure your cut didn’t remove the locking feature; if it did, secure that block with construction adhesive rated for landscape blocks. A bead of masonry adhesive under cap blocks and any short cut pieces keeps them from shifting and gives the finished wall a solid, permanent feel.
When to Let the Yard Cut for You
If a project needs only a few precise cuts, or a lot of identical ones, ask your stone supplier. Many will split or saw blocks to your specs for a small fee, saving you tool rental, dust, and time. For a large wall with dozens of custom cuts, though, owning the process with a rented splitter or a good diamond saw pays off in control and convenience.
The Bottom Line
Knowing how to cut retaining wall blocks comes down to matching the method to the cut: a diamond-blade circular saw for straight, visible lines, an angle grinder for curves and notches, a splitter for high volume, and a chisel for rough hidden breaks. Whichever you choose, protect your lungs and eyes, suppress dust with water, and always dry-fit before setting. Follow those steps and every block will drop into place with the tight, clean joints that make a wall look like a pro built it.
Frequently Asked Questions
How do you cut a retaining wall block in half?
Mark a line across the center of the block on every face, then score it about 1 inch deep with a diamond blade on all sides. Set the block on sand and strike a brick chisel along the score until it splits, or make deeper saw passes from both sides until the cuts meet. Scoring every face first keeps the break straight instead of wandering through the aggregate.
How do you cut retaining wall cap blocks for a curve?
Dry lay the caps along the curve so they overlap slightly, then mark where each cap crosses its neighbor and cut along those lines. The result is a row of slightly tapered caps whose joints meet tight across the top. A diamond blade on a circular saw or cut-off saw gives the clean edge visible caps need, and numbering each cap keeps them in order for gluing.
Can you rent a saw that cuts a retaining wall block in one pass?
Yes, rental yards carry gas-powered cut-off saws, often with 14-inch diamond blades, that cut far deeper than a circular saw. Many blocks still need a pass from each side, but the work goes much faster. These saws are powerful and kick back hard if the blade binds, so use the water attachment, wear full protective gear, and follow the rental yard’s safety briefing.