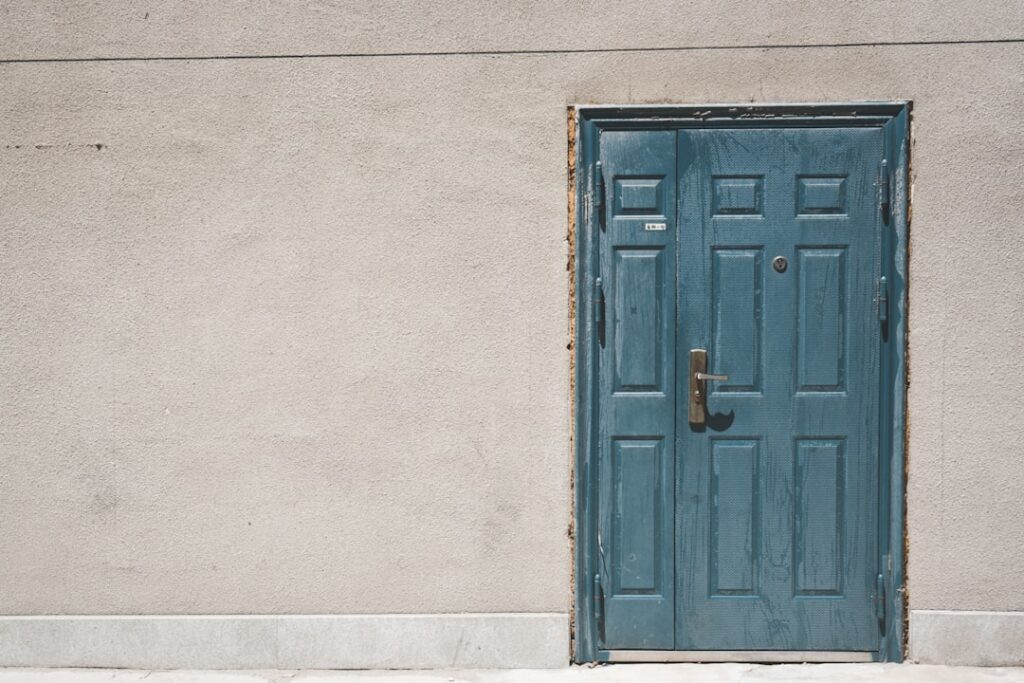
Frame it half an inch too tight and the prehung unit will not plumb; frame it an inch too generous and you will be stacking shims like poker chips while the foam gap swallows insulation. The standard rough opening for 36 inch exterior door units is 38 inches wide by 82-1/2 inches tall — door width plus 2 inches, height plus 2-1/2 — but that headline number is only the start. Exterior doors carry structural loads overhead, seal against weather at the sill, and weigh two to three times what interior doors do, so the framing details around that opening matter as much as the dimensions. Here is the complete spec, from header sizing to sill pan, the way a framing crew would build it.
The Standard Numbers
A nominal 36-inch (3/0, “three-oh”) exterior door has a slab measuring 36 by 80 inches, hung in a factory frame with 3/4 to 1-1/4-inch jambs and an integral sill. The rough opening that fits nearly every manufacturer’s 3/0 prehung unit:
- Width: 38 inches — measured stud face to stud face between the jack studs. This allows the frame plus roughly 3/8 inch of shim space per side.
- Height: 82-1/2 inches — measured from the finished subfloor to the bottom of the header. This accommodates the 80-inch slab, the head jamb, the sill assembly beneath the door, and adjustment room.
Always verify against the spec sheet for the actual unit ordered — manufacturers publish rough opening tables, and units with thicker composite sills, integrated sidelites, or 8-foot (96-inch) slabs change the numbers. A 3/0 unit with two 12-inch sidelites, for example, typically wants a rough opening around 62 by 82-1/2. The printed spec beats the rule of thumb every time, but if the door is not yet chosen, 38 by 82-1/2 is what framers build and what virtually all stock 3/0 units will fit.
Header Sizing: The Structural Part
Unlike a closet opening, an exterior doorway almost always interrupts a load-bearing wall, so the header above it is doing real work. For a 38-inch span in a typical single-story load path, a doubled 2×6 header with 1/2-inch plywood spacer is the common minimum; two-story loads or wide adjacent windows push that to doubled 2×8 or 2×10. Many framers standardize on doubled 2×10 or an engineered LVL for every exterior header simply to keep top-of-opening heights consistent and eliminate guesswork. Codes govern here — IRC header span tables (R602.7) tie header size to building width, snow load, and stories above — so check your jurisdiction’s table or ask the inspector rather than guessing on anything beyond a basic single-story wall. In a gable-end wall carrying no floor or roof load, a flat 2×4 header can technically suffice, but framing crews rarely bother distinguishing; the material savings is a few dollars.
The header bears on jack studs (trimmers) nailed to full-height king studs on each side. Standard practice for a 3/0 door is one jack plus one king per side; openings in high-load walls or with sidelites may require doubled jacks. Cut jacks so the header bottom lands at exactly 82-1/2 inches above the subfloor — and if finished flooring thickness is known and significant (a 3/4-inch hardwood floor going in later), have that conversation before framing, because the door sill needs to land on top of whatever the final floor level is or the threshold becomes a toe-stubber.
Layout and Assembly Sequence
Frame the opening in this order and it comes out square without fuss. Snap the wall layout and mark king stud positions at 39 inches apart minimum (38-inch opening plus one jack thickness each side lands the kings about 41 inches apart outside face to outside face; lay it out from the opening centerline to keep the door where the plan wants it). Nail kings to plates, then face-nail jacks to kings with the tops at 82-1/2 inches. Set the header snug on the jacks and through-nail from the kings. Fill above the header to the top plate with cripple studs on the standard 16-inch layout so drywall and siding have backing.
Check the opening three ways before calling it done: width at top, middle, and bottom (should not vary more than 1/4 inch), plumb on both jacks, and the diagonals — equal diagonals mean square corners. A rough opening that is 3/8 inch out of square is shimmable; one inch out of square will fight the installer, the weatherstrip, and the homeowner for the life of the door. On slab and existing-wall retrofits, also check that the wall itself is plumb in cross-section; a wall leaning out of plumb forces a choice between a door that swings itself and a threshold that steps past the siding line.
The Sill: Where Exterior Openings Differ Most
Interior openings end at the floor; exterior ones end at a weather boundary, and the sill area is where most rot claims begin. The subfloor or slab under the door must be solid, level, and — critically — protected by a sill pan before the unit sets. Use a manufactured sill pan (Jamsill Guard and SureSill run $20 to $40) or build one from flexible flashing tape, dammed at the back and ends so any water that sneaks past the threshold drains out, not in. On concrete slabs, set the frame in sealant with the pan or a bed of masonry sealant beneath, and use a composite or PT bottom plate detail where jambs meet concrete, since untreated jamb legs wick moisture off a slab within a few winters.
While the framing is open, integrate the water-resistive barrier correctly: housewrap cut and folded into the opening, flashing tape up the jacks over the pan flanges, and the head flashing lapped under the WRB above so gravity always sheds outward. These details cost $30 and twenty minutes; skipping them is why door replacement crews find black subfloor under ten-year-old doors.
Common Mistakes and Their Fixes
Four errors dominate exterior door framing problems. First, measuring rough opening height from the bottom plate instead of the subfloor surface — the door sits on the floor, so the floor is datum. Second, framing to the slab dimensions instead of the unit dimensions: a 36-inch door needs a 38-inch hole, and more than a few DIYers have framed 36 and had to sawzall their new jacks. Third, undersized shim gaps from framing at 37 inches “for a tighter fit” — installers need that 3/8 inch per side to plumb the frame in a wall that is never perfect; a too-tight opening guarantees a racked frame. Fourth, no allowance for finished floor height, which surfaces months later as a threshold proud of the tile or a door that will not clear the new LVP. If you inherit an oversized opening (common in remodels), pad it down with ripped plywood or additional trimmer material fastened flat to the jacks rather than bridging monster gaps with stacked shims and foam.
Retrofit Openings: Working Inside an Existing Wall
Cutting a new exterior opening into a finished wall follows the same specs with extra choreography. Build temporary support first whenever the wall bears load — a stud wall of 2x4s two feet inside the exterior wall, snugged under the ceiling joists, carries the structure while the old studs come out. Lay out the 38-inch opening plus king stud positions on the interior, drill reference holes at the corners clear through to the siding, and cut the exterior skin from outside along lines connecting them; this keeps the siding cut clean and centered on the framing you are about to install. Expect surprises inside the wall — wiring can be re-routed for modest cost, but a plumbing vent stack or duct in the planned opening is a relocate-the-door conversation, so probe with an inspection hole before committing the design. A straightforward retrofit opening with header, new unit, flashing, and interior patch runs $1,500 to $3,500 contractor-installed in most markets, with the door itself on top; structural walls under second stories trend higher because of engineering and temporary shoring.
Quick Reference and Takeaway
For the tape-measure summary: slab 36 by 80; unit frame roughly 37-1/4 to 37-1/2 wide by 81-3/4 tall; rough opening for 36 inch exterior door installs at 38 by 82-1/2 measured off the subfloor; kings and jacks each side; header per span table (doubled 2×10 covers most residential cases); sill pan mandatory. Frame it square, flash it like water is actively trying to get in — because it is — and the actual door installation becomes the easy part: set, shim at hinges and latch, screw, foam, done in a morning.