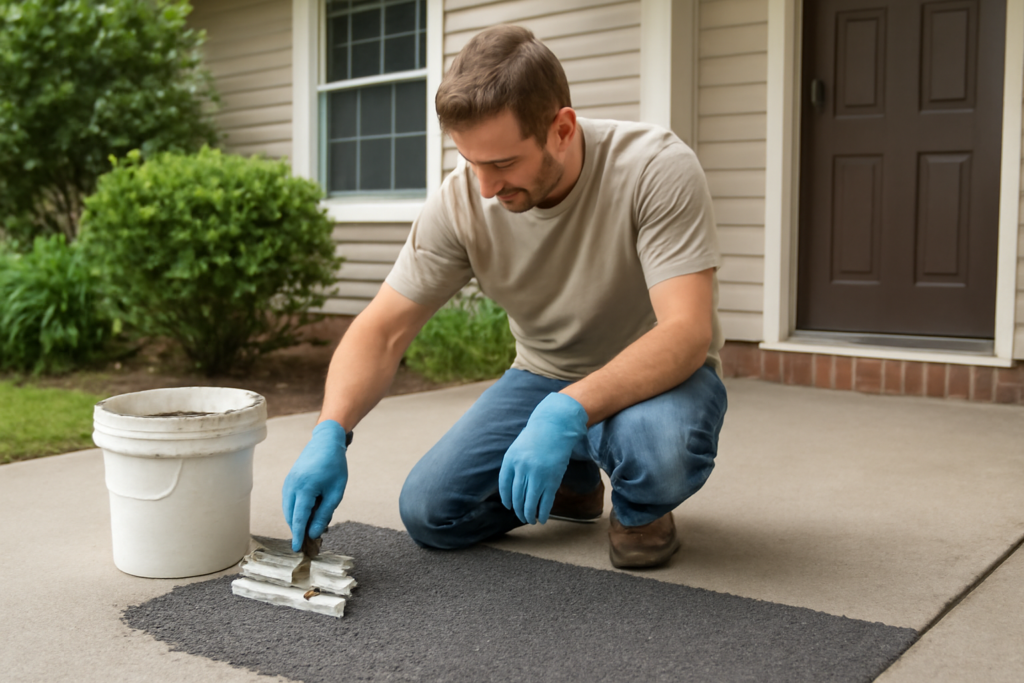
Rubber epoxy is a hybrid coating and adhesive that blends the hardness of traditional epoxy resin with the elasticity of rubber. Because rubber epoxy flexes instead of cracking under impact and temperature swings, homeowners reach for it on garage floors, basement slabs, equipment pads, and surfaces that take a beating. This guide walks you through what it is, where it shines, how to apply it, and the safety steps that protect both your project and your lungs.
What Rubber Epoxy Actually Is
Standard epoxy cures into a rigid, glass-hard film. That rigidity looks great until the slab below it shifts, a heavy tool drops, or the temperature drops far enough to make brittle coatings chip. Rubber-modified epoxy adds elastomeric polymers to the resin so the finished surface keeps a measure of give. The result resists hairline cracking, absorbs impact, and bridges small gaps that would split a conventional coating.
You will see the material sold in a few forms. Two-part liquid kits mix a resin and a hardener that you roll onto a floor. Patch compounds come as thicker pastes for filling cracks and joints. Some products embed recycled rubber granules to create a soft, textured walking surface for play areas and gyms. Each version shares the same core idea: trade a little hardness for a lot of resilience.
Where Rubber Epoxy Works Best
The flexibility makes this product a natural fit for surfaces that move or get abused. Common uses include the following:
- Garage and workshop floors that face dropped tools, jack stands, and tire weight
- Basement slabs prone to minor seasonal movement
- Outdoor equipment pads, generator bases, and HVAC mounts
- Ramps, thresholds, and transitions where a brittle coating would crack at the edge
- Pool decks, patios, and play surfaces where a softer, grippier finish improves safety
- Bonding dissimilar materials, since the cured joint tolerates expansion and contraction
It is less suited to high-gloss showroom looks where a hard, mirror finish is the goal. If appearance outranks impact resistance, a standard high-build epoxy may serve you better.
Pros and Cons to Weigh
Knowing the trade-offs keeps your expectations realistic before you commit a weekend to the job.
- Crack resistance: The rubber content absorbs movement that splits rigid coatings.
- Impact and noise: A softer film cushions dropped objects and deadens sound underfoot.
- Slip performance: Textured rubber versions grip better when wet than glossy epoxy.
- Adhesion: Many formulas bond well to concrete, metal, and previously coated surfaces.
On the downside, rubberized finishes scratch and scuff more easily than hard epoxy, can be harder to clean because of their texture, and sometimes cost more per square foot. They also may not achieve the deep, glassy shine some homeowners want in a finished garage.
Surface Preparation Comes First
Prep determines whether the coating lasts a decade or peels in a season. No epoxy product, rubberized or not, sticks to a dirty, sealed, or damp surface. Plan for prep to take as long as the coating itself.
- Clean thoroughly. Sweep, then scrub away oil, grease, and dust. Degrease any stained spots on a garage floor.
- Profile the concrete. Etch with a manufacturer-approved acid or mechanically grind so the surface has a slight tooth for the resin to grip.
- Repair defects. Fill cracks and spalls and let patches cure fully before coating over them.
- Test for moisture. Tape a plastic sheet down overnight; condensation underneath means the slab is too wet to coat.
- Dry completely. Apply only to a clean, dry, dust-free surface within the temperature window the label specifies.
How to Apply Rubber Epoxy
Mixing and timing matter more with epoxy than with ordinary paint, so read the data sheet before you open a single can. Once two parts are combined, the clock starts and you cannot stop it.
- Measure the resin and hardener at the exact ratio the manufacturer lists. Guessing the ratio is the fastest way to a coating that never fully cures.
- Mix for the full stated time, scraping the sides and bottom of the bucket so no unmixed resin remains.
- Respect the pot life. Spread the batch before it begins to thicken, working in manageable sections.
- Cut in edges with a brush, then roll the field with a roller rated for the product.
- Apply additional coats only within the recoat window stated on the label, and broadcast any anti-slip or rubber granules while the coat is still wet if the look calls for texture.
Work toward an exit so you are not painting yourself into a corner, and keep a wet edge to avoid lap marks.
Cure Time, Ventilation, and Safety
Epoxy resins and hardeners release fumes and can irritate skin, eyes, and airways. Treat every product as a chemical, because it is one. Always follow the manufacturer’s instructions over any general advice you read online.
- Ventilate the space. Open doors and windows and run fans; never coat a closed garage or basement without airflow.
- Wear protective equipment. Use chemical-resistant gloves, eye protection, and a respirator rated for organic vapors when the label calls for one.
- Mind the temperature. Most products want a slab and air temperature within a defined range, often roughly 50 to 90 degrees Fahrenheit, for proper curing.
- Allow full cure. Surfaces are often walkable in a day but may need several days to a week before heavy traffic, vehicle weight, or washing. Rushing it ruins the finish.
- Keep children and pets out until the area is fully cured and the smell has cleared.
If you are coating a large area, working with structural repairs, or unsure about moisture in your slab, hiring a professional installer is money well spent. A pro brings the right grinding equipment, moisture meters, and product knowledge to get adhesion right the first time.
Cost and Maintenance Expectations
Pricing varies widely by product type, region, and whether you DIY or hire out, so treat any figure as a rough estimate. As a general guide, materials for a DIY rubberized floor coating often land in the low-to-mid single digits per square foot, while professional installation with prep can run several times that. Get quotes for your specific space rather than relying on averages.
Maintenance is straightforward. Sweep regularly to keep grit from scratching the surface, wipe spills before they set, and clean with a mild detergent rather than harsh solvents that can degrade the finish. Inspect high-traffic zones each year and touch up worn spots before bare substrate is exposed. Cared for this way, a quality rubber epoxy surface delivers years of quiet, crack-resistant service.