Rubber tiles flooring is one of the most versatile and resilient flooring options available, especially for spaces that demand impact absorption, durability, and slip resistance. Whether you are building a home gym, upgrading a garage, outfitting a commercial fitness center, or creating a safe playground surface, rubber floor tiles deliver performance that other flooring materials simply cannot match.
This guide covers everything you need to know about rubber floor tiles — types, thickness recommendations, installation methods, top brands, and realistic pricing for every application.
- What Is Rubber Tile Flooring?
- Types of Rubber Floor Tiles
- Interlocking Rubber Tiles
- Glue-Down Rubber Tiles
- Thickness Guide by Application
- Rubber Tiles for Gyms
- Rubber Tiles for Garages
- Rubber Tiles for Playgrounds
- Other Commercial Applications
- Top Rubber Tile Brands
- Rubber Tiles Pricing Guide
- Installation Guide
- Care and Maintenance
- Pros and Cons
- Frequently Asked Questions
What Is Rubber Tile Flooring?
Rubber tiles flooring is made from either natural rubber (harvested from rubber trees) or synthetic rubber (typically SBR — styrene-butadiene rubber, often from recycled tires). The material is formed into tiles ranging from 12″x12″ to 48″x48″ in sizes and from 1/4″ to 2.5″ in thickness.
Rubber flooring absorbs impact, reduces noise, resists moisture, provides excellent traction, and withstands heavy loads — making it the go-to choice for fitness facilities, industrial spaces, and anywhere that demands a tough, shock-absorbing surface.
Natural vs Recycled Rubber
- Natural rubber (virgin rubber): Smoother surface, more color options, lower odor, higher cost. Often used in commercial gyms, dance studios, and healthcare facilities.
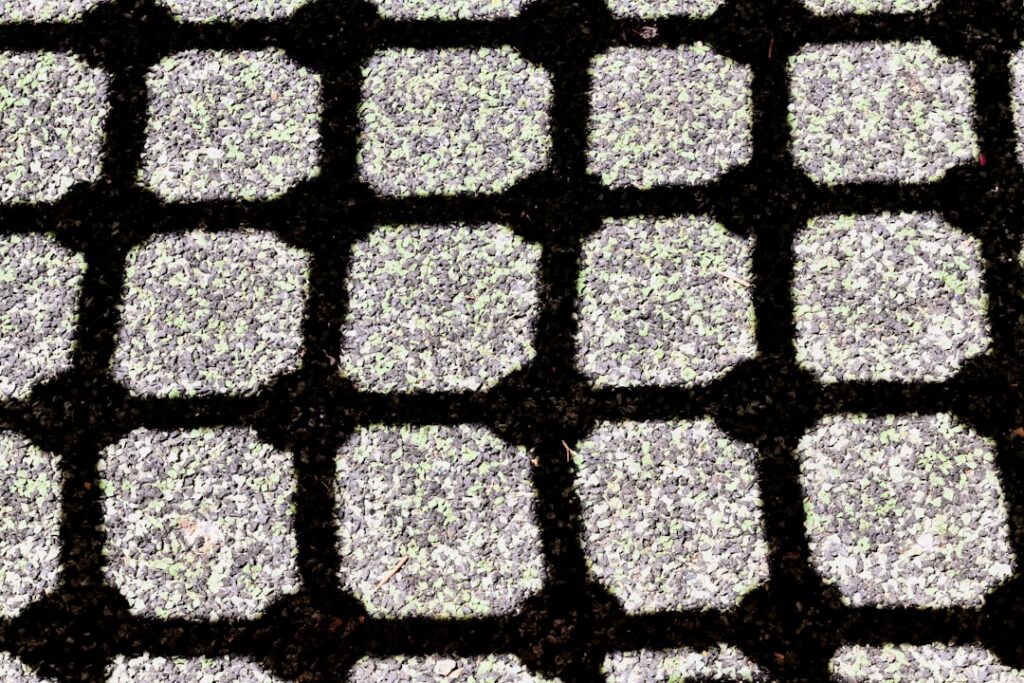
- Recycled rubber (SBR): Made from ground-up tires. More textured surface, typically black with color flecks, stronger initial odor, significantly lower cost. Ideal for home gyms, garages, and utility spaces.
Types of Rubber Floor Tiles
Rubber tiles come in two primary installation formats, plus specialized variants for specific applications.
Interlocking Rubber Tiles
Interlocking rubber tiles use a puzzle-piece edge design that snaps together without adhesive. They are the most popular format for home gyms and garages because they install in minutes and can be removed and relocated.
Key Features
- No adhesive needed — tiles connect via interlocking edges
- Common sizes: 24″x24″ and 36″x36″
- Thickness range: 3/8″ to 3/4″ for most residential products
- Easy to cut with a utility knife and straight edge
- Can be installed by one person as a weekend DIY project
- Removable and reusable if you move
Best For
Home gyms, garage floors, basement workout areas, trade show booths, temporary event flooring, and any application where portability or easy removal is valued.
Limitations
Interlocking edges can separate under heavy rolling loads (such as vehicles driving across them repeatedly). Seams between tiles can collect dust and debris. Not recommended for commercial kitchens or areas requiring a fully sealed surface.
Glue-Down Rubber Tiles
Glue-down rubber tiles are adhered permanently to the subfloor with rubber flooring adhesive. They create a more seamless surface with tighter joints than interlocking tiles.
Key Features
- Common sizes: 24″x24″ and 36″x36″
- Thickness range: 1/4″ to 1/2″ for standard products
- Tight seams that resist dirt infiltration
- Will not shift, separate, or curl at the edges
- Professional installation recommended for best results
Best For
Commercial gyms, CrossFit boxes, weight rooms, dance studios, healthcare facilities, and any space requiring a permanent, seamless rubber floor.
Thickness Guide by Application
Choosing the right thickness is critical for performance and cost-effectiveness. Here is what each thickness level handles.
| Thickness | Best Applications | Impact Protection |
|---|---|---|
| 1/4″ (6mm) | Light exercise, yoga, stretching areas | Minimal |
| 3/8″ (9.5mm) | General fitness, bodyweight exercises, cardio machines | Moderate |
| 1/2″ (12mm) | Free weights up to 50 lbs, machine weight areas | Good |
| 3/4″ (19mm) | Olympic lifting, heavy free weights, deadlifting | Very good |
| 1″ (25mm) | Professional weight rooms, CrossFit boxes | Excellent |
| 1.5″ – 2.5″ | Playground fall zones, extreme impact areas | Maximum |
The General Rule
The heavier the weights being dropped, the thicker the rubber needs to be. For a home gym with dumbbells up to 50 pounds, 3/8″ to 1/2″ is sufficient. For Olympic lifting with loaded barbells, 3/4″ to 1″ is the minimum. Playground safety standards specify minimum thicknesses based on fall height.
Rubber Tiles for Gyms
Rubber tiles flooring is the industry standard for both commercial and home gyms. Here is how to choose the right product for your fitness space.
Home Gym Setup
- Cardio area (treadmill, elliptical, bike): 3/8″ interlocking tiles provide sufficient cushioning and vibration dampening. Place equipment mats under heavy machines for added protection.
- Free weight area: 1/2″ to 3/4″ tiles protect the subfloor from dropped weights. Choose a dense product rated for heavy impact.
- Multi-purpose area: 3/8″ interlocking tiles work well for bodyweight exercises, stretching, and light weightlifting.
Commercial Gym Setup
- Weight room: 3/4″ to 1″ glue-down tiles or rolled rubber. Must handle repeated drops of heavy loaded barbells.
- Cardio floor: 3/8″ to 1/2″ glue-down tiles reduce noise and vibration from machines.
- Functional training area: 3/4″ interlocking or glue-down tiles for sled pushes, kettlebell swings, and dynamic movements.
- Group exercise studio: 1/4″ to 3/8″ smooth-surface rubber for dance, yoga, and aerobics classes.
Rubber Tiles for Garages
Rubber tiles transform a bare concrete garage floor into a clean, comfortable, and protected workspace.
What to Look For
- Chemical resistance: Choose tiles rated to resist oil, gasoline, and automotive fluids. Not all rubber tiles have this rating.
- Vehicle weight rating: Standard interlocking tiles handle foot traffic and light equipment but may compress under vehicle tires over time. Choose tiles with a durometer (hardness) rating of 60 Shore A or higher for vehicle traffic.
- Drainage: Some garage rubber tiles have raised patterns or perforations to allow water and snowmelt to drain underneath. This is important in climates with wet winters.
- Thickness: 3/8″ to 1/2″ is standard for garage use. Thicker is unnecessary and adds cost.
Garage Tile Alternatives
Rigid PVC interlocking tiles (such as RaceDeck and Swisstrax) are a popular alternative to rubber for garages. They are harder, lighter, and available in more colors, but they lack rubber’s cushioning and sound-dampening properties. For a comparison of garage flooring options including epoxy coatings, see our epoxy flooring guide.
Rubber Tiles for Playgrounds
Rubber playground tiles are safety-rated products designed to cushion falls from playground equipment. They must meet ASTM F1292 standards for impact attenuation based on the equipment’s fall height.
Playground Tile Specifications
- Thickness: 1.75″ to 2.5″ depending on fall height (thicker tiles for higher equipment)
- Size: Typically 24″x24″
- Material: Dense recycled rubber with UV-resistant surface
- ADA compliance: Rubber playground tiles provide wheelchair-accessible surfacing that meets ADA requirements
- Drainage: Most playground tiles are permeable, allowing rainwater to drain through
Fall Height Ratings
| Tile Thickness | Rated Fall Height |
|---|---|
| 1.75″ | Up to 4 feet |
| 2.00″ | Up to 5 feet |
| 2.25″ | Up to 6 feet |
| 2.50″ | Up to 8 feet |
Other Commercial Applications
Beyond gyms and playgrounds, rubber tiles flooring serves many commercial and institutional settings.
- Hospitals and healthcare: Anti-fatigue properties for nurses and staff who stand for long shifts. Slip-resistant surface reduces fall risk.
- Industrial kitchens: Anti-fatigue mats and tiles for kitchen staff. Must be grease-resistant and easy to clean.
- Retail stores: High-durability flooring for stockrooms and back-of-house areas.
- Ice rinks and aquatic centers: Locker rooms and pool decks benefit from rubber’s slip resistance and drainage capabilities.
- Schools and daycare centers: Cushioned, safe, and easy-to-clean flooring for classrooms and play areas.
Top Rubber Tile Brands
| Brand | Specialty | Price Range (per sq ft) |
|---|---|---|
| Rubber-Cal | Budget interlocking and rolled rubber | $1.25 – $4.00 |
| IncStores | Home gym interlocking tiles | $1.50 – $4.50 |
| Greatmats | Wide selection, all applications | $2.00 – $8.00 |
| Regupol (Aktiv) | Premium commercial gym flooring | $4.00 – $10.00 |
| Dinoflex | Playground and commercial rubber tiles | $5.00 – $15.00 |
| Ecore (formerly Dodge-Regupol) | Commercial fitness and healthcare | $5.00 – $12.00 |
| PlayFall | Playground safety tiles | $6.00 – $14.00 |
| Roppe | Commercial smooth rubber tile | $4.00 – $8.00 |
Rubber Tiles Pricing Guide
Rubber tiles flooring pricing depends on the material type, thickness, and application.
Home Gym Pricing
- Budget interlocking (3/8″): $1.25 – $2.50/sq ft
- Standard interlocking (1/2″): $2.00 – $4.00/sq ft
- Heavy-duty interlocking (3/4″): $3.50 – $6.00/sq ft
Commercial Gym Pricing
- Glue-down tiles (3/8″): $3.00 – $5.00/sq ft
- Glue-down tiles (1/2″ – 3/4″): $4.00 – $8.00/sq ft
- Premium commercial (3/4″ – 1″): $6.00 – $12.00/sq ft
Playground Pricing
- Standard playground tiles (2″): $6.00 – $10.00/sq ft
- Premium playground tiles (2.5″): $8.00 – $15.00/sq ft
Total Project Cost Examples
- Home gym (100 sq ft, 3/8″ interlocking): $125 – $250 (DIY)
- Two-car garage (400 sq ft, 1/2″ interlocking): $800 – $1,600 (DIY)
- Commercial gym weight room (500 sq ft, 3/4″ glue-down): $3,000 – $5,000 (professional)
- Playground (200 sq ft, 2″ safety tiles): $1,200 – $2,000 (professional)
Installation Guide
Interlocking Tile Installation (DIY)
- Prepare the surface: Sweep and clean the concrete or subfloor. Fill any cracks or major imperfections. The surface should be dry and level.
- Plan the layout: Measure the room and determine your starting point. Starting from the center works best for large spaces. Starting from a corner works for smaller rooms.
- Connect the tiles: Align the interlocking edges and press or tap tiles together with a rubber mallet. Work outward from your starting point.
- Cut border tiles: Measure border tiles individually, mark the cut line, and cut with a sharp utility knife and straight edge. Make multiple passes rather than trying to cut through in one stroke.
- Install border ramps: If your tiles include beveled edge ramps, attach them around the perimeter to create a smooth transition from tile to floor.
Glue-Down Tile Installation
- Prepare and prime the subfloor per adhesive manufacturer specifications
- Snap chalk lines to establish a grid
- Spread adhesive with the recommended trowel size
- Place tiles into the adhesive, butting edges tightly
- Roll the installation with a 100-lb floor roller
- Allow adhesive to cure (typically 24-72 hours) before heavy use
Care and Maintenance
- Daily: Sweep or vacuum to remove dirt and grit that can scratch the surface
- Weekly: Damp mop with a neutral pH cleaner. Avoid harsh chemicals, bleach, and solvent-based cleaners.
- Periodically: Deep clean with a rubber floor cleaner and scrub brush or floor scrubber
- Spills: Clean up sweat, water, and sports drinks promptly to prevent odor buildup
- Odor management: New recycled rubber tiles have a noticeable rubber odor. Ventilate the space well for the first 2-4 weeks. The odor dissipates over time.
Pros and Cons
Pros
- Excellent impact absorption and shock protection
- Superior slip resistance, even when wet
- Extremely durable — lasts 15-20+ years in heavy-use environments
- Sound dampening reduces noise transmission
- Anti-fatigue properties reduce strain from standing
- Waterproof and resistant to most chemicals
- Interlocking tiles are easy to install and remove
- Recycled rubber options are environmentally friendly
Cons
- Strong rubber odor when new (especially recycled rubber)
- Limited color options compared to vinyl or carpet
- Heavy — thick rubber tiles are difficult to transport and handle
- Can stain light-colored concrete if not properly contained
- Not suitable for formal living spaces due to industrial aesthetic
- Recycled rubber surface texture can be rough on bare skin
Frequently Asked Questions
How thick should rubber gym tiles be?
For a home gym with cardio machines and light weights, 3/8″ is sufficient. For free weights up to 50 lbs, use 1/2″. For heavy Olympic lifting and barbell work, 3/4″ to 1″ is recommended to protect both the floor and the weights.
Do rubber tiles damage concrete?
Recycled rubber tiles can leave black marks or staining on bare concrete, especially in hot or humid conditions. Use a vapor barrier or rubber floor adhesive as a protective layer if staining is a concern. The staining is cosmetic and does not damage the concrete structurally.
How long does the rubber smell last?
New recycled rubber tiles typically off-gas for 2-4 weeks. Good ventilation accelerates the process. Virgin rubber tiles have significantly less odor. If odor sensitivity is a concern, choose natural rubber or EPDM rubber products.
Can rubber tiles be installed outdoors?
Yes, but choose tiles rated for outdoor use with UV stabilization. Playground rubber tiles are specifically designed for outdoor installation. Standard gym tiles may degrade or fade in direct sunlight over time.
Are interlocking rubber tiles good for garages?
Yes, interlocking rubber tiles work well for garage floors. Choose tiles with a high durometer (hardness) rating if vehicles will park on them regularly. Drainage-style tiles are best for garages in wet climates.
Can I put rubber tiles over carpet?
It is possible but not ideal. Rubber tiles on carpet will feel unstable because the carpet compresses underfoot. For a gym over carpet, use a layer of plywood between the carpet and rubber tiles to create a stable surface.
Prefer to explore on your own?
See how new flooring looks in your actual room in seconds — free, no signup.
Try the free Floor Studio →