
Screed is one of those construction materials that most homeowners never think about, yet it plays a critical role in almost every flooring installation. It is the layer between your structural subfloor (usually concrete) and your finished floor covering. Get the screed wrong, and even the most expensive flooring material will develop problems — tiles crack, laminate clicks hollow, vinyl develops bumps, and underfloor heating performs poorly.
This guide covers what screed is, the different types available, when you need it, and how to make sure it is done right.
What Is Screed?
Screed is a thin layer of material — typically a cement-based mixture — applied over a concrete subfloor or structural slab to create a smooth, level surface for the final floor covering. While a structural concrete slab provides the load-bearing foundation of a building, it is rarely flat or smooth enough for flooring to be installed directly on top of it.
Screed fills that gap. It corrects minor height variations, provides a level surface, and can also encase underfloor heating pipes, insulation boards, or waterproof membranes.
Typical screed thickness ranges from 25mm to 75mm (1 to 3 inches), depending on the type of screed, the application, and whether it needs to cover heating elements or insulation.
Types of Screed
Traditional Sand and Cement Screed
The most common and oldest type, traditional screed is a simple mixture of sharp sand, cement, and water, typically at a ratio of 3:1 or 4:1 (sand to cement). It is mixed on-site and applied by hand, then leveled with a straight edge and smoothed with a float or trowel.
Pros:
- Low material cost
- Widely available — any builder can mix and apply it
- Good compressive strength when properly mixed and cured
- Suitable for most residential applications
Cons:
- Slow drying time — approximately one day per millimeter of thickness, which means a 50mm screed needs roughly 50 days to dry fully
- Prone to shrinkage cracking if drying conditions are not managed
- Labor-intensive to apply evenly, especially over large areas
- Minimum practical thickness of about 25mm for bonded applications, 50mm for unbonded
Self-Leveling Screed (Liquid Screed)
Also called flowing screed or liquid screed, this is a factory-mixed product (usually anhydrite or calcium sulfate-based) that is pumped onto the floor and spreads to find its own level. It is increasingly popular in new construction and renovation projects.
Pros:
- Faster application — a team can cover 100+ square meters per hour
- Superior flatness and levelness compared to hand-applied screed
- Excellent for underfloor heating — flows around pipes completely, maximizing heat transfer
- Can be applied thinner (minimum 25mm over pipes) than sand and cement screed
- Less prone to shrinkage cracking
Cons:
- Higher material cost
- Requires professional application with pump equipment
- Surface forms a weak top layer (laitance) that must be sanded off before tiling or adhesive application
- Some types are sensitive to moisture and not suitable for wet areas without a waterproof membrane
Fast-Drying Screed
Rapid-set or fast-drying screeds use modified cement formulations or additives that accelerate the curing process. Some products are ready for flooring installation in as little as 24 to 48 hours.
Best for: Renovation projects with tight timelines, commercial spaces that cannot be closed for weeks, and situations where a standard 50-day drying period is impractical.
Trade-off: Significantly more expensive than standard screed. The convenience of fast drying comes at a premium.
Polymer-Modified Screed
These screeds incorporate polymer additives (usually latex or acrylic) that improve flexibility, adhesion, and water resistance. They are often used as thin overlayment screeds (5mm to 15mm) over existing concrete floors.
Best for: Renovation projects where raising the floor height is not desirable, skim-coating rough concrete, and applications requiring some degree of flexibility (like over wooden subfloors).
Self-Leveling Compound
While technically not the same as screed, self-leveling compound serves a similar function and is worth mentioning. It is a thin (typically 2mm to 10mm), fluid mixture poured over an existing subfloor to correct minor imperfections. It is commonly used before installing LVP flooring, laminate flooring, or vinyl flooring to ensure a perfectly flat surface.
Bonded vs. Unbonded vs. Floating Screed
How the screed is attached (or not attached) to the subfloor affects its minimum thickness and how it performs.
Bonded Screed
Applied directly onto the concrete slab with a bonding agent (PVA or SBR slurry). The bond between the screed and the concrete allows the screed to be thinner — as little as 25mm for sand and cement. Used when minimizing floor height buildup is important.
Unbonded Screed
Laid over a damp-proof membrane (DPM) that separates the screed from the concrete slab. The membrane prevents moisture from the concrete migrating into the screed. Minimum thickness is typically 50mm to prevent cracking.
Floating Screed
Applied over a layer of insulation (with or without underfloor heating pipes), which itself sits over the concrete slab. The screed “floats” on the insulation without any direct contact with the structural floor. Minimum thickness is 65mm for sand and cement, or 40mm for some liquid screeds.
Floating screed is the standard configuration for new builds with underfloor heating.
Screed and Underfloor Heating
If you are installing underfloor heating, the screed choice directly affects how well the system performs. The screed encases the heating pipes and distributes heat across the floor surface.
Liquid (anhydrite) screed is generally preferred for underfloor heating because:
- It flows around pipes completely, eliminating air pockets that act as insulation
- It conducts heat more efficiently than sand and cement
- It can be applied thinner, which means less thermal mass to heat up and faster response times
Sand and cement screed works fine with underfloor heating but needs a minimum of 75mm total thickness over the insulation (with pipes at least 25mm below the surface). The greater mass means slower heat-up times but more stable temperatures once warm.
Screed Drying Times
This is where most projects run into problems. Laying flooring over screed that has not fully dried leads to moisture-related failures — adhesive failure, mold growth, warping, and efflorescence (white salt deposits).
| Screed Type | Approximate Drying Time |
|---|---|
| Sand and cement (traditional) | 1 day per mm up to 50mm, then 2 days per mm beyond that |
| Liquid anhydrite screed | Similar to sand and cement, but forced drying with underfloor heating can accelerate the process |
| Fast-drying screed | 24 hours to 7 days, depending on the product |
| Self-leveling compound | 1 to 24 hours for foot traffic, 2 to 7 days for flooring installation |
Always test moisture levels with a hygrometer before installing flooring. The acceptable moisture content varies by flooring type, but as a general rule, relative humidity within the screed should be below 75% for most floor coverings and below 65% for moisture-sensitive materials like real wood.
Which Flooring Types Go on Screed?
Almost all flooring types can be installed over screed, provided the screed is properly dried, flat, and prepared:
- Tile flooring — Adhered directly to screed with tile adhesive. Requires good flatness.
- Engineered wood flooring — Can be glued directly or floated over screed. Requires low moisture content.
- Vinyl flooring — Glued or floated. Very sensitive to subfloor imperfections — any bump in the screed will show through.
- Laminate flooring — Floated over screed with an appropriate underlay and moisture barrier.
- Carpet — Installed over screed with gripper strips or adhesive. Underlay recommended.
- Epoxy flooring — Applied directly to screed. Requires thorough surface preparation.
Common Screed Problems and How to Avoid Them
Cracking
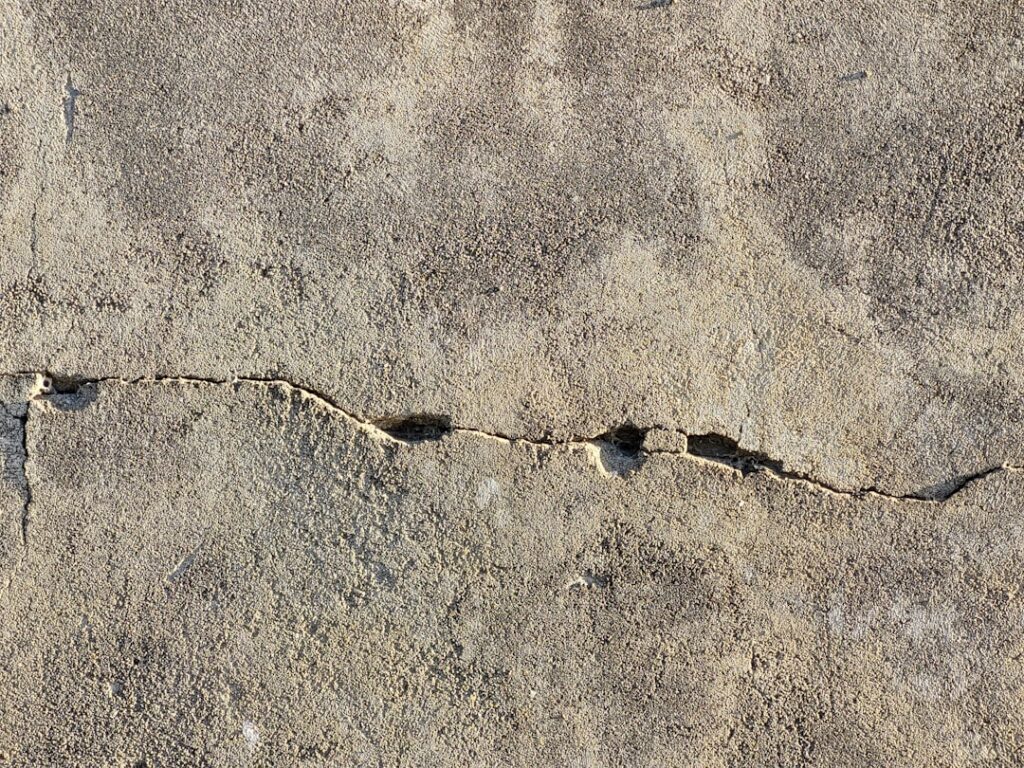
Cracks in screed are usually caused by drying too fast (from direct sunlight or drafts), incorrect mix ratios, or insufficient thickness. Prevent cracking by controlling drying conditions — keep windows closed for the first 48 hours and avoid direct airflow across the surface.
Curling
The edges and corners of screed panels can curl upward as the top surface dries faster than the bottom. This is common in unbonded and floating applications. Proper curing and even drying conditions minimize curling.
Hollow Spots
If you tap the screed and it sounds hollow in places, the screed has debonded from the substrate. Small hollow areas under non-load-bearing flooring may not be an issue, but large debonded sections should be broken out and re-screeded.
Final Thoughts
Screed is not glamorous, but it is the foundation that determines how well your finished floor looks and performs. Whether you are laying tiles on a bathroom floor, installing engineered wood in a living room, or putting vinyl in a kitchen, the screed beneath it all needs to be flat, dry, and appropriate for the application. Choose the right type, allow proper drying time, and test moisture levels before laying anything on top. Get those basics right, and the flooring above will perform as it should for decades.


