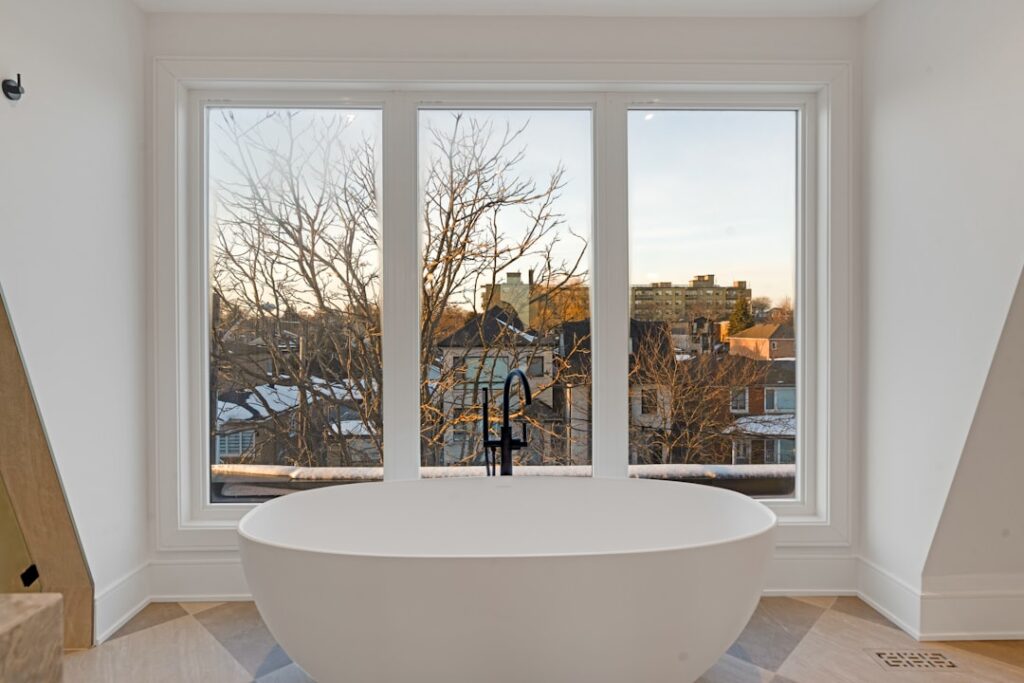
A single steam-heavy shower can deposit more than a quart of water on surrounding walls in a 15-minute rinse, which is why the wrong paneling rots within a year while a properly prepped shiplap bathroom wall holds up for two decades. The trick is not just picking pretty boards but pairing the right species with marine-grade sealers, smart layout, and breathing room behind the paneling. I have installed shiplap in thirty-plus bathrooms and the builds that last share a short list of non-negotiables. Here is exactly what works.
- Choose Boards That Can Handle Humidity
- Decide Where the Shiplap Stops
- Prep the Wall and Manage Moisture
- Layout and Measuring for a Pro Finish
- Fastening Methods That Hold Up
- Sealing and Finishing for Steamy Rooms
- Trim, Caulk, and Detail Work
- Styling the Finished Wall
- Maintenance That Preserves the Finish
Choose Boards That Can Handle Humidity
Standard pine shiplap from the lumberyard moves a quarter inch across its width every time the humidity swings, which eventually pops seams and blows out caulk lines. Primed MDF trim boards marketed as shiplap cost less but swell like a sponge anywhere steam reaches the edges or nail holes.
Better picks include PVC shiplap from brands like AZEK or Versatex, which is fully waterproof and paints beautifully, and pre-primed Boral TruExterior, a poly-ash composite that looks like real wood without the moisture issues. Cedar and cypress tongue-and-groove also perform well when sealed on all six sides. Budget $3.50 to $7 per linear foot for quality options.
Decide Where the Shiplap Stops
Full-height shiplap on every wall reads busy and traps moisture in corners. A cleaner move is paneling one accent wall or running boards to chair-rail height around the whole room. A 54-inch wainscot height balances nicely under 8-foot ceilings and hides the toilet tank at eye level.
Keep shiplap out of the wet zone inside the shower enclosure. The only surfaces that survive direct spray long-term are tile, stone slab, or solid-surface wall panels. Paneling around a freestanding tub is fine as long as a glass splash guard deflects water during use.
Prep the Wall and Manage Moisture
Strip the existing drywall if you see any staining or soft spots behind the vanity or tub. Replace with mold-resistant paperless drywall such as DensArmor Plus or Purple XP. Over new drywall, roll a coat of primer-sealer like Zinsser Perma-White to create a vapor barrier.
Some installers apply a 6-mil poly sheet behind the shiplap. I prefer a breathable weather-resistive barrier like Tyvek DrainWrap in bathrooms without exterior-wall concerns, which allows drying to the room side rather than trapping moisture against framing. Verify the exhaust fan pulls at least 80 CFM and runs for 20 minutes after every shower.
Layout and Measuring for a Pro Finish
Measure wall height and divide by board width to see where your last row lands. If the top board ends up under 2 inches, shift the starting board down so both edges are equal. An uneven sliver at the ceiling screams amateur.
Snap a level chalk line at the bottom starting point, since no bathroom floor is truly flat. Boards installed off a crooked toe kick cascade into increasingly visible gaps at the ceiling. Taking 10 extra minutes to establish level saves hours of trim gymnastics later.
Fastening Methods That Hold Up
Shoot 18-gauge brad nails through the tongue of each board into studs and horizontal blocking. A 2-inch brad gives enough purchase in typical 1×6 shiplap. Run a bead of construction adhesive like Loctite PL Premium on the back of each board for extra hold, especially on hollow walls where studs are 16 inches on center.
Leave a 1/16-inch expansion gap at ceilings, floors, and inside corners. The channel shiplap itself provides exposes expansion without cracking paint. Skip silicone caulk at these seams, since that is what the shiplap profile is designed to handle on its own.
Sealing and Finishing for Steamy Rooms
Prime every face, edge, and end-cut before installation, including the tongue and groove. Brush-on primers penetrate better than spray for raw pine. Two coats of a moisture-resistant acrylic enamel like Benjamin Moore Advance in satin sheen seal the surface and scrub-clean like semi-gloss without the glare.
For a natural wood look, apply a clear marine spar varnish in three thin coats, sanding between with 220-grit. This finish shrugs off humidity far better than polyurethane and yellows less over time. Expect to refresh a top coat every five to seven years.
Trim, Caulk, and Detail Work
Cover the top edge of wainscot with a cap rail that includes a small reveal or ogee profile, which protects the end grain and catches dust out of sight. Run baseboards and quarter-round at the floor to hide the expansion gap. At inside corners, a simple butt joint reads cleaner than a mitered outside corner that splits the moment humidity shifts.
Use 100 percent paintable silicone or a hybrid acrylic like DAP AlexPlus Ultra along trim lines only. Keep caulk out of the horizontal shiplap grooves. A razor-blade scraper during cleanup keeps lines crisp and gives the final job that custom-built look.
Styling the Finished Wall
Horizontal runs are the classic farmhouse look and make rooms feel wider. Vertical boards, sometimes called board and batten or reverse shiplap, stretch ceilings upward in tight powder rooms. A 45-degree herringbone accent on a single wall adds a custom feel, but it doubles install time and board waste.
For paint colors, warm whites like Benjamin Moore White Dove or Sherwin-Williams Alabaster keep the room bright without reading stark. Deeper tones like Hale Navy or Urbane Bronze turn a shiplap bathroom wall into a moody focal point when paired with brushed brass fixtures and black-framed mirrors.
Maintenance That Preserves the Finish
Wipe down the paneling monthly with a barely damp microfiber to remove hairspray residue, skin oils, and dust that collects on horizontal reveals. Avoid wet mops that drive water into the joints. A dry Swiffer handles day-to-day dust without introducing moisture.
Inspect the finish annually for hairline cracks near corners or fastener holes. Touch up with matching paint before moisture can penetrate. Refresh the caulk lines every five to seven years, or sooner if you see any discoloration. Proper upkeep keeps a well-built shiplap wall looking sharp for 20 or more years with no meaningful maintenance cost beyond a few hours each year.