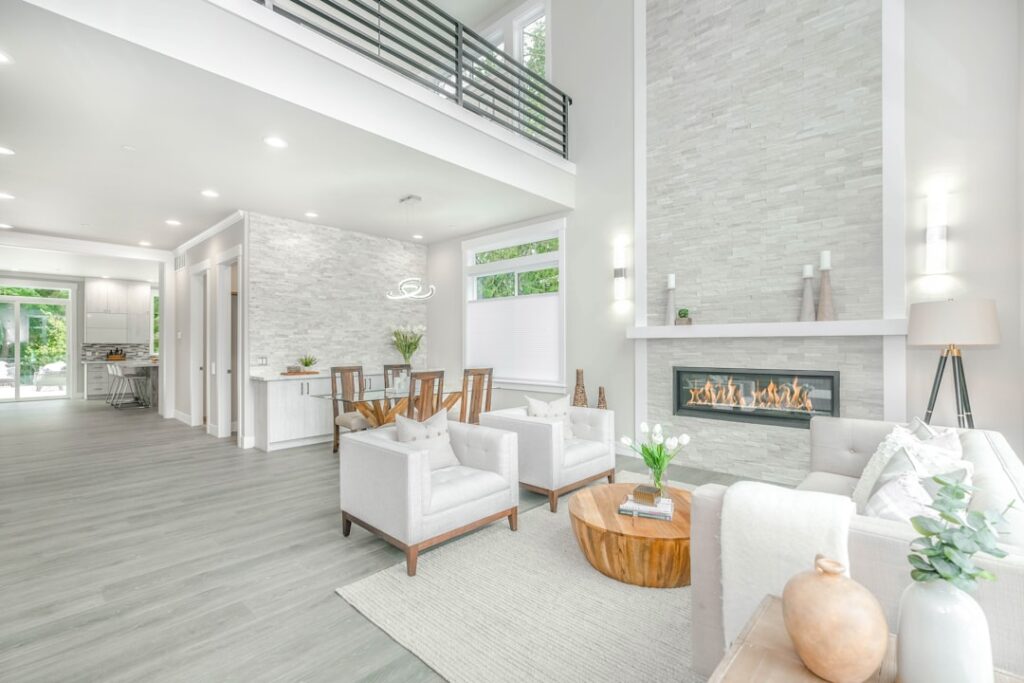
That clean, horizontal paneling with the crisp shadow lines between each board has become one of the most recognizable looks in American interiors, and shiplaps earn their popularity by being both decorative and genuinely practical. Originally a method for cladding ships and barns so the boards shed water, the same overlapping joint now brings texture and character to feature walls, ceilings, and entire rooms. Understanding how the boards actually fit together is the key to a professional result rather than a wavy, gapped mess.
What Shiplap Actually Is
True shiplap refers to a specific board profile, not just any horizontal plank. Each board has an L-shaped notch, called a rabbet, cut along its top and bottom edges. When you stack the boards, those rabbets overlap, with the notch of one board nesting into the notch of the next. This overlapping joint is what defines real shiplap.
That overlap does two jobs. It locks the boards together for a tight, stable installation, and it creates the consistent, even gap, called the reveal, that gives shiplap its signature shadow line. Without the rabbet, you simply have plank paneling.
Real Shiplap vs. Faux Shiplap
Not everyone uses true profiled boards, and that’s fine for many projects. Knowing the difference helps you choose the right approach:
- True shiplap: rabbeted boards that overlap, creating an automatic, uniform reveal and a self-spacing install
- Nickel-gap shiplap: boards with a tongue-and-groove or built-in spacer that leaves a precise small gap
- Faux shiplap: plywood or MDF strips, or even sheets, butted with a spacer to mimic the look at lower cost
Faux shiplap made from rip-cut plywood is a popular budget route. You cut a 4-by-8 sheet into strips, then use a small spacer like a nickel or a tile spacer between rows to fake the reveal. It costs less but requires more careful spacing since the boards don’t self-align.
Where Shiplap Works
Shiplap is versatile, but some applications shine more than others. It’s a natural fit for accent and feature walls, where a single clad surface becomes a focal point. It also dresses up ceilings beautifully, adds farmhouse character to entryways and mudrooms, and frames fireplaces with rustic warmth.
In bathrooms and other damp areas, choose moisture-resistant material like PVC or primed MDF rated for humidity, and seal it well. In high-traffic or wet zones, real wood needs proper finishing to avoid warping over time.
Planning Your Installation
Good shiplap starts before the first board goes up. Find and mark your wall studs, since boards must fasten into framing for a secure hold. Decide on board orientation, horizontal is classic, while vertical shiplap adds height and a more contemporary feel. Calculate how many boards you need by dividing the wall height by the board’s exposed face, accounting for the reveal.
Acclimate real wood boards in the room for several days before installing so they adjust to the home’s humidity and won’t shrink or expand after you nail them up. Skipping this step is a common cause of gaps opening later.
Step-by-Step Install Basics
The process is approachable for a confident DIYer with the right tools. Here’s the core sequence:
- Use a level and a chalk line to mark a perfectly horizontal starting line near the bottom
- Set the first board on that line and check it with a level, since the bottom plank dictates everything above it
- Nail the board into the studs with a brad or finish nailer, hiding fasteners in the rabbet where possible
- Stack the next board, letting the rabbets overlap to set the reveal automatically
- Continue upward, checking level every few rows and staggering board end seams between studs
- Cut openings for outlets and switches with a jigsaw, measuring carefully before each cut
A pin or brad nailer with a compressor makes the job far faster and cleaner than hand-nailing. Keep checking level as you climb, because small errors compound row over row.
Spacing and the All-Important Reveal
The reveal is the gap between boards that gives shiplap its look. With true rabbeted boards, the overlap sets the reveal for you. With nickel-gap or faux boards, you control it with a spacer placed at each end as you fasten the next row. A nickel, roughly an eighth of an inch thick, is the traditional choice and the origin of the “nickel-gap” name.
Consistency is everything. Use the same spacer throughout, and remove it before nailing fully so it doesn’t get trapped. Uneven reveals are the most obvious sign of an amateur installation.
Finishing and Painting
Once the boards are up, fill nail holes with wood filler, sand them smooth, and caulk the perimeter where the shiplap meets trim, corners, and the ceiling, but never caulk the reveals themselves; those gaps are the whole point. Prime bare wood or MDF, then paint with a durable finish.
Crisp white in a satin or semi-gloss is the classic farmhouse choice, but moody greens, navies, and warm neutrals have become popular for a more modern take. Two coats give the most even, professional finish.
Cost and What to Budget
Shiplap pricing spans a wide range depending on the material. Faux plywood strips ripped from a sheet are the cheapest route, often costing well under a dollar per square foot in raw material, though they demand more labor to cut and space. Pre-milled MDF or pine shiplap boards cost more per square foot but install faster and self-space.
Beyond the boards themselves, budget for fasteners, wood filler, caulk, primer, and paint, plus the rental or purchase of a brad nailer if you don’t own one. For a single accent wall, materials typically land in the low hundreds of dollars, making shiplap one of the higher-impact, lower-cost upgrades a homeowner can tackle in a weekend.
Is Shiplap Right for Your Home?
Shiplaps deliver high visual impact for a moderate cost and a DIY-friendly install, which is why the look has stayed popular well beyond its farmhouse origins. Choose true rabbeted boards for the easiest, most authentic result, or faux plywood strips to save money if you’re comfortable managing the spacing yourself. Plan around your studs, acclimate your material, keep every reveal consistent, and finish carefully. Done right, a shiplap wall adds timeless texture that works in farmhouse, coastal, and contemporary homes alike.