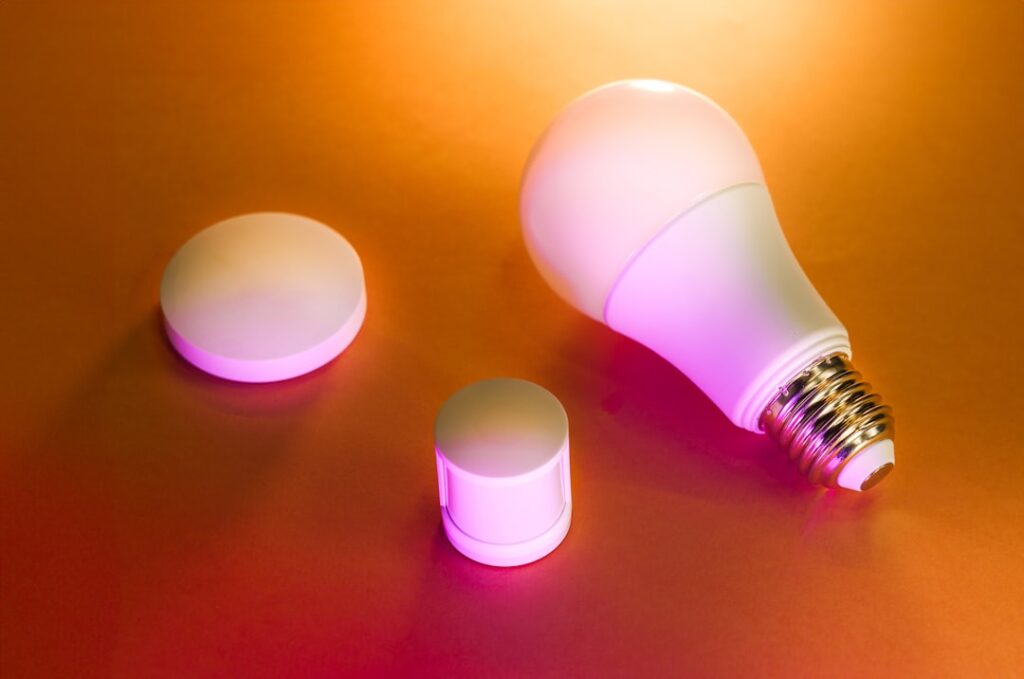
The recessed cans dotting most ceilings have quietly become the easiest place to add real automation to a home. Smart recessed lighting lets you dim a whole room from your phone, shift the color from warm candlelight in the evening to crisp daylight for cleaning, and set schedules so the kitchen brightens before your alarm goes off. Better still, retrofit versions drop into your existing 4- or 6-inch cans in about five minutes with no electrician and no new wiring. This guide explains the options, the pitfalls, and which products actually deliver.
- Retrofit Versus New-Construction Fixtures
- Canless Wafer Lights: The Easiest Upgrade
- How the "Smart" Part Connects
- Tunable White and Full Color
- The Dimmer Switch Trap
- Top Products by Use Case
- Installing a Retrofit Module
- Automations Worth Setting Up
- Troubleshooting Common Issues
- Sizing and Spacing Your Cans
- Voice Control and Ecosystems
- Is It Worth It?
Retrofit Versus New-Construction Fixtures
Your first decision is whether you’re upgrading existing lights or wiring fresh. Most homeowners go the retrofit route because it’s dramatically simpler.
A retrofit smart recessed lighting module is an integrated LED disc that screws into the existing socket inside your can with an Edison adapter and clips into the trim opening. New-construction and remodel housings, by contrast, mount to the ceiling framing and are the right call during a renovation when the ceiling is open or you’re adding cans where none existed.
- Retrofit modules: $15 to $45 each, five-minute install, no electrician for a simple swap.
- New-construction housings: $25 to $70 each plus wiring, best during remodels.
- Canless / wafer lights: a thin LED disc with a remote junction box, great where can depth is tight.
Canless Wafer Lights: The Easiest Upgrade
Worth a special mention are canless wafer lights, which have quietly become the go-to for both retrofits and new work. Instead of a bulky housing, a thin LED disc, less than an inch deep, mounts into the ceiling opening and connects to a small remote junction box that tucks into the ceiling cavity. Smart versions add Wi-Fi or hub connectivity to that same slim form factor.
Because they need almost no depth, wafer lights install where a traditional can won’t fit, such as under floor joists or in tight cathedral ceilings. Many clip into an existing 4- or 6-inch opening, making them a fast swap. If you’re adding smart lighting to a ceiling with shallow clearance or no existing cans, canless wafers are often the simplest and cleanest route.
How the “Smart” Part Connects
Smart lights talk to your phone one of three ways, and the choice affects reliability and cost. Wi-Fi bulbs connect straight to your router with no extra hardware, which is convenient but can bog down a network if you install a dozen. Hub-based systems using Zigbee or Z-Wave, like Philips Hue or Lutron Caseta, route through a small bridge that plugs into your router, delivering faster, more reliable response and better range. Some newer products support Matter and Thread, an emerging standard designed to let devices from different brands work together.
For a handful of lights, Wi-Fi is fine. For a whole house, a hub-based platform pays off in responsiveness and in avoiding a crowded Wi-Fi network.
Tunable White and Full Color
The feature homeowners appreciate most isn’t color-changing parties; it’s tunable white. These fixtures shift color temperature across a range, typically 2700K warm to 5000K daylight, so one light does the job of several.
- Dim-to-warm: mimics an incandescent, glowing warmer as you dim, ideal for living rooms.
- Tunable white (CCT): full control from cozy amber to bright cool white, best for kitchens and offices.
- Full RGB color: the party trick and useful for accent walls, media rooms, and holidays.
Pay attention to CRI, the color rendering index. Look for 90 or higher so skin tones and food look natural; cheap 80-CRI lights make everything look slightly gray.
The Dimmer Switch Trap
Here’s the mistake that generates the most frustration. If your smart light is controlled through an app or the fixture itself, the wall switch must stay powered on at all times. Cut power at a standard dimmer and the smart light goes dumb.
You have two clean solutions. Replace the wall switch with a compatible smart dimmer or a smart switch, so the switch and the light speak the same language and the wall control keeps working. Alternatively, use a smart-switch product designed to leave the physical switch permanently on while a smart control mounts over it. Never pair app-controlled smart fixtures with an old triac dimmer; you’ll get flicker, buzz, and premature failure.
Top Products by Use Case
Best Overall Ecosystem
Philips Hue offers 4- and 6-inch retrofit modules around $35 to $50 that pair with the Hue Bridge for rock-solid response, tunable white, and full color. Pricey, but the app and reliability are the benchmark.
Best Value
Halo Home and Commercial Electric Wi-Fi retrofits from big-box stores run $15 to $25 and cover tunable white without a hub, ideal for a few rooms.
Best for Whole-House Dimming
Lutron Caseta paired with standard tunable-white cans gives the most reliable dimming and the best wall keypads, though it separates the smarts (the switch) from the light.
Installing a Retrofit Module
- Turn off the circuit at the breaker and confirm the light is dead.
- Remove the old trim or bulb from the existing can.
- Screw the included Edison adapter into the socket.
- Plug the module’s connector into the adapter.
- Squeeze the spring clips and push the module up into the can until the trim sits flush.
- Restore power and pair the light in the manufacturer’s app.
The whole swap takes about five minutes per light once you have a rhythm. Confirm your cans are rated for the module size and that any insulation contact rating (IC-rated) matches if the can touches attic insulation.
Automations Worth Setting Up
The real payoff of smart lighting isn’t the app; it’s the automations that run without you touching anything. Once your lights are connected, a few well-chosen routines change how the house feels day to day.
- Circadian schedule: cool, bright white in the morning to help you wake, shifting to warm amber after sunset to wind down.
- Wake-up fade: the bedroom lights ramp slowly from dim to bright over 20 minutes, a gentler alarm than a blaring phone.
- Away lighting: lights turn on and off on a natural pattern when you travel, deterring break-ins.
- Motion-triggered paths: a hallway or bathroom that glows softly at 2 a.m. when a sensor detects movement, then fades off.
- Scene buttons: a single tap sets “movie,” “dinner,” or “cleaning” light levels across a whole room.
Troubleshooting Common Issues
Smart lights occasionally misbehave, and most problems have quick fixes. Flickering usually traces back to an incompatible dimmer, so confirm the wall switch is either left fully on or replaced with a compatible smart dimmer. Lights that drop off the network are often too far from the router or hub; adding a repeater or moving the hub central resolves most range issues.
- Light won’t respond in the app: power-cycle the fixture at the breaker and re-check its network connection.
- Colors look off: low-CRI budget lights render poorly; there’s no fix but replacement.
- Buzzing: almost always a mismatched dimmer; swap to a compatible model.
- Slow response: a crowded Wi-Fi network; move to a hub-based Zigbee or Thread system.
Keeping firmware updated in the manufacturer’s app also prevents many glitches, since updates frequently improve stability and add features to lights you already own.
Sizing and Spacing Your Cans
Smart or not, recessed lights only look good when they’re laid out correctly. A common rule of thumb is to divide your ceiling height by two to get the spacing between fixtures; an eight-foot ceiling suggests roughly four feet between cans. Space them evenly and keep them about 18 to 24 inches off the walls so they wash the room rather than leaving dark corners.
Fixture size matters too. Four-inch cans suit accent lighting, hallways, and smaller rooms, while six-inch cans throw more light for general illumination in living rooms and kitchens. For a 12-by-12-foot room, four to six six-inch fixtures on a dimmer usually deliver comfortable, even light. Getting the layout right up front means your fancy tunable-white lights actually flatter the space.
Voice Control and Ecosystems
Most smart recessed lights work with Amazon Alexa, Google Home, and often Apple HomeKit, letting you dim or change color by voice. If you already lean on one voice assistant, confirm your chosen lights support it before buying. Matter-compatible products are the safest long-term bet because they’re designed to work across ecosystems rather than locking you into one brand’s app.
For a whole-house setup, sticking to a single platform, whether that’s Hue, Lutron, or a Matter-based mix, keeps everything controllable from one dashboard and one set of voice commands, rather than juggling three different apps for three brands of light.
Is It Worth It?
For the ability to schedule lights, tune color to the time of day, and control everything by voice or phone, smart recessed lighting delivers more daily convenience than almost any other smart-home upgrade. Start with one room, choose a connection method you can expand, insist on 90+ CRI, and solve the dimmer question before you buy. Do that and you’ll wonder how you lived with a single harsh brightness setting for so long.