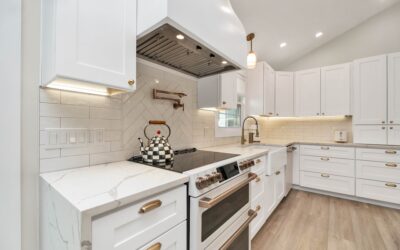
I make my living installing real tile, so you’d expect me to trash peel-and-stick. I’m not going to, because I’ve now handled Smart Tiles in enough rentals, quick flips, and “hold us over until the remodel” kitchens to give the brand a fair, hands-on verdict. Smart Tiles is the Canadian company that more or less created the premium peel-and-stick backsplash category — their gel-based “Mosaik” tiles have a raised, dimensional surface that photographs convincingly like glazed ceramic. They’re sold at Home Depot, Lowe’s, Amazon, and their own site, typically at $8 to $18 per square foot. Here’s what they do well, where they fail, and exactly how to get the most out of them.
What Smart Tiles Actually Are
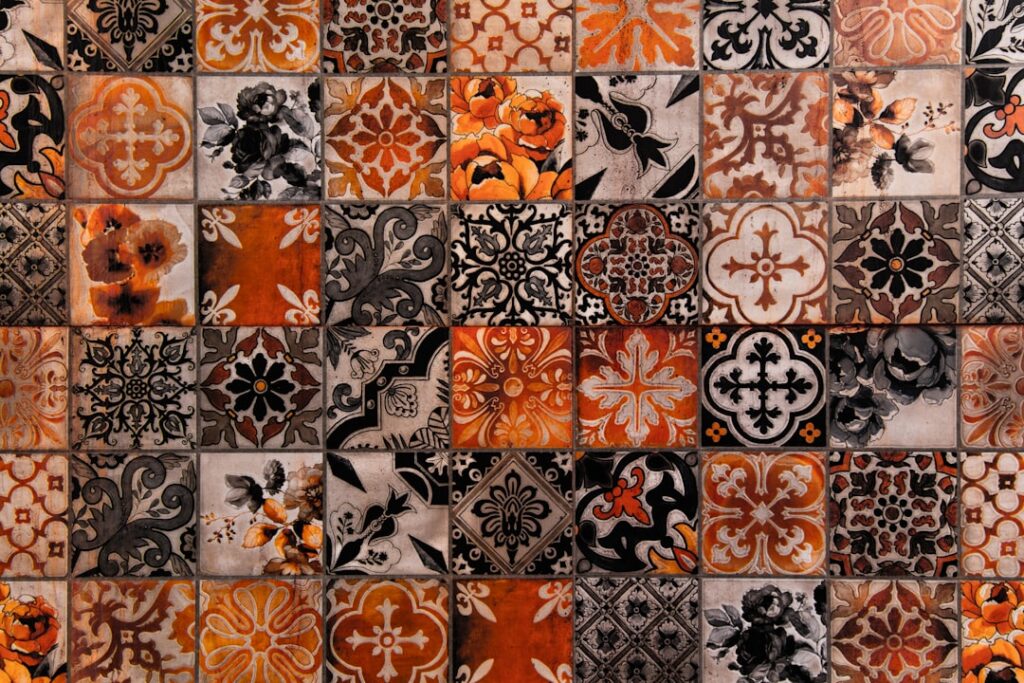
Each Smart Tile is a flexible panel — common sizes run about 9″ x 9″ up to 11.5″ x 9.6″, covering roughly 0.6 to 0.75 square feet per piece — made of a resin “Gel-O” layer over a printed design, backed with a full-coverage adhesive. Unlike flat vinyl stickers, the gel surface is genuinely three-dimensional: subway bevels, hex mosaics, zellige-look ripples, penny rounds. From four feet away, most visitors will not clock it as fake. From one foot away, you can tell — the “grout lines” are printed or molded, and the surface has a slight plastic warmth that ceramic doesn’t.
Popular lines I’ve installed or seen in the field: Metro (subway look), Hexago (hexagon mosaic), Vintage/Bellagio (patterned tile look), and their zellige-style collections. Panels are designed to overlap on molded seam edges so joints nearly disappear when you set them right.
The Honest Scorecard
| Criteria | My Rating | Notes |
|---|---|---|
| Appearance (at 3+ ft) | 8/10 | Best-in-class for peel-and-stick; gel depth sells it |
| Appearance (up close) | 5/10 | Printed grout lines and resin sheen give it away |
| Adhesion | 8/10 | Excellent on clean, smooth, painted drywall or glossy tile |
| Heat resistance | 6/10 | Rated to roughly 250°F; fine near ranges with clearance, never behind a rangetop without gap |
| Water resistance | 7/10 | Splash-proof yes; shower/steam no |
| Durability | 6/10 | Realistic life 3–7 years in a kitchen |
| Value | 7/10 | Cheaper than pro tile install, pricier than ceramic material |
Where Smart Tiles Genuinely Win
- Rentals. This is the killer use case. They peel off with a hair dryer and patience, usually without wrecking paint, so security deposits survive. No landlord permission drama over a “removable decoration.”
- Speed. A 30-square-foot kitchen splash takes 2 to 4 hours with a utility knife, a level, and a cutting mat. No thinset, no grout, no cure times, no dust. I’ve watched complete novices produce clean results.
- Covering ugly-but-sound old tile. Stuck directly over flat, glossy 1980s 4×4 ceramic, Smart Tiles skip demolition entirely. The old tile becomes a perfectly smooth substrate.
- Short-horizon kitchens. If a full remodel is 2 to 5 years out, spending $300 on Smart Tiles beats spending $1,500 tiling a wall you’ll demolish.
Where They Lose to Real Tile
- Heat. The spec sheet says they tolerate normal cooking heat with standard clearances, and that matches my experience — but I’ve also seen corners lift and gloss dull directly behind a high-BTU gas range with a slim counter gap. Real ceramic doesn’t care; resin does. Keep the recommended distance from burners (follow the box, generally a few inches beyond the range edge or use a metal shield).
- Steam and standing water. Kitchen splashes, fine. Tub surrounds and showers, no — adhesive and constant moisture eventually part ways. Smart Tiles themselves market select lines as humidity-resistant for backsplash duty, not shower walls.
- Texture-dependent walls. Orange-peel or knockdown drywall texture telegraphs through and kills adhesion at the high spots. You’d need to skim-coat first, at which point half the “easy” advantage is gone.
- Permanence and resale. Buyers and appraisers read peel-and-stick as temporary. It won’t hurt a rental listing; it won’t help a sale the way real tile does.
Real Costs vs. the Alternatives
For a typical 30-square-foot backsplash: Smart Tiles at $8–$18 per square foot runs $240–$540 total, all-in, DIY. Generic flat vinyl peel-and-stick costs $100–$200 but looks like what it is. DIY ceramic subway costs $150–$350 in materials but demands a full weekend and tools. Professionally installed tile runs $900–$2,500. So Smart Tiles sit in a genuine middle slot: double the price of bargain-bin peel-and-stick, a fraction of pro tile, zero skill barrier. That’s a fair trade if — and only if — your timeline for the wall is measured in years, not decades.
Installation Tips From Handling Them Myself
- Degrease like it matters, because it matters. Adhesive failures are almost always grease failures. Wash the wall with TSP substitute or hot water and dish soap, rinse, and let it dry fully. Wipe with isopropyl alcohol for insurance.
- Wait on fresh paint. Paint needs 2 to 4 weeks to cure before you stick anything to it, or you’ll pull the paint off with the tile someday.
- Strike a level line. Counters aren’t level; your first row must be. Snap or draw a reference line and follow it, not the countertop.
- Start in the most visible corner and work outward, overlapping the molded seam edges exactly as the instructions show. The seams vanish when overlapped and glare when butted.
- Cut with a fresh blade. A sharp utility knife and a straightedge give clean edges; a dull blade drags and stretches the gel. Score the face two or three passes rather than muscling through.
- Dry-fit around outlets before peeling the backing. Cut outlet openings slightly small; the material trims easily in place. Box extenders make the finished look far cleaner.
- Press hard everywhere. Adhesive is pressure-activated. Roll or palm-press every square inch, especially edges and corners. Warmth helps — install above 50°F and warm stubborn panels with a hair dryer.
Longevity: What to Actually Expect
In a gently used kitchen — light cooking, no range abuse, cleaned with a soft cloth and mild soap — I’ve seen Smart Tiles look presentable at the five-to-seven-year mark. In a hard-cooking household, expect gloss loss and possible edge lift near the range by year three. Never scrub them with abrasive pads or magic erasers (they dull the gel), and don’t use harsh degreasers; warm soapy water only. If a corner lifts, a hair dryer and firm pressure usually re-seat it; a dab of clear silicone fixes a stubborn one.
Smart Tiles vs. the Competition
The peel-and-stick shelf has gotten crowded, so it’s worth placing the brand against its rivals. Generic flat vinyl sheets from the big-box seasonal aisle ($2–$5 per square foot) are printed images with no dimension — fine inside a cabinet, unconvincing on a wall. Tic Tac Tiles and Art3d occupy similar gel-dimensional territory to Smart Tiles at slightly lower prices, and honestly the quality gap has narrowed; Smart Tiles still wins on adhesive consistency, seam engineering, and design range in my handling of all three. Real peel-and-stick glass or stone veneer tiles ($10–$20 per square foot) — actual thin tile with adhesive backing — look more authentic than any resin product but demand a flatter wall, cut like real tile (wet saw), and are semi-permanent; they’re a different product category wearing the same label. If your budget reaches $10-plus per square foot and you own the wall, that’s the point where I’d steer you to real ceramic with thinset instead — the material cost is lower and the result is permanent. The gel products earn their price specifically when removability or speed is the requirement.
Removal, since it’s half the sales pitch: warm each panel with a hair dryer for 20–30 seconds, lift a corner with a plastic scraper, and peel back slowly at a low angle. Over sound paint, most panels release cleanly; over builder-grade flat paint or skim coat, expect some touch-up. Adhesive ghosts wipe off with citrus remover. Budget an hour for a full kitchen and it’s genuinely renter-deposit-safe.
Who Should Buy Smart Tiles — My Verdict
Buy them if you’re a renter, a landlord refreshing units between tenants, a flipper staging on a budget, or a homeowner bridging the gap to a future remodel. They are the best-looking product in the peel-and-stick category I’ve handled, and the dimensional gel surface genuinely reads as tile in photos and at conversation distance. Skip them if this is your ten-year kitchen, if you cook aggressively on a high-output range, if your walls are textured, or if you’re tiling anywhere with steam and standing water — real porcelain and a weekend of honest work will serve you better and cost about the same in materials. Peel-and-stick done right is a smart bridge; it’s just not the destination, and Smart Tiles are the best bridge on the shelf.
Prefer to explore on your own?
See how new flooring looks in your actual room in seconds — free, no signup.
Try the free Floor Studio →