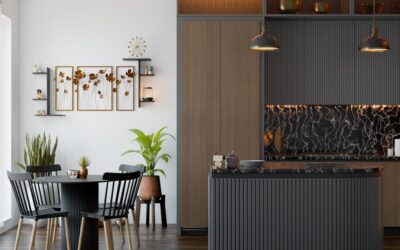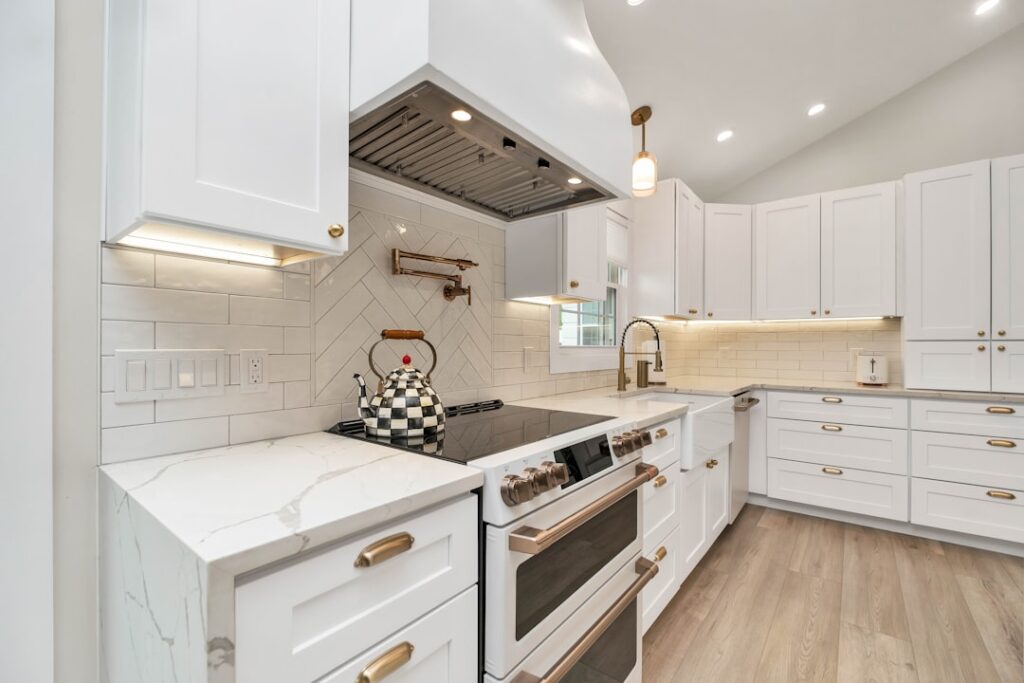
Homeowners love the warmth of natural stone and hate the sealing, staining, and price that come with it. A stone look backsplash solves that tension by delivering the texture and color of travertine, marble, or slate in materials that shrug off tomato sauce and red wine. Today’s porcelain and printed vinyl products are convincing enough that guests run a hand across the wall to check whether it is real. This guide covers every route to the look, what each costs, and how to install one without hiring out.
- Why Choose a Stone Look Over Real Stone
- The Main Material Options
- Porcelain and Ceramic Stone-Look Tile
- Natural Stone Look Mosaics
- Peel-and-Stick Stone Look
- Stone-Look Panels
- Comparing the Options
- What a Stone Look Backsplash Costs Installed
- Installing a Stone Look Tile Backsplash
- Design Tips That Sell the Look
- Care and Longevity
- Frequently Asked Questions
- Does a stone look backsplash look cheap up close?
- Can I put a stone look backsplash behind a gas range?
- Is a stone look backsplash hard to remove later?
- The Bottom Line
Why Choose a Stone Look Over Real Stone
Genuine stone behind a stovetop is high-maintenance. Marble etches when acid touches it, travertine’s natural pits trap grease, and every porous stone needs sealing once or twice a year to resist stains. A stone look backsplash skips all of that. Porcelain and vinyl products are non-porous, wipe clean with a damp cloth, and never need sealing. You get the veining and depth without babysitting the wall every time you cook. The look also runs a fraction of the cost, which matters when a backsplash is a modest slice of an already expensive kitchen.
The Main Material Options
“Stone look” spans several very different products. Choosing the right one depends on your budget, your DIY comfort, and whether you are renting or renovating for the long haul.
Porcelain and Ceramic Stone-Look Tile
The premium choice. Modern porcelain uses high-definition inkjet printing to mimic marble veining, slate cleft texture, or tumbled travertine, then fires it into a rock-hard, waterproof tile. It is the most durable and realistic option, resists heat and scratches, and lasts the life of the kitchen. Expect $4 to $12 per square foot for the tile, plus setting materials.
Natural Stone Look Mosaics
Some products blend real stone chips with glass or resin on mesh sheets, giving genuine stone texture in an easier-to-install mosaic format. These carry real-stone maintenance in part, so confirm whether the specific product needs sealing.
Peel-and-Stick Stone Look
Printed vinyl or gel tiles with an adhesive back. They install in an afternoon with no thinset, no grout, and no wet saw, which makes them ideal for renters and quick refreshes. The trade-off is durability and realism; they can peel near a hot cooktop and look less convincing up close. Budget $8 to $15 for a small box covering a few square feet.
Stone-Look Panels
Large PVC or composite panels printed and textured to resemble stacked stone or slate. They cover big areas fast with minimal seams and work well for a dramatic ledger-stone look without the weight of real stone veneer.
Comparing the Options
- Most realistic and durable: Porcelain tile. Best long-term value for a forever kitchen.
- Easiest to install: Peel-and-stick. No tools beyond scissors and a level.
- Best for renters: Peel-and-stick, since many products remove cleanly.
- Most dramatic texture: Stacked-stone panels or ledger-look porcelain.
- Lowest upfront cost: Peel-and-stick, though it may need replacing sooner.
What a Stone Look Backsplash Costs Installed
A standard kitchen backsplash covers roughly 30 square feet. Here is what to expect:
- Peel-and-stick DIY: $80 to $250 in materials for the whole run.
- Porcelain tile DIY: $200 to $500 in tile plus $60 to $100 in thinset, grout, and a rented wet saw.
- Porcelain tile professionally installed: $1,200 to $2,500 including labor at $8 to $15 per square foot.
The gap between DIY and hired-out is almost entirely labor, so a stone-look tile backsplash is one of the highest-payoff weekend projects in the kitchen.
Installing a Stone Look Tile Backsplash
A porcelain stone-look backsplash follows the same steps as any wall tile. Give yourself a weekend and work in this order:
- Prep the wall. Clean off grease, sand any glossy paint, and patch holes. Grease is the enemy of adhesion behind a stove.
- Find your layout. Mark a level line and plan so cut tiles land at the ends and behind the range, not front and center.
- Spread thinset. Use a white polymer-modified thinset and a 3/16-inch V-notch trowel for mosaics, combing it at a consistent angle.
- Set and space the tile. Press each sheet or tile firmly, use spacers, and check plane with a level as you go.
- Grout. After 24 hours, grout with an unsanded grout for tight joints or sanded for wider ones. Match grout color to the stone tone for a seamless look or contrast it for definition.
- Caulk and seal. Caulk the joint where the backsplash meets the countertop. If any real stone is involved, seal per the manufacturer.
Peel-and-stick skips the thinset and grout entirely: clean the wall, peel, press from the center out, and trim edges with a utility knife.
Design Tips That Sell the Look
The most common giveaway of a fake stone backsplash is repetition. Cheap products loop the same three or four print patterns, so identical “stones” show up every few tiles. Buy from lines that use a high number of unique face variations, and dry-lay a section before setting to break up any obvious repeats. Match the grout to the darkest tone in the stone for a natural, mortared look. Pair a warm travertine look with brass or bronze hardware, and a cool slate or marble look with brushed nickel or matte black. Run the backsplash to the underside of the upper cabinets, and consider carrying it full height behind the range for a focal point.
Care and Longevity
Porcelain and vinyl stone-look surfaces wipe clean with dish soap and a damp cloth, no special stone cleaner required. Avoid abrasive pads on printed vinyl, which can dull the finish. A quality porcelain stone look backsplash will outlast the cabinets around it. Peel-and-stick typically holds up for several years before edges start to lift near heat, at which point it is cheap and fast to replace.
Frequently Asked Questions
Does a stone look backsplash look cheap up close?
Quality porcelain does not. High-definition printing and real surface texture make a good porcelain stone-look tile nearly indistinguishable from the real thing at arm’s length. Budget peel-and-stick is a different story, and its flat printed surface reads as an imitation when you get close, which is why it suits low-traffic or rental situations rather than a showcase kitchen.
Can I put a stone look backsplash behind a gas range?
Porcelain and ceramic handle stovetop heat with no issue. Vinyl peel-and-stick is the exception; keep it a safe distance from an open flame or high heat, because adhesives can soften and the print can scorch. If you want the stone look directly behind a range, choose real porcelain tile.
Is a stone look backsplash hard to remove later?
Peel-and-stick often comes off cleanly, which is its selling point for renters, though it may pull some paint. Thin-set porcelain tile is permanent and requires demolition to remove, so treat a tile installation as a long-term commitment rather than a quick seasonal update.
The Bottom Line
A stone look backsplash gives you the character of natural stone without the sealing, etching, and expense. Choose porcelain tile for realism and permanence, peel-and-stick for a renter-friendly weekend upgrade, and panels for bold stacked-stone drama. Budget under $500 for a DIY tile job or $1,200 to $2,500 installed, buy a line with plenty of face variation to avoid an obvious pattern, and you will have a wall that reads as real stone and cleans up in seconds.