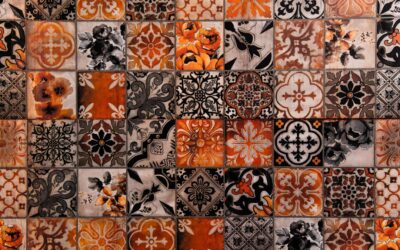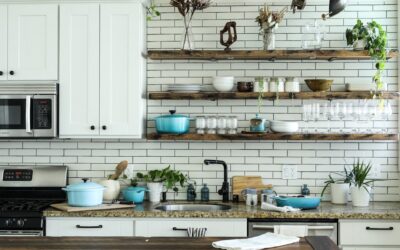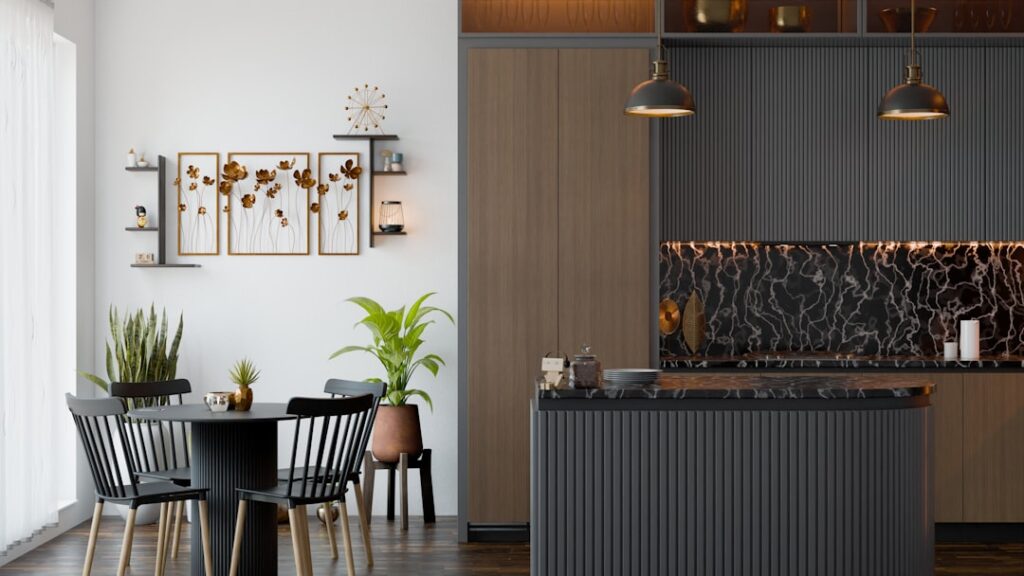
Warm clay tones have quietly pushed past cool grays as the color homeowners crave behind the range. A terracotta kitchen backsplash delivers that sun-baked, Mediterranean warmth better than paint ever could, layering handmade texture and depth onto a wall that usually reads flat. I’ve installed a lot of tile over the years, and terracotta is one of the few materials that photographs beautifully and feels even better in person. This guide covers the tile types, layouts, cost, sealing, and upkeep so you can plan the project with your eyes open.
Part of our Kitchen Remodeling guide — explore the full guide →
What Makes Terracotta Different
Terracotta simply means “baked earth,” a fired clay tile that ranges from pale peach to deep rust depending on the clay body and kiln. Unlike glazed porcelain, traditional terracotta is porous and unglazed, which is exactly why it glows the way it does. Light sinks into the surface instead of bouncing off it, giving the wall a soft, organic quality.
You’ll find two broad families on the market. Handmade Saltillo-style tiles from Mexico carry irregular edges, tonal shifts, and the occasional paw print from a workshop dog, while machine-pressed terracotta offers tighter tolerances and a more uniform face. For a backsplash, many homeowners lean toward smaller-format glazed or semi-glazed terracotta because it resists grease and wipes clean far more easily than raw clay.
Popular Tile Shapes and Layouts
Shape drives the whole personality of the wall. A terracotta backsplash can read rustic farmhouse or crisp modern depending entirely on how you cut and set it.
- Square 4×4: The classic grid, timeless and easy to install. Works in traditional and Spanish-revival kitchens.
- Subway 2×8 or 3×6: Set in a running bond, terracotta subway tile modernizes the look while keeping the warmth.
- Hexagon: Small 2- to 4-inch hexes create a honeycomb texture that pairs well with wood cabinets.
- Zellige-style squares: These glossy, slightly uneven 4×4 tiles catch light unevenly and add an artisan, Moroccan feel.
- Picket or fish-scale: Elongated pointed tiles for homeowners who want movement without a busy pattern.
For layout, I usually run the field tile to the underside of the upper cabinets and take the space behind the range straight up to the hood or ceiling as a focal wall. Stagger your joints on rectangular tiles by no more than one-third rather than a strict 50 percent offset, which reduces lippage on handmade pieces that aren’t perfectly flat.
Color Pairings That Work
Because clay tones already carry a strong hue, the surrounding palette matters. Creamy off-white cabinets let the tile take center stage, while deep forest green or navy cabinetry turns the backsplash into a rich, saturated counterpoint. Natural wood, especially white oak and walnut, is a near-perfect companion.
Countertops are the other big decision. Honed soapstone, creamy quartzite, and butcher block all flatter terracotta. Avoid busy, high-contrast granite, which competes with the tile for attention. On grout, a matching or slightly darker sanded grout keeps the wall cohesive, while a bright white grout creates a graphic grid that some love and others find too stark against the clay.
Cost of a Terracotta Kitchen Backsplash
Budget swings widely based on whether you buy machine-made or artisan tile. Here’s what I typically quote homeowners for a standard 30-square-foot backsplash.
- Machine-pressed terracotta: $8 to $15 per square foot for tile.
- Handmade Saltillo or Mexican terracotta: $10 to $20 per square foot.
- Imported zellige-style terracotta: $25 to $50 per square foot.
- Professional installation: $12 to $25 per square foot in labor, higher for intricate patterns.
- Materials (thinset, grout, sealer, trim): $150 to $350 for a typical kitchen.
All in, most homeowners spend $900 to $2,500 for a professionally installed terracotta backsplash of average size. A confident DIYer can cut that nearly in half, though handmade tile is less forgiving than uniform porcelain and takes patience to set flat.
Sealing and Grease Protection
This is the step people skip and regret. Unglazed terracotta is thirsty, and behind a cooktop it will drink up oil splatter and tomato sauce like a sponge. Seal it, and it becomes a durable, wipeable surface.
Apply a penetrating natural-stone or terracotta sealer before grouting to keep pigment from staining the porous tile, then apply a second coat after the grout cures for about 72 hours. I like a water-based penetrating sealer for a natural matte finish, or a topical enhancing sealer if you want a slightly wet, deepened color. Reseal the area behind the range every 12 to 18 months. Glazed terracotta needs far less babysitting since the fired glaze already blocks moisture.
Installation Basics
If you’re tackling this yourself, the fundamentals mirror any tile job with a few clay-specific quirks. Start with a clean, flat, primed wall. Handmade tiles vary in thickness, so back-butter each piece with a quality modified thinset to bed it evenly and avoid lippage.
- Find your center line behind the range and dry-lay a row to plan cuts.
- Spread thinset with a 1/4-inch notched trowel, working in sections you can tile before it skins over.
- Set tiles with 1/16- to 1/8-inch spacers, adjusting by eye for irregular handmade edges.
- Let thinset cure 24 hours, then pre-seal raw tile before grouting.
- Grout, wipe with a damp sponge, and haze-clean the following day.
Use a wet saw with a diamond blade for cuts, and go slow near outlets. Terracotta chips more readily than porcelain, so score and cut with a steady hand.
Care and Maintenance
Day to day, a sealed terracotta wall wipes down with a soft cloth and mild dish soap. Skip harsh acidic cleaners like vinegar and bleach, which can etch the clay and strip your sealer over time. For dried grease behind the burners, a paste of baking soda and water lifts buildup without scratching.
Address splatter promptly on unglazed tile, especially oil and wine, since a well-sealed surface still benefits from quick cleanup. Done right, this is a low-maintenance wall that ages gracefully; many homeowners actually prefer the softened patina terracotta develops after a few years of cooking.
Common Questions From Homeowners
Does terracotta stain easily behind a stove?
Unsealed clay absolutely will, but a properly sealed tile shrugs off grease and sauce with a quick wipe. The key is sealing before and after grouting, then resealing the range area every 12 to 18 months. Glazed terracotta resists staining out of the box and is the safer pick for heavy cooks.
Can I use terracotta in a bathroom backsplash?
Yes, and it looks gorgeous behind a vanity, but a bathroom backsplash sees far less grease and heat than a kitchen, so sealing is mainly about moisture. Keep raw terracotta out of the shower splash zone unless it’s fully sealed and grouted with a water-resistant grout.
How is terracotta different from regular ceramic tile?
Both are fired clay, but standard ceramic tile is typically glazed and denser, while traditional terracotta is more porous and often unglazed, which gives it that warm, matte glow. Terracotta needs sealing that most glazed ceramic does not, and it develops a patina over time that many homeowners love.
Will terracotta look dated in a few years?
Earthy, natural materials have proven far more durable in the design world than passing trends. Clay tones have been used for centuries and read as timeless rather than trendy, so a well-chosen terracotta backsplash is unlikely to feel dated the way a bold accent color might.
Is It Right for Your Kitchen?
A terracotta kitchen backsplash rewards anyone chasing warmth, character, and a break from the sea of white subway tile. It suits Mediterranean, Spanish, farmhouse, and modern-organic kitchens especially well, and it plays beautifully with wood, brass, and stone. The tradeoffs are real but manageable: raw tile needs sealing, handmade pieces demand more careful setting, and the boldest artisan options carry a premium price. Weigh those against decades of rich, timeless color and you’ll understand why clay is back on so many walls. Buy a few extra tiles for future repairs, seal it properly, and this backsplash will anchor your kitchen for years to come.