Kitchen tile backsplashes do double duty: they shield the wall behind your counters and range from water, grease, and food splatter while serving as one of the most visible design statements in the room. Because kitchen tile backsplashes cover a compact area yet sit right at eye level, they deliver more style per dollar than almost any other kitchen upgrade.
Part of our Kitchen Remodeling guide — explore the full guide →
With hundreds of materials, colors, shapes, and layouts to choose from, the decision can feel overwhelming. This guide walks through the main tile types, popular patterns, realistic costs, and installation and maintenance essentials so you can plan a backsplash that looks great and holds up to daily cooking.
Why a Backsplash Matters
The wall directly above a countertop takes constant abuse. Steam, oil, tomato sauce, coffee, and dishwater all reach it, and bare drywall or paint absorbs stains and moisture that eventually lead to peeling and mold. A tiled surface is nonporous, wipes clean in seconds, and protects the wall for the life of the kitchen.
Beyond protection, a backsplash frames the space between your counters and upper cabinets. It can echo your countertop, contrast your cabinets, or become a bold focal point behind the range. Because it is a fixed finish that stays through several decor refreshes, choosing a design you will still love in ten years pays off.
Popular Backsplash Tile Materials
Material drives both the look and the maintenance level. The most common options include:
- Ceramic: Affordable, durable, and available in endless colors; typically $2 to $10 per square foot.
- Porcelain: Denser and more water-resistant than ceramic, often mimicking stone or wood; $3 to $15 per square foot.
- Glass: Reflective and easy to clean, brightening small kitchens; $7 to $30 per square foot.
- Natural stone: Marble, travertine, and slate offer organic beauty but need sealing; $10 to $40 per square foot.
- Mosaic sheets: Small tiles on mesh backing for intricate looks with easier installation; wide price range.
Ceramic and porcelain remain the workhorses because they resist stains, need no sealing, and suit any budget. Stone and glass step up the visual richness at a higher cost and, for stone, more upkeep.
Common Tile Shapes and Layouts
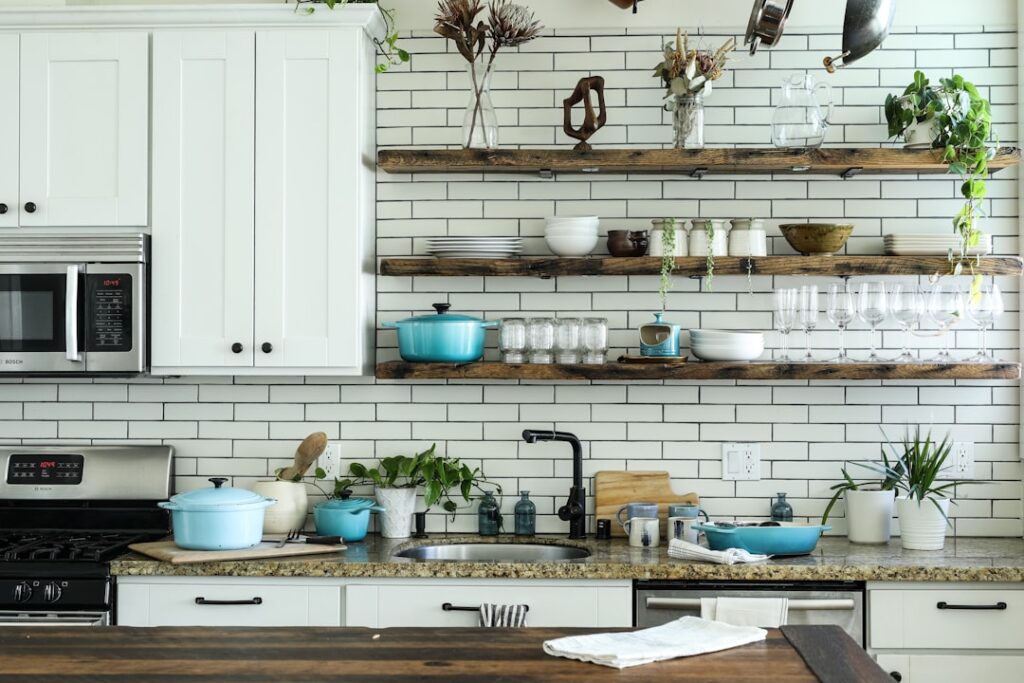
The same tile looks entirely different depending on how it is arranged. Classic 3-by-6-inch subway tile stays perennially popular and can be laid in a running bond, stacked vertically, or in a herringbone pattern for extra energy. Larger-format tiles create a clean, seamless backdrop with fewer grout lines, while penny rounds, hexagons, and fish-scale shapes add playful character.
Layout also affects how big the kitchen feels. Vertical arrangements and stacked tiles draw the eye upward, making low ceilings feel taller, while horizontal running bonds visually widen a narrow galley kitchen. A diagonal or herringbone pattern adds movement but generates more cut pieces and waste, so budget extra tile accordingly.
Choosing Grout and Color
Grout is a design decision, not an afterthought. A matching grout blends joints into a seamless field, while a contrasting grout, such as charcoal against white tile, emphasizes the pattern and looks crisp and graphic. Keep in mind that light grout near a cooktop shows grease and stains faster, so many homeowners choose a mid-gray or use epoxy grout for its superior stain resistance.
For color, decide whether you want the backsplash to blend or stand out. Neutral tiles in white, cream, or gray create a timeless canvas that survives trend cycles. Bold colors and dramatic patterns make a statement but can date faster, so reserve them for smaller runs or spots you can affordably replace later.
Cost and Budgeting
A typical kitchen backsplash covers 30 to 45 square feet. Material costs vary widely, but installation adds roughly $10 to $25 per square foot in labor for a professional. All in, a modest ceramic backsplash may run $600 to $1,300, while premium stone or glass mosaics with intricate patterns can climb to $2,500 to $4,500 or more.
To control costs, use an affordable field tile across the bulk of the wall and splurge on a small accent behind the range. Always order 10 to 15 percent more tile than the measured area to cover cuts, breakage, and future repairs, since matching dye lots later is often impossible.
Professional vs DIY Installation
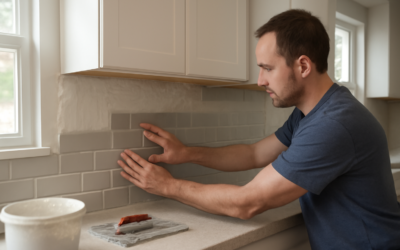
A straightforward subway tile backsplash is within reach for a handy homeowner with a weekend, a tile cutter, and patience. Peel-and-stick tile makes it even easier for renters and quick updates. However, natural stone, glass, and intricate mosaic or herringbone layouts benefit from professional skill, since uneven grout lines and poor cuts show clearly at eye level.
If you tackle it yourself, keep these essentials in mind:
- Start from a level line, not the countertop, which is rarely perfectly flat.
- Use spacers for consistent grout joints and dry-lay the pattern before applying adhesive.
- Seal natural stone before grouting to prevent haze from staining porous tile.
- Plan cuts so partial tiles land in corners and behind the range, not in prominent sightlines.
Cleaning and Long-Term Care
Glazed ceramic, porcelain, and glass need only a damp cloth and mild dish soap for routine cleaning; their nonporous surfaces resist grease and stains. Grout is the weak point, so wipe splatter before it dries and periodically scrub joints with a soft brush and a baking soda paste to keep them bright.
Natural stone requires more attention. Reseal it every one to two years, and avoid acidic cleaners like vinegar or lemon that etch marble and travertine. With minimal upkeep, a quality tile backsplash lasts the lifetime of the kitchen and continues protecting the walls behind your busiest work zones.
Measuring and Planning Your Backsplash
Accurate measurement prevents both shortages and expensive over-ordering. Measure the width of each wall run and multiply by the height from the countertop to the underside of the upper cabinets, typically 18 inches, to get the square footage. Add the area behind the range up to the hood, which often rises higher, and subtract large openings like windows.
Once you have the raw number, add a waste allowance and account for trim. Keep these planning tips in mind:
- Add 10 percent for straight layouts and 15 percent for diagonal or herringbone patterns that generate more cuts.
- Include edge and finishing trim pieces, such as bullnose or pencil liners, where the tile meets an open wall.
- Note outlet and switch locations, since receptacles usually need to sit flush with the finished tile surface.
- Buy all your tile from the same dye lot at once so color and shade stay consistent across the wall.
Making Your Final Decision
The best backsplash balances your style, your cooking habits, and your budget. If you cook heavily and want low maintenance, glazed ceramic or porcelain with epoxy grout is hard to beat. If you crave luxury and accept some upkeep, natural stone or glass rewards you with depth and richness.
Gather samples, tape them to the wall, and view them under your kitchen lighting at different times of day before ordering. A thoughtfully chosen backsplash protects your investment, elevates the entire room, and remains a design anchor you enjoy every time you step into the kitchen.
Prefer to explore on your own?
See how new flooring looks in your actual room in seconds — free, no signup.
Try the free Floor Studio →