Trends in kitchens come and go, but a handful of backsplash looks have stayed in style for a century. A classic kitchen backsplash leans on time-tested materials like white subway tile, honed marble, and beadboard rather than the bold pattern of the moment, which means it still looks right ten renovations later. If you plan to stay in your home, or you simply want resale appeal that does not date, understanding these enduring options helps you spend smart. This guide covers materials, layouts, grout, and costs that age gracefully.
Part of our Kitchen Remodeling guide — explore the full guide →
What Makes a Backsplash “Classic”
Timelessness comes from restraint. Classic backsplashes use neutral colors, simple geometry, and natural or natural-looking materials that have appeared in kitchens since the early 1900s. White, cream, soft gray, and warm beige dominate the palette. The patterns are familiar rather than novel: a straight or offset grid, a herringbone, a simple stacked column. The result reads as architecture, not decoration, so it complements changing countertops, cabinets, and paint colors over decades.
Subway Tile: The Enduring Standard
No material says classic like the 3-by-6-inch glazed ceramic subway tile, first used in the New York subway in 1904. Its rectangular proportion and glossy white glaze suit nearly every cabinet style, from Shaker to traditional raised-panel. Material cost is low, typically $2 to $7 per square foot for ceramic, and it is one of the more forgiving tiles for a confident DIYer to install.
You can shift the feel by changing the layout. A classic running bond, where each row offsets the one below by half a tile, is the default. A stacked vertical or horizontal grid feels cleaner and more contemporary while staying neutral. Herringbone and a 1/3 offset add subtle movement without straying from the timeless category. For a softer look, try a hand-molded zellige-style tile with gentle color variation, though that pushes material cost to $15 to $30 per square foot.
Marble and Natural Stone
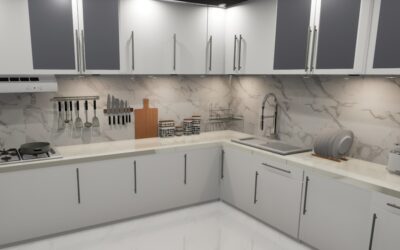
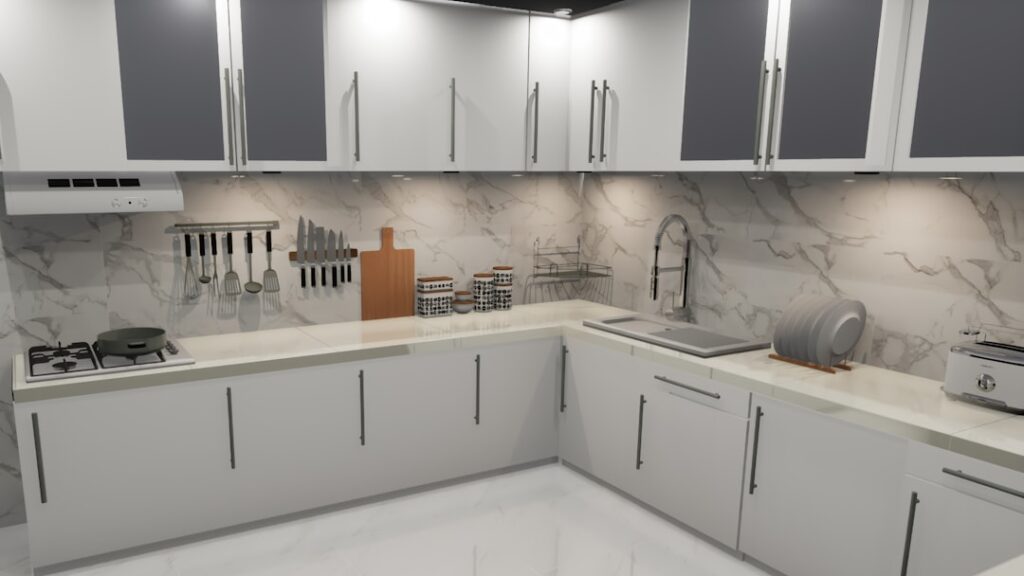
For a more luxurious classic, natural stone delivers a look you cannot fake. Carrara and Calacatta marble, with their soft gray veining on a white field, have signaled quality in kitchens for generations. Marble subway tile runs about $10 to $25 per square foot, while a full slab backsplash, prized for its uninterrupted veining behind the range, can reach $50 to $100 per square foot installed.
Marble is porous and etches when acidic foods like lemon or tomato sit on it, so seal it on install and reseal annually. If you love the look but cook with abandon, a honed finish hides etching better than polished, and a porcelain tile printed to mimic marble offers the appearance with none of the maintenance for $5 to $12 per square foot. Soapstone and honed limestone are quieter stone alternatives that also wear their patina well.
Beadboard, Tin, and Other Period Looks
Tile is not the only classic route. A few materials evoke specific eras and suit cottage, farmhouse, and craftsman kitchens beautifully:
- Beadboard — painted vertical paneling, around $1.50 to $3 per square foot, ideal for cottage and farmhouse kitchens. Use a semi-gloss enamel so grease wipes off.
- Pressed tin panels — a Victorian-era look in a metal pattern, roughly $7 to $25 per square foot, that adds texture and shine behind open shelving.
- Penny round and hexagon mosaics — small-format tile on mesh sheets, $8 to $20 per square foot, common in early-20th-century homes and still right at home today.
- Glazed brick tile — thin brick veneer with a glossy finish for a warm, textured classic surface.
Each of these carries enough history to feel intentional and enough neutrality to avoid looking like a fad.
Layout and Coverage Decisions
Where the backsplash starts and stops shapes the whole look. The standard runs from the countertop up to the underside of the upper cabinets, a span of about 18 inches. Behind the range, many homeowners take the tile to the ceiling or to the hood for a clean focal point. A full-height backsplash on a wall without uppers, common over a sink window, makes a strong classic statement.
Plan your tile layout to center on a focal point, usually the range or sink, so cut tiles fall evenly at both ends rather than leaving an awkward sliver in a corner. End the run with a bullnose edge, a pencil-trim molding, or a metal Schluter strip for a finished look. Mock up a dry row on the counter before you mix any thinset.
Grout: The Detail That Makes or Breaks It
Grout color quietly controls the entire effect. For the cleanest classic look with white subway tile, a bright white or light gray grout almost disappears, letting the tile field read as a single surface. A darker gray grout outlines each tile and emphasizes the grid pattern, which suits a more graphic, industrial-leaning kitchen. Avoid anything trendy in bold color, since grout is hard to change later.
Use an unsanded grout for joints under 1/8 inch, which is typical for tight subway installs, and choose a stain-resistant epoxy or a quality cement grout with a built-in sealer behind a busy cooktop. Seal cement grout after curing and wipe the backsplash regularly to keep light grout from yellowing with cooking grease. As a rule of thumb, match the grout to the tile for a seamless, timeless field, and contrast it only when you specifically want the grid pattern to stand out.
Budgeting Your Project
A typical kitchen has 30 to 40 square feet of backsplash. Doing the work yourself with ceramic subway tile, you might spend $200 to $400 in materials. Hiring a tile setter at $10 to $20 per square foot in labor brings a professional ceramic install to roughly $600 to $1,200, while marble or slab work runs considerably higher. A classic kitchen backsplash is one of the highest-return upgrades in a kitchen because it photographs beautifully, resists going out of style, and costs a fraction of new cabinets or countertops. Spend on materials you will still love in fifteen years, and the math takes care of itself.