A new backsplash is one of the highest-impact kitchen upgrades you can make, and the good news is that backsplash installation is well within reach of a patient DIYer. With the right tools, a careful layout, and a weekend of work, you can transform the look of a kitchen for a fraction of the cost of hiring out. This guide walks through the entire process, from gathering materials to grouting the final tile, with pro tips along the way.
Part of our Kitchen Remodeling guide — explore the full guide →
What You Will Need
Gather everything before you start so you are not running to the store mid-project. A typical tile backsplash installation calls for:
- Tile, plus about 10 percent extra for cuts and breakage
- Thinset mortar or pre-mixed tile adhesive (mastic)
- Notched trowel, tile spacers, and a rubber grout float
- Wet saw or tile cutter, and tile nippers for curves
- Grout, grout sponge, and bucket
- Level, tape measure, pencil, and painter’s tape
- Caulk and a caulk gun for finishing edges
Choosing Your Tile
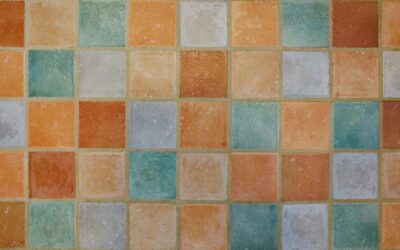
The tile sets the tone for the whole project. Ceramic and porcelain are durable, affordable, and easy to clean. Glass tile adds shine and brightens a space but can be trickier to cut. Natural stone looks luxurious but needs sealing. Mosaic sheets mounted on mesh speed installation dramatically because you set many small tiles at once. For a first-time DIYer, mesh-backed mosaics or standard subway tile are the most forgiving choices.
Preparing the Surface
Good prep prevents most problems down the line. Turn off power to any outlets in the work area and remove switch and outlet cover plates. Clean the wall thoroughly to remove grease, which is common above a stove, since adhesive will not bond to a greasy surface. Fill any holes, sand glossy paint lightly so the adhesive grips, and wipe away dust. Confirm the wall is sound and reasonably flat.
Planning Your Layout
Layout is where a professional result is won or lost. Find the center of your main wall or the focal area behind the range and work outward so cut tiles land symmetrically at the edges. Mark a level line as a guide, since countertops are rarely perfectly level and you do not want the tile to drift. Dry-lay a row on the counter first to preview spacing and plan where cuts will fall around outlets and corners.
Step-by-Step Installation
With prep and layout done, the actual setting goes quickly:
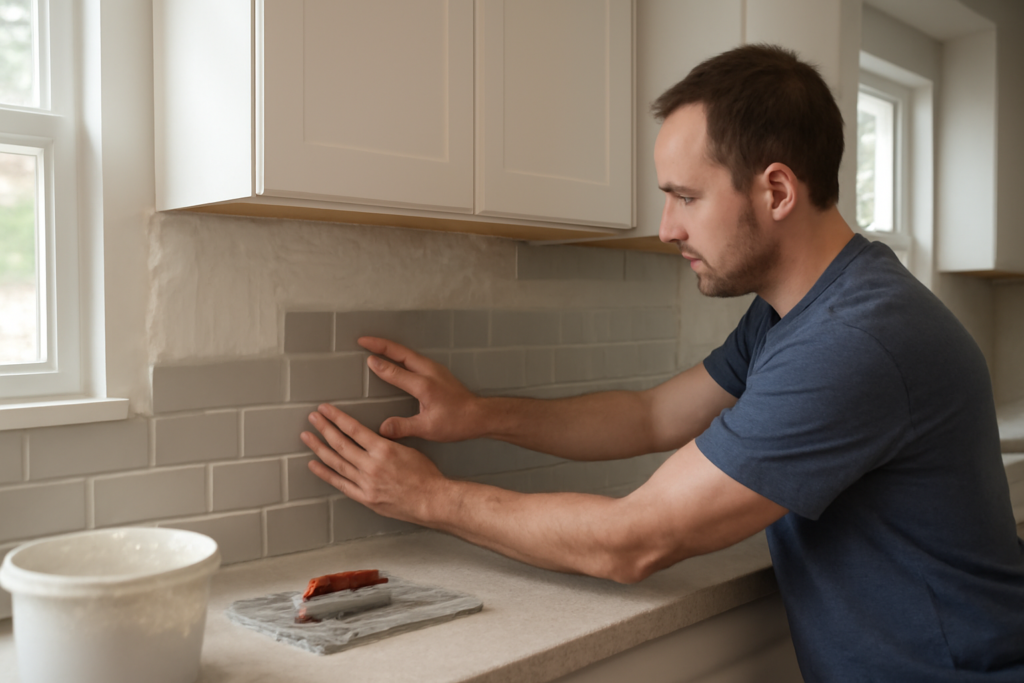
- Spread thinset or adhesive on a small section of wall with the flat side of the trowel, then comb it with the notched side to create even ridges.
- Press the first tiles into place along your level line, twisting slightly to seat them, and insert spacers to keep gaps consistent.
- Work in small sections so the adhesive does not skin over before you set tile.
- Use a wet saw to cut tiles for the ends, around outlets, and under cabinets, measuring each carefully.
- Check your work with a level frequently and step back to confirm the lines stay straight.
- Let the adhesive cure fully, typically 24 hours, before grouting.
Grouting and Finishing
Grout brings the whole installation together. Remove the spacers, then mix grout to a smooth, peanut-butter consistency. Holding the float at an angle, spread grout diagonally across the tile to pack the joints fully. After it sets for the time on the package, wipe the surface with a damp grout sponge in gentle circles, rinsing often, to clean the tile while leaving the joints intact. A light haze can be buffed off with a dry cloth later. Finish by running a neat bead of caulk where the backsplash meets the countertop and at inside corners, since these spots flex and grout would crack there.
Pro Tips for a Clean Result
A few small habits separate amateur work from professional. Keep a bucket of clean water and rinse your sponge often during grout cleanup so you do not smear haze around. Do not grout the expansion joint at the countertop; caulk it instead. Seal grout and natural stone tile a few days after grouting to resist stains in a kitchen environment. And reinstall outlet covers with spacers or extenders if the new tile thickness requires them, so the plates sit flush.
How Long It Takes and What It Costs
A standard kitchen backsplash is a weekend project for most DIYers. Plan on a half day for prep and layout, a few hours to set the tile, an overnight cure, and another couple of hours to grout and finish. Smaller mosaic sheets go faster than individual tiles. On cost, doing it yourself, you might spend roughly $5 to $15 per square foot on materials depending on the tile, plus the cost of any tools you need to buy or rent, such as a wet saw. Hiring a professional typically runs $15 to $35 per square foot installed. For a small backsplash, the DIY savings are significant, which is part of the appeal.
Working Around Outlets and Corners
Outlets, switches, and corners are where careful work pays off. Always turn off the power before removing cover plates, and tile up to and around the electrical boxes, using a wet saw to notch tiles for a clean fit. Because the new tile adds thickness, you may need to install outlet box extenders and longer screws so the receptacles and plates sit flush over the finished surface; this is a code consideration, not just cosmetic. At inside corners, leave a small gap and caulk rather than grout, since corners flex and rigid grout would crack. For outside corners and exposed edges, use bullnose tile or a metal or PVC edge trim for a polished finish.
The Bottom Line
Backsplash installation rewards patience and careful planning more than raw skill, which makes it an ideal DIY project for upgrading a kitchen on a budget. Gather your tools, prep the wall, plan a symmetrical layout, and work in small sections. Take your time on the cuts and grout cleanup, and you will end up with a backsplash that looks like a pro installed it and adds real value to your home.