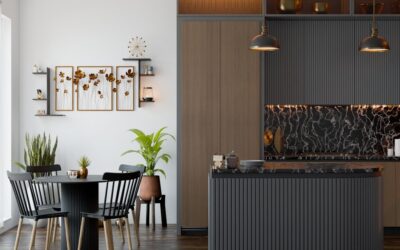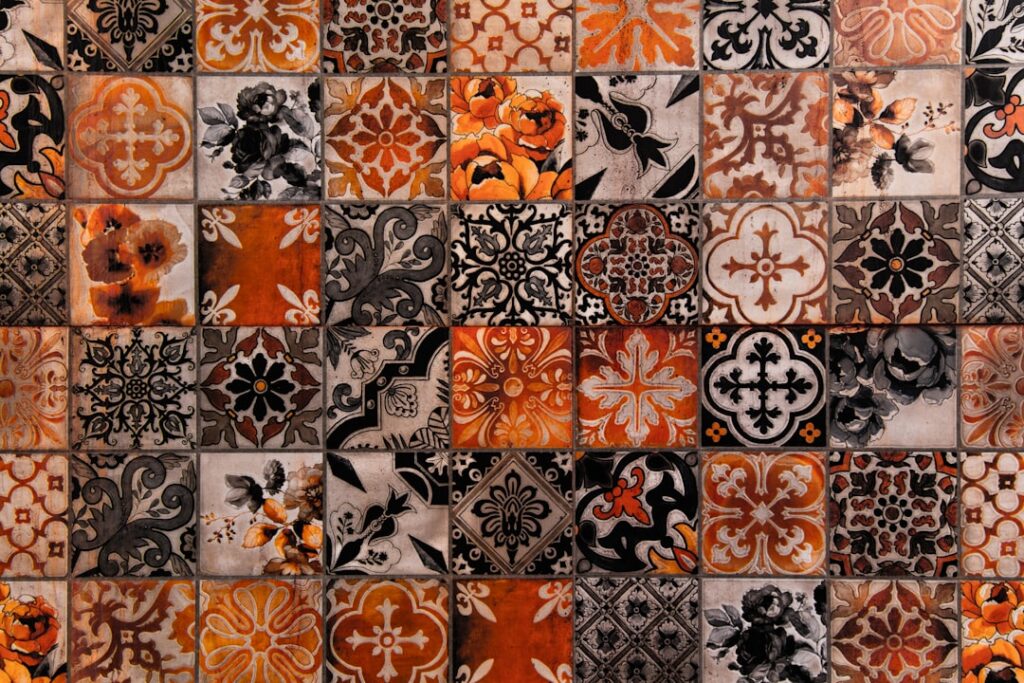
A brown backsplash brings instant warmth to a kitchen, grounding the room with earthy tones that feel both timeless and inviting. Unlike stark white, brown forgives the splatters and fingerprints of daily cooking while pairing beautifully with wood cabinets, stone counters, and metal fixtures. Whether you lean toward rich espresso or soft sandy beige, brown offers a depth that few other colors can match.
Part of our Kitchen Remodeling guide — explore the full guide →
Choosing the right shade, material, and layout takes a little planning. This guide walks you through every decision so your finished wall looks intentional, durable, and right at home in your space.
Why Choose a Brown Backsplash
Brown is one of the most practical colors you can put behind a stove or sink. Its natural pigment masks grease, coffee stains, and tomato sauce splashes far better than lighter finishes, which means less scrubbing after dinner. That alone makes it a smart pick for busy households.
Beyond practicality, brown carries emotional weight. It reads as cozy, established, and grounded, echoing the colors of leather, wood, and coffee. Designers often reach for it when they want a kitchen to feel lived-in rather than clinical. The color also bridges traditional and modern styles with ease, so it rarely looks dated.
Popular Shades of Brown
Not all browns behave the same way in a room, and lighting can shift their character dramatically. Before you commit, consider how each tone interacts with your cabinets and countertops.
- Espresso and chocolate: deep, dramatic shades that create contrast against cream or white cabinetry.
- Caramel and honey: warm mid-tones that glow under pendant lighting and feel welcoming.
- Taupe and greige: muted, sophisticated browns with grey undertones for a modern look.
- Sandy beige: light, airy options that keep a small kitchen feeling open.
- Terracotta-brown: reddish, rustic tones ideal for farmhouse or Mediterranean styles.
Always test a sample on the wall and look at it during morning and evening light. A brown that seems perfect in the store can turn muddy or orange depending on your bulbs and natural light.
Material Options to Consider
The material you choose shapes both the look and the upkeep of your backsplash. Each has its own strengths, so weigh durability against budget and style.
- Ceramic and porcelain tile: affordable, easy to clean, and available in countless brown glazes; expect roughly $5 to $15 per square foot installed.
- Natural stone: travertine, slate, and marble offer organic variation but need periodic sealing to resist stains.
- Glass tile: reflects light and adds a glossy, contemporary feel in caramel or bronze tones.
- Mosaic sheets: small brown tiles on mesh backing speed up installation and add texture.
- Brick veneer: reclaimed or faux brick in brown hues delivers rustic charm.
Porcelain tends to be the most forgiving choice for a hardworking kitchen, since it resists moisture and rarely needs resealing. Natural stone rewards you with unmatched character but asks for more maintenance in return.
Pairing Brown With Your Kitchen
A brown backsplash rarely works in isolation; the magic comes from how you pair it. With white or cream cabinets, a dark brown tile creates striking contrast that keeps the room from feeling flat. Against wood cabinetry, a tonal brown backsplash builds a layered, monochromatic warmth that designers prize.
Countertops matter just as much. Light quartz or butcher block balances a deep brown wall, while a busy granite may compete with heavily veined stone tile, so pair patterned with plain. Hardware and fixtures in brushed brass, copper, or matte black all complement brown beautifully, letting you tune the final mood from rustic to refined.
Layout and Pattern Ideas
The way you arrange the tile changes the entire personality of the wall. A classic horizontal subway layout in glossy brown feels clean and familiar. Turn those same tiles vertically to draw the eye upward and add height to a low kitchen.
For more visual interest, consider a herringbone or chevron arrangement, which adds movement without introducing a second color. Stacked tiles read modern and minimal, while a brick-bond offset feels traditional. Mosaic and penny-round tiles bring texture that catches light and softens the geometry of cabinetry and appliances.
Installation Tips
Good installation separates a backsplash that lasts from one that cracks or peels within a year. Start with a clean, flat, dry wall surface, and prime any porous drywall so the adhesive bonds properly.
- Measure the area and dry-lay your tiles to plan cuts and avoid awkward slivers at the edges.
- Apply thinset or mastic with a notched trowel, working in small sections so the adhesive does not skin over.
- Set tiles with spacers to keep grout lines even, checking for level as you go.
- Let the adhesive cure fully, then grout, wipe away haze, and seal natural stone or porous grout.
If your layout involves complex cuts around outlets or a range hood, or if you are working with natural stone, hiring an experienced tile setter is money well spent. Follow the manufacturer instructions for cure times before exposing the wall to heavy use.
Cleaning and Maintenance
Keeping a brown backsplash looking fresh is refreshingly simple. Wipe it down with a soft cloth and mild dish soap after cooking, and avoid abrasive pads that can scratch glaze or dull stone. For glass and ceramic, a quick spray of glass cleaner restores the shine in seconds.
Grout is usually the weak point, since it absorbs grease and discolors over time. Seal it once a year and scrub occasionally with a baking soda paste to keep lines crisp. Natural stone benefits from a stone-safe sealer every six to twelve months to guard against staining.
Budget and Value
A brown backsplash can fit almost any budget, which is part of its appeal. A modest ceramic subway tile project for a standard kitchen often runs a few hundred dollars in materials, while natural stone or glass mosaics push the total higher. Labor adds to the bill if you hire out, typically charged per square foot.
Beyond the upfront cost, a quality backsplash adds real value. It protects your walls from moisture and grease, making cleanup easier and preventing long-term damage to drywall. A tasteful, neutral brown also appeals to future buyers, since it pairs with so many styles. That combination of low cost, durability, and broad appeal makes brown one of the safest backsplash investments you can make.
Final Thoughts
A brown backsplash delivers a rare combination of beauty, warmth, and everyday practicality. By matching the right shade to your cabinets and counters, choosing a durable material, and installing it with care, you create a focal point that hides messes and ages gracefully. Take your time with samples, plan your layout, and you will end up with a kitchen wall that feels both stylish and genuinely livable for years to come.