Ignore your roofline long enough and it will find a way to get expensive. Soffit and fascia repair is one of those jobs that stays cheap when you catch it early and turns into a rafter-tail rebuild when you don’t. I’ve torn off plenty of fascia that looked fine from the driveway and crumbled the moment I got a pry bar behind it. This guide walks you through spotting the damage, deciding whether to DIY, and getting the fix done right.
- What Soffit and Fascia Actually Do
- How to Spot Damage Before It Spreads
- DIY or Call a Pro?
- Materials: Wood, Aluminum, or Composite
- Step-by-Step: Replacing a Rotted Fascia Section
- Tools and Materials You’ll Need
- Don’t Forget the Attic Ventilation
- What Soffit and Fascia Repair Costs
- Preventing the Next Repair
What Soffit and Fascia Actually Do
The fascia is the vertical board running along the edge of your roof, right where the gutters bolt on. The soffit is the horizontal panel tucked underneath, closing off the gap between the fascia and the exterior wall. Together they cap the roofline and hide the exposed rafter tails.
They’re not just trim. Fascia carries your gutters and blocks wind-driven rain from getting behind the roof edge. Soffit ventilates the attic, pulling cool air up under the roof deck so it can exhaust through the ridge. Kill that airflow and you get ice dams in winter and a superheated attic in summer. So a soffit problem isn’t cosmetic, it’s part of how the roof breathes.
How to Spot Damage Before It Spreads
Grab a ladder and a flashlight and actually put your hands on it. Visual-only inspections miss soft rot until it’s advanced.
- Peeling or bubbling paint on fascia — moisture is trapped behind the coating
- Soft, spongy wood — press with a screwdriver; if it sinks in, that’s rot
- Dark water staining along the fascia bottom, usually from overflowing gutters
- Sagging or dropped gutters — the fascia they’re anchored to has failed
- Holes or gnaw marks in soffit — squirrels, birds, and wasps love an open soffit
- Daylight visible from inside the attic at the eaves
Nearly every fascia failure traces back to water. Clogged gutters overflow behind the board, or missing drip edge lets roof runoff wick into the end grain. Find and fix the water source, or your repair rots out again in two seasons.
DIY or Call a Pro?
A single rotted section of fascia on a single-story ranch is a legitimate weekend project if you’re comfortable on a ladder and own a circular saw. Replacing a full run of soffit and fascia around a two-story house, on the other hand, is a scaffold-and-two-people job, and the fall risk alone justifies a contractor.
Call a pro when you find rot extending into the rafter tails or roof sheathing, when the work is above the second story, or when the damage wraps the whole perimeter. Those aren’t trim repairs anymore, they’re structural. If your screwdriver keeps sinking into wood the deeper you probe, stop and get a carpenter’s eyes on it.
Materials: Wood, Aluminum, or Composite
What you replace with matters as much as the repair itself.
Wood
Traditional and easy to match on an older home. Primed pine or cedar fascia runs cheap, but it needs paint on all six sides and repainting every 5 to 7 years. Skip that upkeep and you’re back here.
Aluminum
Fascia gets wrapped in aluminum coil stock; soffit comes as vented aluminum or vinyl panels. Low maintenance, never rots, and the wrap hides the wood behind it. Downside: it dents, and a wrap over already-rotting wood just buries the problem.
PVC and composite
Brands like Azek and Versatex are fully waterproof and hold paint beautifully. They cost more up front, roughly double the price of wood, but they’re the closest thing to a permanent fix on a fascia that keeps taking abuse.
Step-by-Step: Replacing a Rotted Fascia Section
Here’s the sequence for a straightforward single-board swap once you’ve fixed the water source.
- Remove the gutter in that run, or unclip and support it out of the way.
- Pry off the old fascia. Work a flat bar behind it and pull the nails. Expect the ends to crumble.
- Inspect the rafter tails. This is the moment of truth. Probe each one. Sister a new board alongside any that are soft, or cut back to solid wood.
- Confirm drip edge. The roof’s metal drip edge should lap over the top of the fascia. If it’s missing or bent, fix it now, this is why the board rotted.
- Cut and prime new fascia. Prime all sides and both cut ends before install. End grain is where rot starts.
- Fasten with stainless or galvanized screws into each rafter tail, not smooth nails that back out.
- Caulk the joints with a paintable exterior sealant, then paint. Rehang the gutter with proper slope.
Take your time on the rafter-tail inspection. Wrapping fresh fascia over compromised tails is the most common shortcut, and it fails within a couple of years.
Tools and Materials You’ll Need
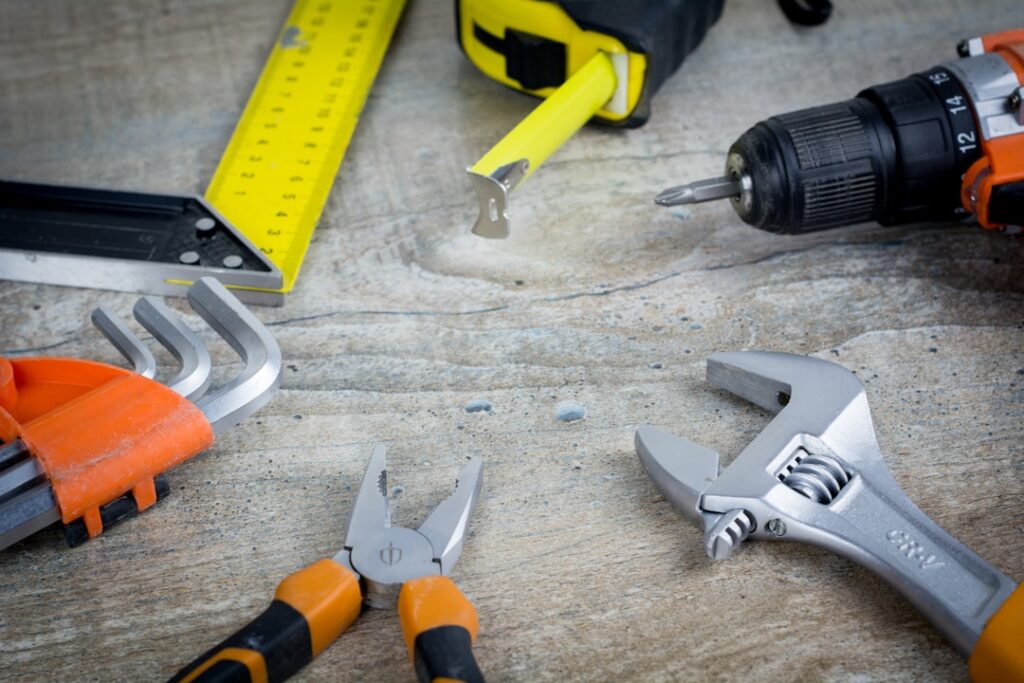
Before you climb up, gather everything so you’re not making trips up and down a ladder with your hands full. For a single-board fascia repair you want a sturdy extension ladder or scaffold, a flat pry bar, a circular saw or a good handsaw, a cordless drill and impact driver, and a cat’s paw for pulling nails.
- Replacement board or panel — matched to your existing profile
- Exterior primer — for sealing all six sides of wood fascia
- Stainless or hot-dipped galvanized screws — never bright common nails
- Paintable exterior caulk — for the joints and end grain
- Drip edge flashing — if the existing piece is bent or missing
- Wood filler or epoxy — for minor rot you can consolidate rather than replace
If you catch rot early enough, a two-part wood epoxy like Abatron can rebuild a soft spot on an otherwise sound board and save you a full replacement. That trick only works on surface rot, though. Once the rot runs deep or the board is spongy through its thickness, replacement is the only honest fix.
Don’t Forget the Attic Ventilation
Since the soffit is half your attic’s intake ventilation, any repair is a chance to make sure the airflow still works. Modern roofs rely on a balanced system: cool air enters low through the soffit vents and hot, moist air exhausts high through the ridge or gable vents. Block the intake and the whole system stalls.
When you’re up there, check that insulation hasn’t been pushed out over the soffit vents from inside the attic. Baffles, those cardboard or foam channels stapled between the rafters, keep insulation off the vent openings so air can still flow. If you’re replacing solid soffit with vented panels, you’re actually improving the roof’s health, not just its looks. A well-ventilated attic runs cooler in summer, resists ice dams in winter, and dramatically slows the moisture cycle that rots fascia in the first place.
What Soffit and Fascia Repair Costs
Pricing runs by the linear foot, and access drives it hard. A single-story home with easy ladder access sits at the low end; a steep two-story with dormers climbs fast.
- DIY materials, single fascia section: $50–$150 (board, screws, primer, caulk)
- Professional fascia repair: $6–$20 per linear foot
- Professional soffit repair: $8–$25 per linear foot
- Full soffit and fascia replacement, average home: $2,000–$6,000
- Add-on if rafter tails need rebuilding: $300–$1,500+
Contractors usually quote soffit and fascia together because the tear-off exposes both. If you’re already paying for scaffold setup, doing the entire perimeter at once is far cheaper per foot than coming back for the next rotted section next year.
Preventing the Next Repair
Clean your gutters twice a year, spring and fall. Overflowing gutters cause the overwhelming majority of fascia rot, so that one chore protects the whole roofline. Confirm your downspouts actually carry water away from the house and aren’t dumping behind the fascia.
Keep the soffit vents clear, don’t let insulation or paint block the airflow, or you trap the moisture you’re trying to vent. Repaint wood fascia on schedule, and walk the perimeter with binoculars each season looking for peeling paint or a sagging gutter. Handle soffit and fascia repair while it’s a $100 board swap and you’ll never meet it as a $5,000 rebuild.