Walk into a modern spa, a boutique hotel lobby, or a well-designed living room with a fireplace, and there is a good chance the textured stone wall drawing your eye is split face tile. Also called stacked stone or ledger panels, this material takes strips of natural stone, mounts them onto a mesh-backed panel, and leaves the front face rough, cleaved, and three-dimensional. The result is a dramatic, tactile surface with genuine depth that flat tile simply cannot match. But that rugged beauty comes with specific installation demands and a real need for sealing, and going in prepared is what separates a stunning feature wall from a crumbling, stained disappointment.
What Split Face Tile Actually Is
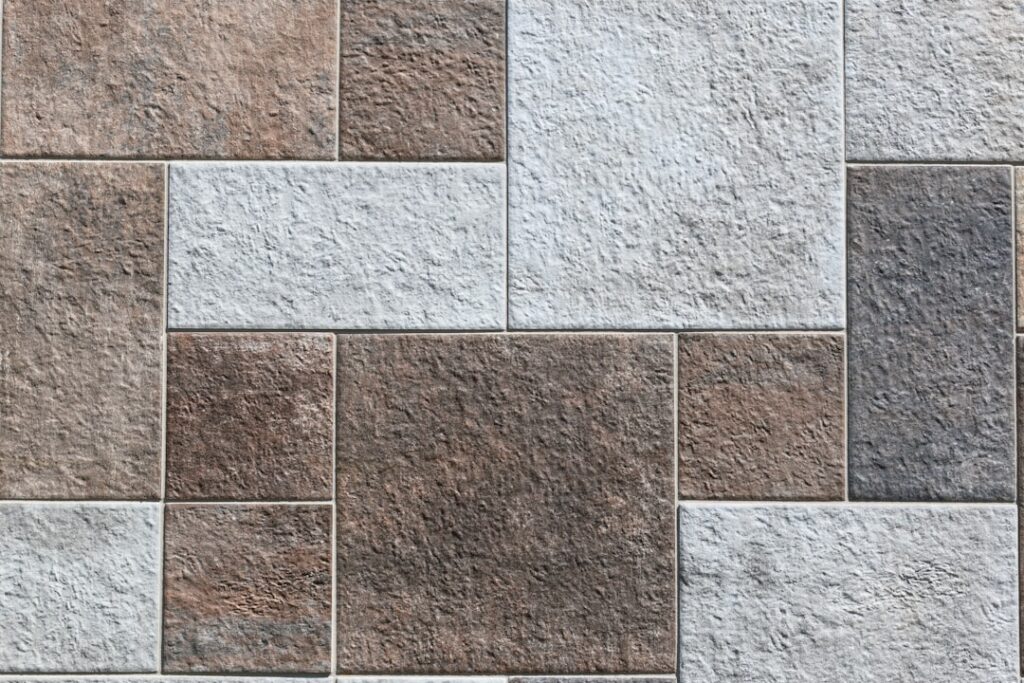
Split face refers to how the stone is finished. Rather than being polished or honed smooth, each piece is literally split or cleaved along its natural fault lines, exposing a raw, uneven surface with peaks, valleys, and varying depth. These strips are then assembled onto roughly 6-by-24-inch mesh-backed panels that interlock, so instead of setting dozens of individual stones you install manageable panels that stack together into a continuous wall of texture. Common materials include slate, quartzite, marble, travertine, and sandstone, each bringing its own palette of grays, golds, rusts, and creams.
Because the stone is natural and cleaved by hand or machine along irregular planes, no two panels are identical, and depth typically varies from a quarter inch to over an inch across the face. That variation is the entire point, casting shifting shadows as light moves across the wall throughout the day. It also means this is fundamentally a wall material, not a floor material, since the uneven surface is impossible to walk on or keep clean underfoot.
Where It Works Best
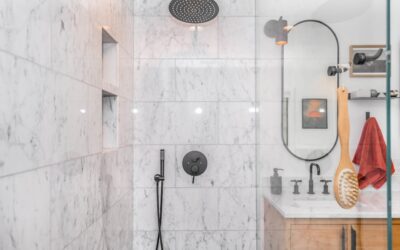
This is a feature material, meant to command attention on a single focal surface rather than wrap an entire room. The most popular applications are fireplace surrounds, accent walls behind a bed or media console, kitchen island fronts, exterior facades and columns, and outdoor kitchen bases. In a bathroom, a split face wall in the shower or behind a freestanding tub adds instant spa character, though it demands diligent sealing in that wet environment.
Consider the lighting before you commit. Split face tile looks its best with grazing light, meaning a fixture positioned to wash across the surface at an angle rather than straight on, which amplifies the shadows and texture. Uplights at the base of a fireplace column or a well-placed sconce can turn an ordinary stacked-stone wall into a genuine showpiece. In flat, even lighting the drama flattens out, so plan your fixtures alongside the tile itself.
Ledger Panels and How They Go Up
Ledger panel construction is what makes this look achievable for a determined DIYer. The mesh backing lets you set full panels at once, and the interlocking ends are designed so seams disappear into the random stacked pattern. Installation starts with a solid, clean substrate: cement backer board for wet or exterior areas, or well-prepared drywall for a dry interior accent wall. You will need a quality polymer-modified thinset mortar rated for the weight of natural stone, since these panels are heavy.
Work bottom to top, and use a level starting line, because any error compounds as you stack upward. Back-butter each panel in addition to troweling the wall to ensure full coverage, then press firmly and check that it sits flush with its neighbors. A wet saw with a diamond blade handles the cuts, and corner pieces (called L-shaped or corner panels) wrap outside edges cleanly so you never see the raw stone ends. Keep these essentials in mind:
- Substrate: Cement backer board for wet/exterior, solid drywall for dry interior
- Mortar: Polymer-modified thinset rated for heavy natural stone
- Direction: Work bottom to top off a level line
- Corners: Buy matching corner panels to hide cut edges
Most split face installations are dry-stacked with no grout lines, which is part of the seamless look, though the tight joints mean precision matters.
Sealing Is Critical
Natural stone is porous, and the cleaved, textured face of split face tile has enormous surface area that readily absorbs water, oil, and grime. Sealing is not optional. Apply a quality penetrating stone sealer before installation if the panels will see moisture, and definitely seal the finished wall afterward, working the sealer into every crevice with a brush or low-pressure sprayer since a roller cannot reach into the deep texture.
For fireplaces, kitchens, and any wet location, plan to reseal every one to two years, and test periodically by misting water on the surface to see whether it beads or soaks in. Slate and quartzite are relatively dense and forgiving, while softer stones like some travertines and sandstones drink up sealer and stains alike, so match your maintenance expectations to the material. Unsealed split face stone in a shower is a mildew and efflorescence problem waiting to happen, so never skip this step in wet areas.
What It Costs
Split face tile is surprisingly accessible for the impact it delivers. Slate and quartzite ledger panels commonly run $5 to $12 per square foot for the material, with premium marble and specialty blends reaching $15 or more. A typical fireplace surround of 30 to 40 square feet might use $200 to $500 in stone. Corner pieces cost more per linear foot than flat panels, so account for them separately when your design has outside edges.
Professional installation adds roughly $8 to $15 per square foot given the weight, the mortar work, and the cutting involved, meaning a completed accent wall often lands between $1,000 and $2,500. A capable DIYer with tile experience can cut that substantially, but this is not a beginner’s first project, since heavy panels, overhead work, and unforgiving stacking make mistakes costly. Budget for a wet saw rental at $50 to $90 a day if you don’t own one.
Living With a Split Face Wall
Once sealed and set, a split face wall is low-maintenance but not no-maintenance. Dust settles into the texture, so an occasional pass with a soft brush or vacuum brush attachment keeps it looking crisp. Clean spills or soot with a pH-neutral stone cleaner and a soft brush rather than acidic products, which will etch calcium-based stones like marble and travertine. Avoid pressure washing interior installations, which can drive water behind the panels.
The payoff for this modest upkeep is a surface with real presence and genuine natural material, something no printed or flat tile can replicate. Done well, a split face tile accent wall becomes the defining feature of a room, aging gracefully and adding a sense of solidity and craft that elevates the entire space. Match the stone to its environment, respect the sealing schedule, and this rugged, dimensional material will reward you for many years.
Prefer to explore on your own?
See how new flooring looks in your actual room in seconds — free, no signup.
Try the free Floor Studio →